![[team] image of individual team member (for a plumbing service)](https://cdn.prod.website-files.com/69bee43acb5b8eaa4ccc3c54/69c0babf515f75e61435f2ac_697fe4c9b0f758acae4b8b31_compressed%25252FDI0oxBqH_uploaded_with_phoneflow.webp)
.avif)
Professional Ilve repair in NYC with a $99 fee credited to repair. 180-day warranty included.
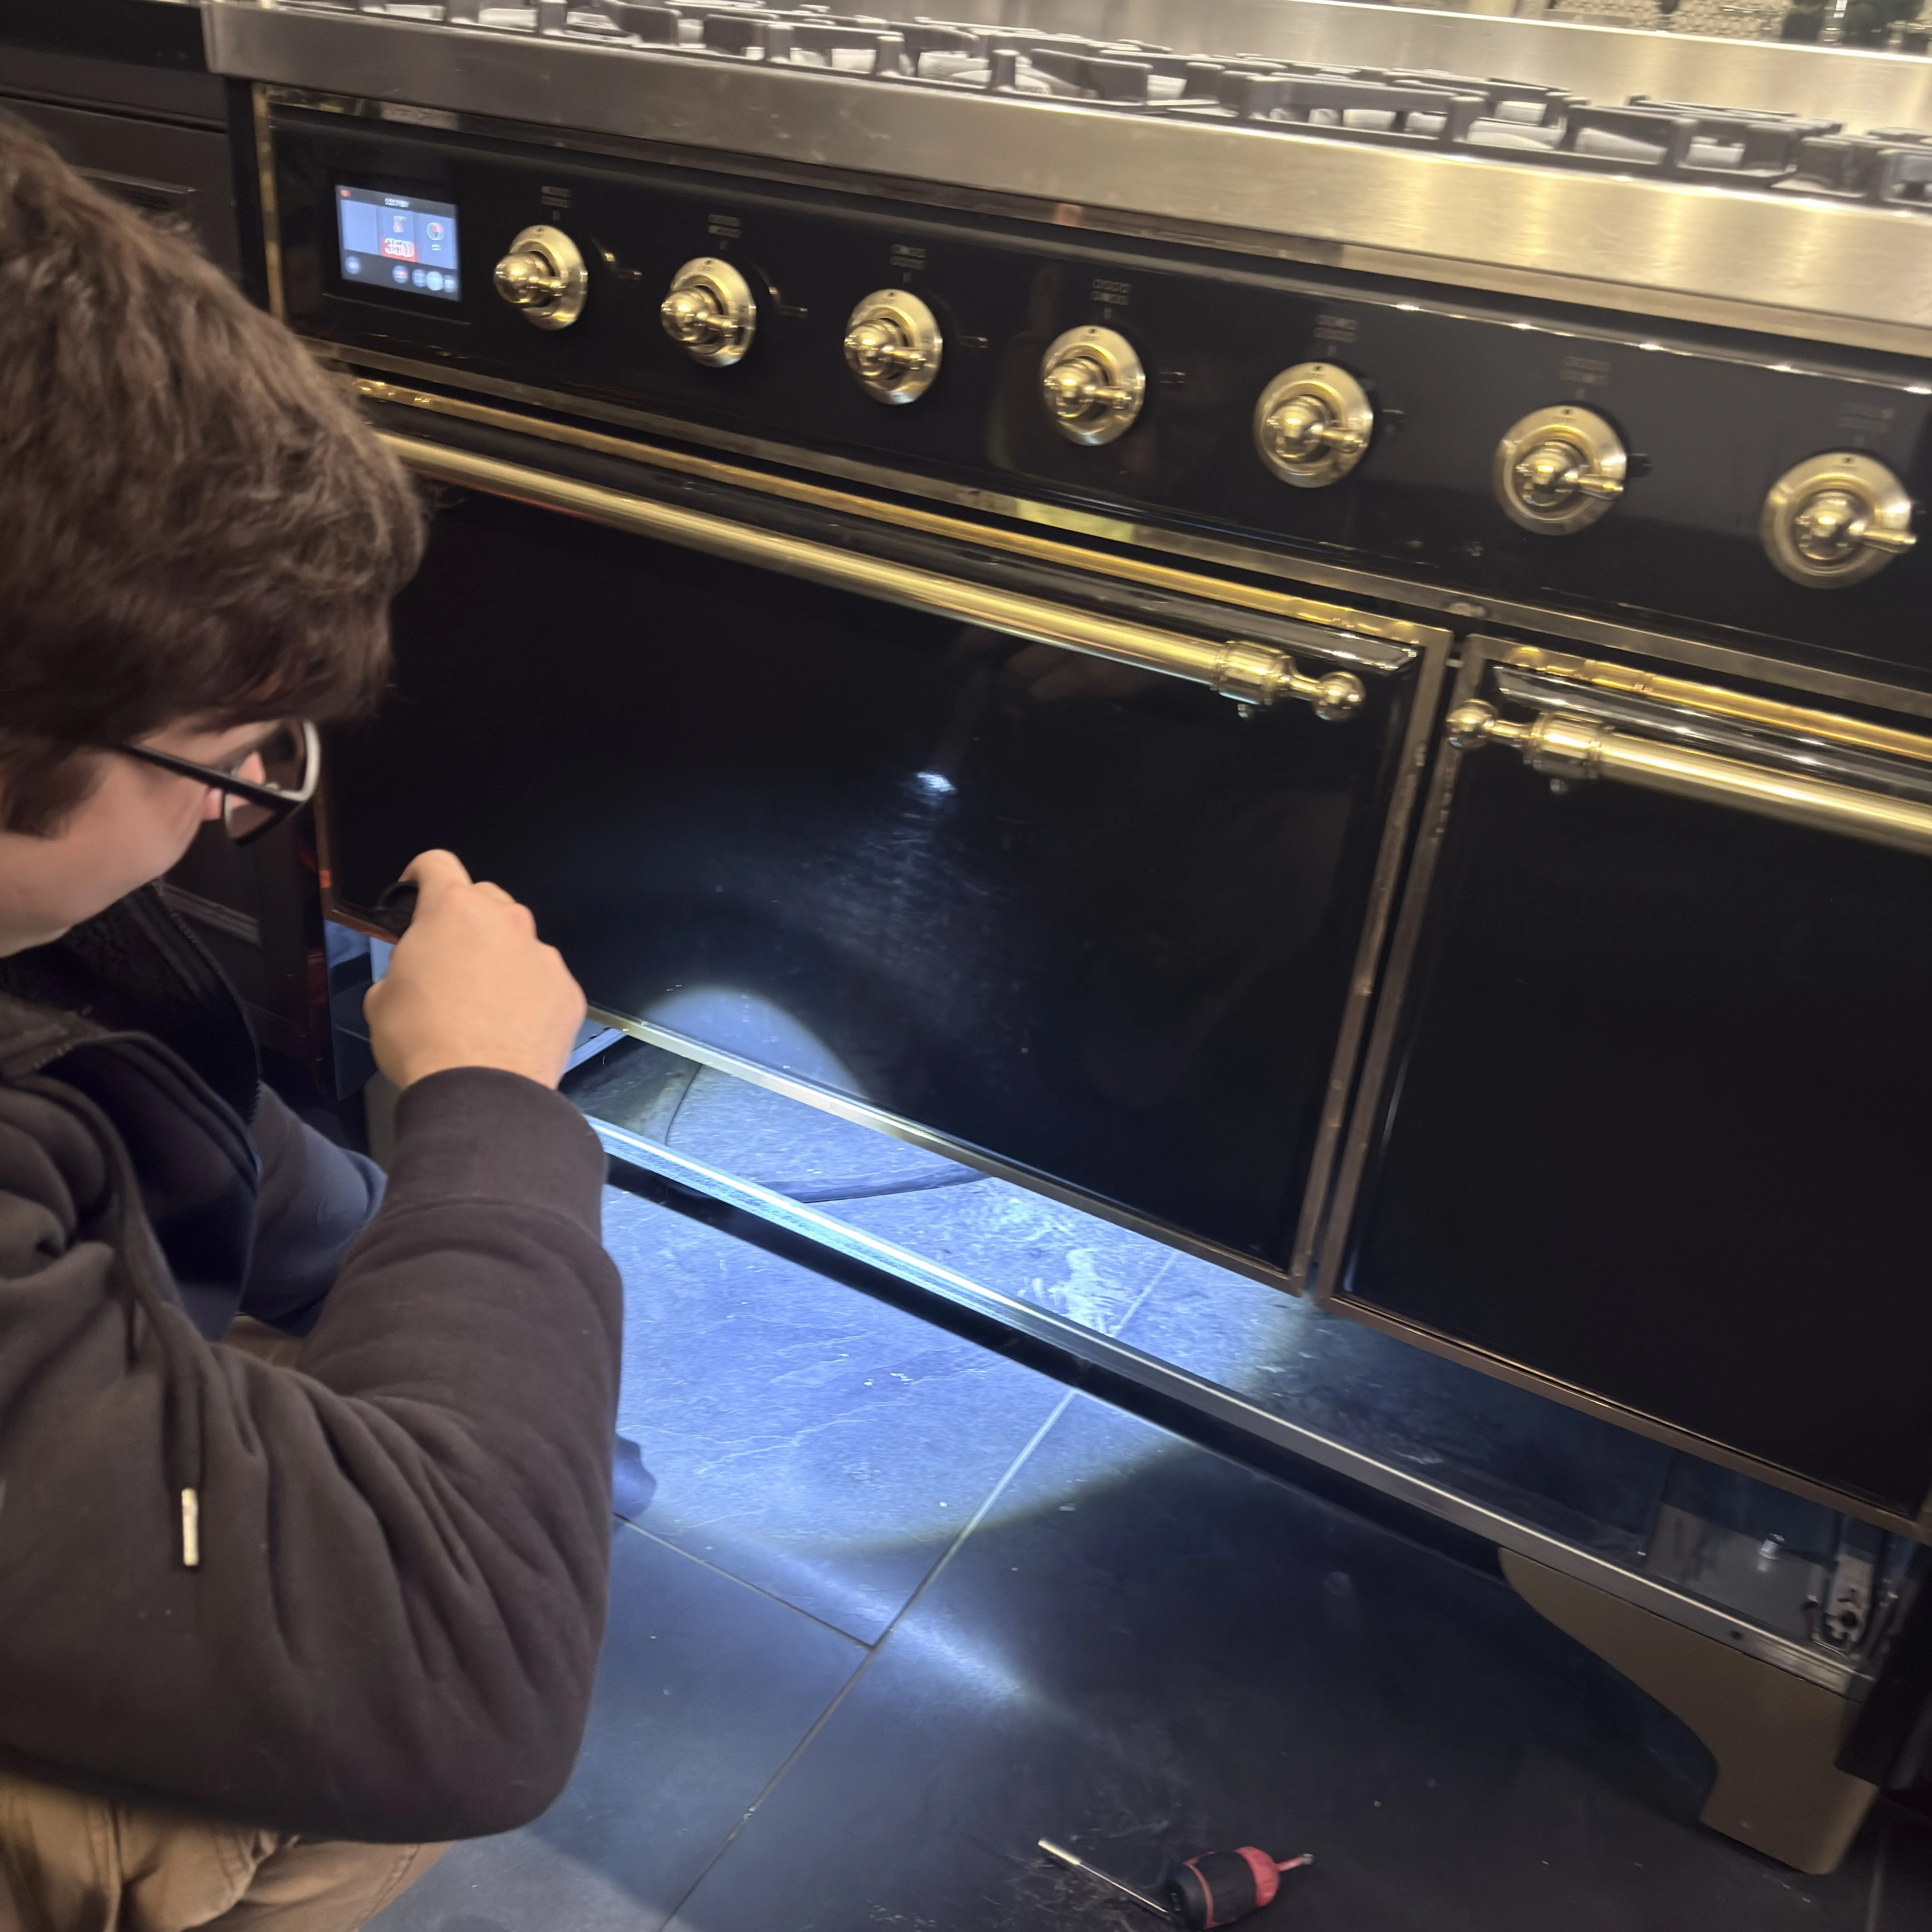
Are you dealing with problems on your ILVE appliances in NYC? In high-rises and pre-war buildings, ILVE's Italian-engineered ranges and ovens face unique challenges — from voltage fluctuations in aging electrical infrastructure to tight kitchen installations that restrict heat dissipation. Our team provides expert ILVE appliance repair with a $99 diagnostic fee and a 180-day warranty.
Quick Facts — ILVE Appliance Repair in NYC
- Service: diagnostics-first repair for ILVE cooking appliances (ranges, ovens, rangetops, cooktops; ventilation where applicable)
- Service area: Brooklyn, Manhattan below 96th St, selected Queens ZIP codes
- Hours: Monday–Saturday, 9:00 AM–6:00 PM
- Diagnostic fee: $99 (credited toward the repair if you approve the work on the same job)
- Warranty: 180-day parts and labor warranty on completed repairs
Diagnostic Process
ILVE Appliance Repair NYC — Service Overview
What we inspect on every ILVE service visit
- Full burner ignition test — all positions, checking spark plug condition and ignition module function
- Gas pressure measurement at manifold — NYC gas pressure variations affect ILVE burner performance
- Oven thermostat calibration — test actual oven temperature against set temperature with calibrated thermometer
- Bake and broil element continuity (dual-fuel models)
- Oven door gasket condition and hinge function
- Convection fan motor operation (where applicable)
- Safety valve function on gas oven
Most common ILVE parts replaced in NYC
- Spark igniters / ceramic spark plugs (burners)
- Ignition control module
- Oven thermostat (older ILVE models)
- Bake element (dual-fuel oven)
- Oven door gasket / seal
- Oven door hinges (heavy cast-iron doors)
- Convection fan motor
Service structure
- Diagnostic fee: $99, credited to repair
- Parts sourced through European specialty importers where required
- Written estimate with accurate parts lead time before committing
- 180-day parts and labor warranty
- COI for NYC building management available
Error Code Reference
Understanding your ILVE appliance's error codes is the first step toward a fast diagnosis. ILVE range cookers and built-in ovens use a TFT display (on newer models) and indicator light sequences to communicate faults. Because ILVE appliances are imported European products serviced by a limited network of US technicians, knowing what a code means before calling saves significant time.
E0 — Overtemperature Protection (Oven)
E0 indicates the oven or hob has triggered its thermal protection circuit — the temperature inside the appliance exceeded the safe threshold. This can occur after a prolonged self-clean cycle or in a poorly ventilated installation. Turn off the appliance, allow it to cool completely (minimum 30 minutes), and attempt a restart. If E0 appears again during normal use, the thermostat or the temperature sensor is giving incorrect readings and needs replacement.
E (+ Number) on Induction Hob — Induction Burner Fault
An E code followed by a number on an ILVE induction hob indicates a burner-level fault. Common causes include incompatible or incorrectly positioned cookware (induction requires magnetic-base pots), pan sensors detecting an unsupported pan weight, or a genuine power module fault. Try repositioning the cookware on the zone first. If the E code persists with correct cookware, the induction power module for that zone needs replacement. Visit our cooktop repair page.
FLTOA — Gas Ignition Lockout
FLTOA on ILVE gas hobs and range cookers means the gas ignition system attempted to light a burner but did not detect a flame. The system locks out to prevent gas accumulation. Turn off the hob at the main control, wait 60 seconds, and attempt to relight manually using the ignition button while holding the knob at the gas position. If the lockout recurs, the igniter electrode, igniter cable, or gas safety valve needs replacement. Do not attempt repeated relights without allowing ventilation between attempts.
N–0 — Child Lock Active
N–0 is not a fault code — it indicates the Child Lock function is activated. To deactivate, turn off all cooking functions and press and hold the temperature knob for 3 seconds until the unit beeps. The display will return to normal operating mode. This code is commonly triggered accidentally when cleaning the control panel.
Flashing Display Without Code — Cooling Fan Fault
On ILVE built-in ovens, a flashing display without a specific code number can indicate the cooling fan (which protects the control electronics during high-temperature operation) has failed or stalled. The oven may refuse to start a new cycle until the fan fault is resolved. This requires a technician to access the fan assembly behind the control panel. Do not run the oven repeatedly when this symptom appears — continued use without cooling fan function risks control board heat damage. Visit our oven repair page.
ILVE gas range cookers we service in Brooklyn townhouses and Manhattan loft conversions frequently show FLTOA ignition lockouts that trace not to the igniter itself but to moisture inside the spark plug well from aggressive kitchen cleaning. A careful dry-out of the igniter area resolves the fault in a significant share of cases before any parts are needed.
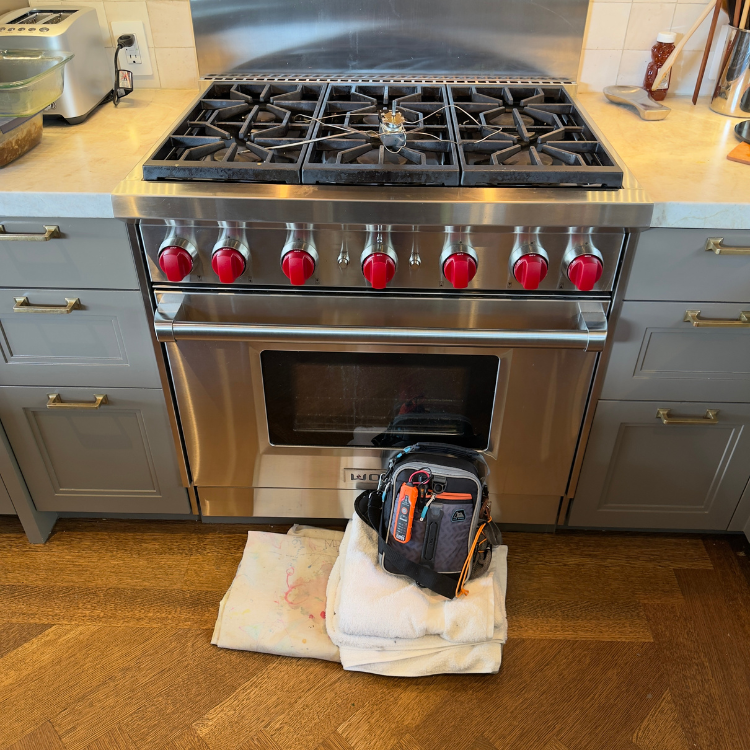
Common Problems
Common ILVE Problems We Repair in NYC
ILVE Range — Burner Won't Ignite (No Spark)
- Error code: none (symptom-only)
- Symptom: clicking sound but no spark; burner won't light
- Cause: igniter electrode fouled or cracked; igniter wiring fault; spark module failure
- Repair: igniter electrode replacement; wiring inspection; spark module replacement if module faulty
ILVE Range — Continuous Clicking After Burner Is Off
- Error code: none (symptom-only)
- Symptom: spark module clicking continuously with all burners off
- Cause: moisture in igniter caps or around burner assembly; control knob micro-switch stuck
- Repair: dry igniter area; clean burner caps; inspect and replace control switch if stuck
ILVE Oven — Not Reaching Temperature
- Error code: varies by model (TC3/TC5/eR7 series)
- Symptom: oven taking 30+ minutes to reach 350°F or failing to reach target temperature; hinge wear is accelerated in ranges used daily in NYC kitchens; door gasket compression failure contributes to heat loss in units over 5 years
- Cause: bake element failure, oven temperature sensor drift, or door seal compression failure
- Repair: element continuity test; sensor resistance measurement; door gasket and hinge inspection and replacement as required
Case Logs
Case Logs: ILVE Appliance Repair in NYC
Case 1 — ILVE Majestic Dual-Fuel Range, Park Slope Brownstone
- Problem: Front left burner won't ignite. Other burners working. Range approximately 8 years old.
- Diagnosis: Igniter electrode at front left position cracked — confirmed with visual inspection and resistance test. Spark module functional; other igniters normal.
- Fix: OEM ILVE igniter electrode replacement. Burner igniting reliably on first click.
- Cost: $245 (parts + labor)
Case 2 — ILVE Nostalgie Gas Range, West Village Manhattan
- Problem: Oven not reaching 400°F; taking 40 minutes to reach 350°F after 20 minutes. 10-year-old range.
- Diagnosis: Door hinge worn — door not sealing at upper corners, visible gap with flashlight test. Bake element tested intact. Temperature sensor within spec.
- Fix: OEM ILVE door hinge replacement (both sides). Oven reaching 350°F in 12 minutes with no door gap.
- Cost: $385 (parts + labor)
How much does ILVE range repair cost in NYC?
Diagnostic fee: $99, credited to repair. ILVE repairs typically run $280–$500 depending on the component and parts sourcing requirements. Spark plug and igniter repairs: $200–$350. Thermostat replacement: $350–$500 (European parts sourcing adds cost). Door hinge and gasket work: $300–$450. ILVE is a premium Italian brand — parts cost more than domestic brands but are well worth sourcing to preserve a $5,000–$15,000 range. All repairs carry a 180-day warranty.
How long does ILVE appliance repair take in NYC?
Diagnosis is same-day. Parts availability depends on the component — spark plugs and igniters are typically 3–5 business days. Thermostats and specialty components can take 5–10 business days through European specialty importers. We give you an accurate parts timeline at the diagnostic visit. We don't schedule the repair visit until parts are confirmed in hand, so the repair completion visit is a single clean trip.
Do you service ILVE ranges in NYC co-ops and townhouses?
Yes. ILVE ranges are most common in West Village and Brooklyn Heights townhouses, Park Slope brownstones, and high-end co-op renovations. Many of these buildings have strict contractor access requirements. We carry a Certificate of Insurance that satisfies most NYC co-op board requirements, and our technicians are licensed for NYC gas appliance work. Call (332) 333-1709 to schedule and confirm building access requirements.