ILVE Oven Repair NYC | Built In Wall Oven Service
.avif)
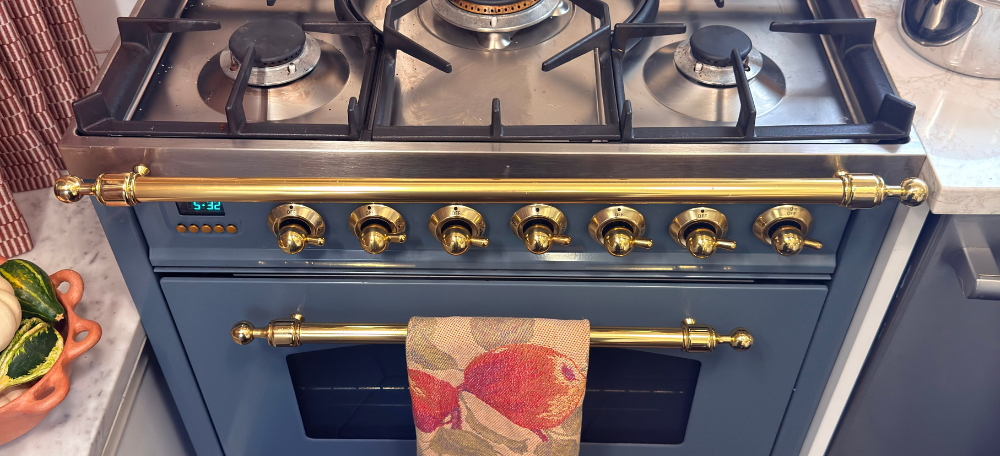
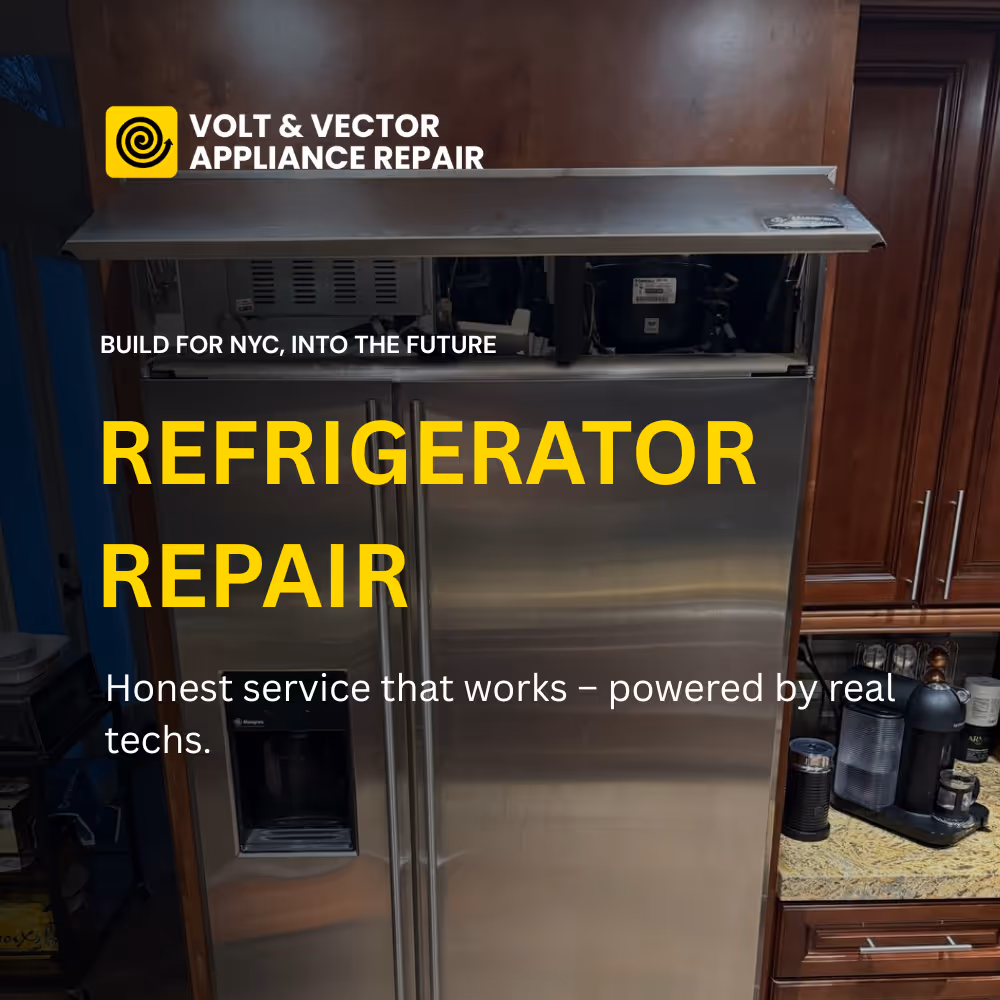
ILVE Oven Repair in NYC
Volt & Vector Appliance Repair
ILVE makes freestanding ranges (cooktop plus oven cavity) and built in wall ovens designed for cabinetry installation. This page covers ILVE built in wall ovens only. For the oven inside an ILVE range, see our ILVE range repair page.
Local techs
+1 (332) 333-1709
180-Days Warranty - $99 Diagnostic Fee - Brooklyn & Manhattan

.avif)
.avif)
About Us
This page covers ILVE built in electric ovens only. It does not cover ILVE ranges or rangetops with oven cavities.
Volt & Vector services ILVE ovens across Brooklyn, Queens, and Manhattan below 96th Street. Most oven calls start with a performance complaint, then move into electrical testing, temperature verification, and airflow checks.
Quick facts
• Diagnostic fee: $99, credited toward the repair when you approve the work.
• Warranty: 180 days parts and labor on completed repairs.
• Parts: OEM parts from ILVE and authorized distributors when available.
• Compliance: licensed and insured, COI available for co ops and condos.
• Scheduling: same day or next day appointments in core ZIPs when slots are open.
• Arrival windows: 9 to 11, 11 to 1, 1 to 3, 3 to 5.
What we service on ILVE ovens
• Single and double wall ovens
• Multifunction convection ovens with fan and ring element systems
• Self clean variants where applicable (clean cycle failures, door lock issues, overheating cutoffs)
• Control issues (touch panels, selector knobs, displays)
• Door and hinge issues (alignment, seal compression, slow close)
What a service visit typically includes
- Verify supply voltage at the breaker and at the oven junction box. Many symptoms are caused by partial power loss on one leg of a 240 volt circuit.
- Confirm the complaint with a controlled heat up and temperature measurement at multiple points.
- Inspect and test heating components, temperature sensor, safety cutoffs, door switch and lock assemblies (if equipped), and cooling airflow.
- Provide a clear repair plan: required parts, labor scope, and any access requirements for a second visit if parts are needed.
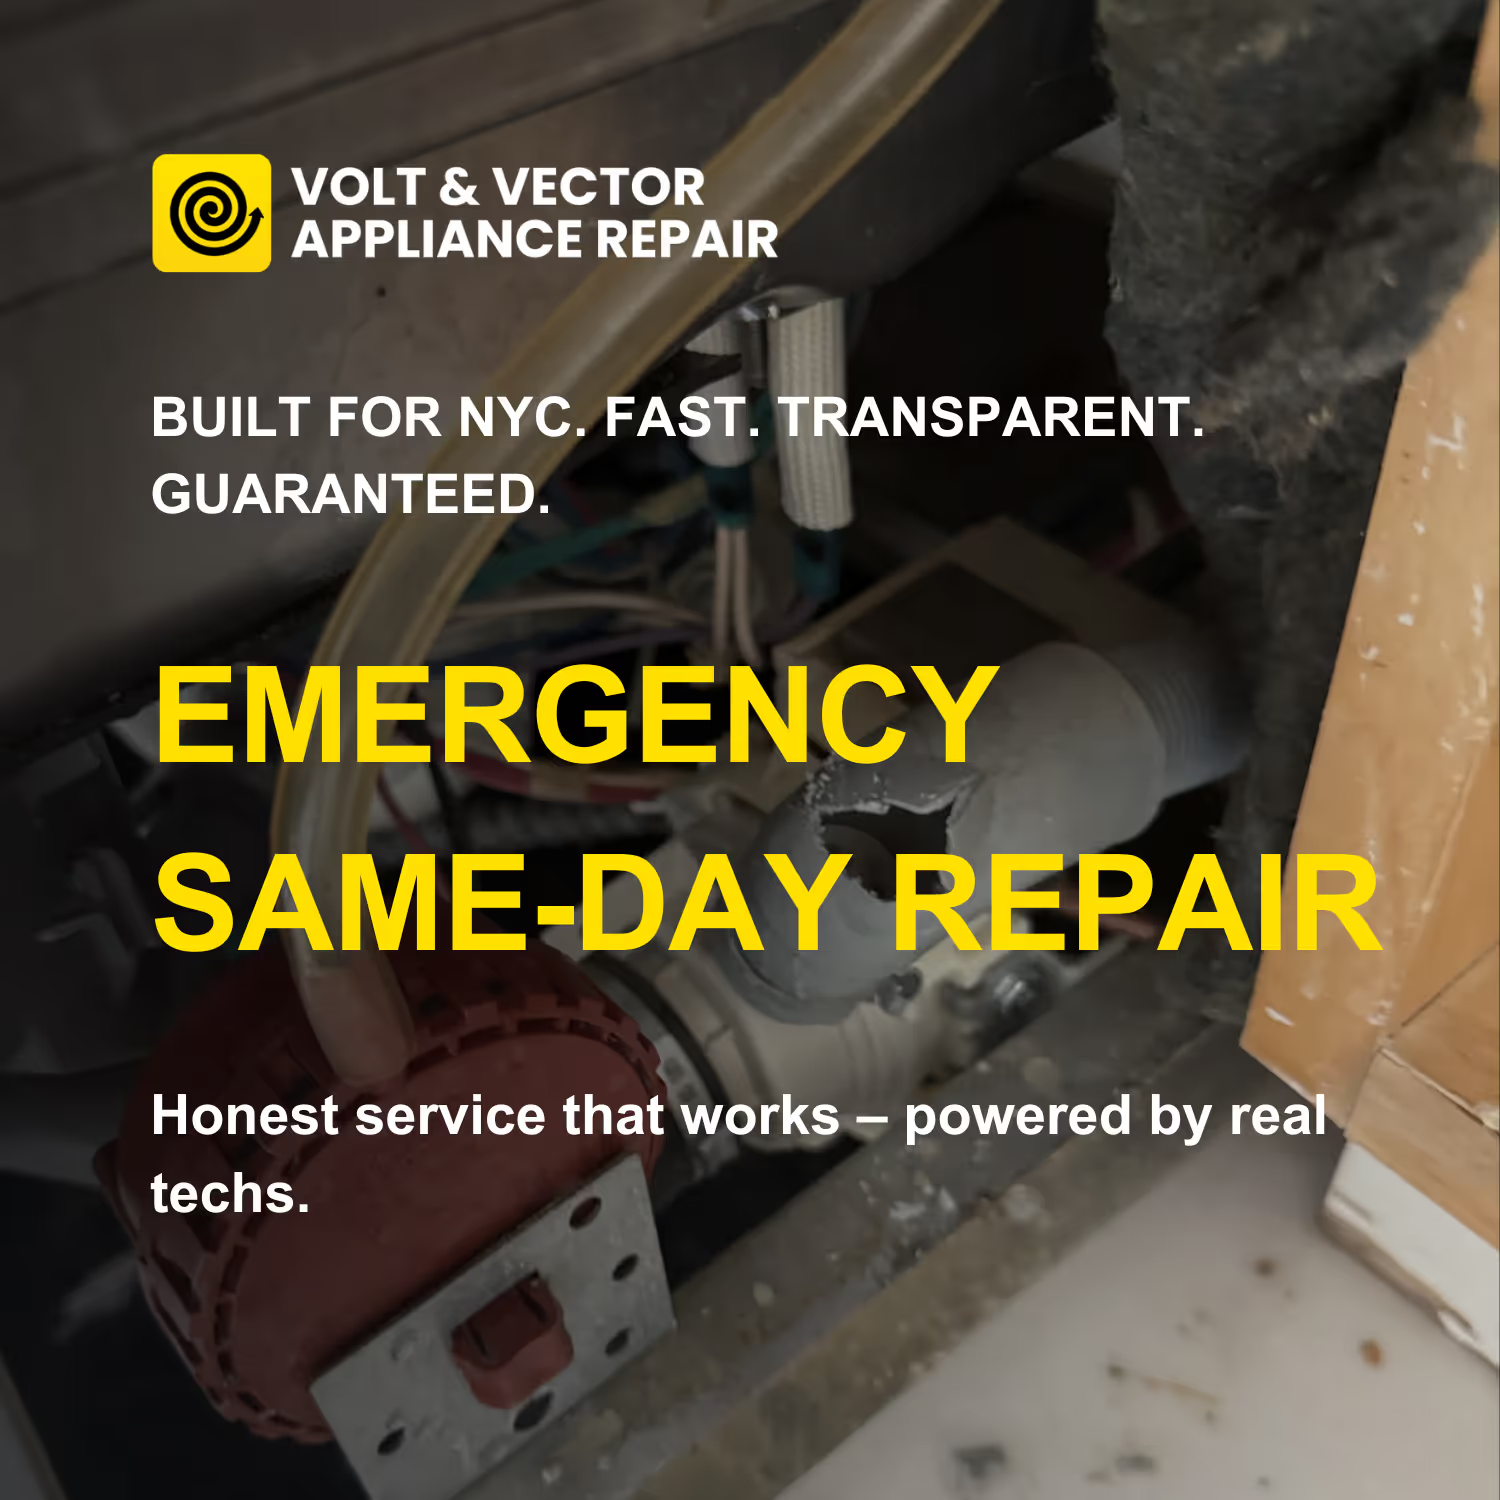
If your ILVE oven is tripping the breaker, showing no heat, overheating, baking unevenly, or displaying intermittent control issues, the fastest path is a structured on site diagnostic with live measurements. The goal is to isolate the failed circuit, not to guess based on symptoms alone. We document readings and findings for your records and to support any future service decisions.
1. Schedule your visit
2. On-site diagnostic
3. Approve & repair
4. Done & covered
COI (Certificate of Insurance)
Available on request - usually not required in Brooklyn, but often asked for in Manhattan buildings and co-ops. Please remember that certain issues can come from incorrect use or installation, not from parts failure - our technicians will always point that out and show how to prevent it in the future.
Warranty & Compliance
Every repair is covered by a 180-day warranty on both parts and labor. If the appliance is older, keep in mind that some surrounding components can wear out over time — sometimes one repair leads to another part showing its age. We always explain options clearly before doing extra work.
Safety & Courtesy Protocol
We treat every visit like we’re guests in your home. Technicians wear shoe covers or remove footwear when entering, and we always clean up after the job. If you notice a little dust or debris left behind - our apologies - each tech handles 3-5 appointments per day and works to stay on schedule. If your window was 11-1, the technician usually arrives closer to 11; if running late, we’ll text you right away. Our goal is simple: work clean, stay safe, and respect your space and time.
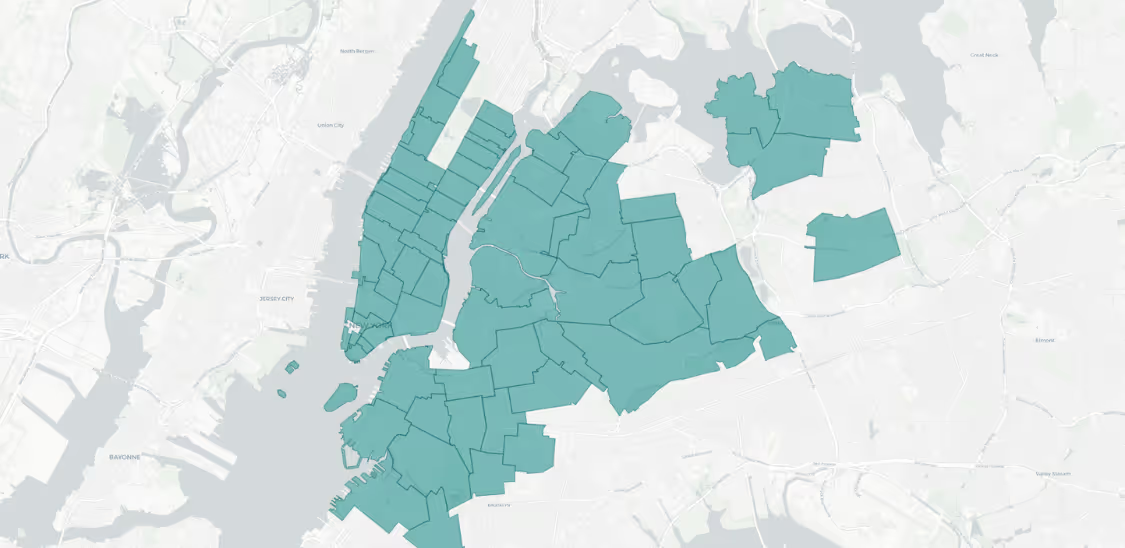
Coverage
We cover Brooklyn—Downtown, Brooklyn Heights, Park Slope, Williamsburg, Greenpoint, Bed-Stuy, Carroll Gardens, Prospect Heights, and Flatbush—and Manhattan (below 96th Street)-FiDi, Battery Park, Tribeca, SoHo, Chelsea, Midtown, UES, UWS, Gramercy, and the Village. You’ll receive a text alert ~30 minutes before arrival.
Why Volt & Vector
We’ve spent years working inside large NYC repair companies - seeing how real technicians get buried under rushed schedules, fake “same-day” promises, and endless call-center noise. Volt & Vector grew out of that frustration. We wanted a place where diagnostics still matter, where techs can take time to do the job right and talk to people directly. We’re not calling ourselves perfect - far from it - but we’re building the kind of service we always wanted to work for: respectful, transparent, and run by people who actually fix things.
Pricing & Diagnostic Policy
Our diagnostic visit is always billed at the first appointment - that’s the starting point for every repair. After the visit, the technician sends full details to our service desk. Sometimes the tech can give a price range on-site, but we’re moving away from instant quotes - parts pricing changes like crypto these days, and we’d rather stay accurate than promise the wrong number.
Simple issues - like a clogged drain, loose wire, or minor reset - can often be fixed on the spot starting from $99. If a full repair with parts is needed, total cost varies by brand and model - just like in any NYC company, it can start around $320 and go up depending on parts and labor. We believe in clarity over surprises. You’ll always see the diagnostic results and estimate before any repair begins.
Need help from our experts?
+1 (332) 333-1709
9:00 AM - 6:00 PM
Our service manager handles all calls personally. For short questions, text works best.
Google Business Profile
See live reviews, photos, and recent jobs. Booked with us? Please leave a review, thank you!
180-Days Warranty
Every completed repair includes a 180-day parts & labor warranty. OEM parts only. Warranty service is prioritized.
Local Service
Built by real NYC technicians - not marketers.
Volt & Vector is where clean design meets certified service.
ILVE Oven Repair in NYC
Know Your ILVE Built In Oven (How the Platform Works)
Most ILVE wall ovens are straightforward electrically, but they are sensitive to airflow, door sealing, and accurate sensing. Understanding the platform helps you separate a simple component failure from an installation or power problem.
Core systems inside an ILVE oven
• Power supply: a dedicated 240 volt circuit (typical in the US) feeding the oven junction box. A loose splice or a weak breaker can create intermittent heat and control resets.
• Heating: bake element, broil element, and in convection modes a fan plus a ring element. Each heater is a high load component and failures show up as slow preheat, uneven cooking, or no heat in a specific mode.
• Temperature sensing: a sensor (often an RTD style probe) reports cavity temperature to the control. If the reading drifts, the oven can underheat, overheat, or cycle incorrectly.
• Controls: either a control board with relays or a selector plus control module. Relays can stick, burn contacts, or fail under heat stress.
• Cooling airflow: a cooling fan and vent path keep the control area within spec. Restricted vents or failed cooling fans can cause shutdowns, error conditions, melted harness connectors, and shortened board life.
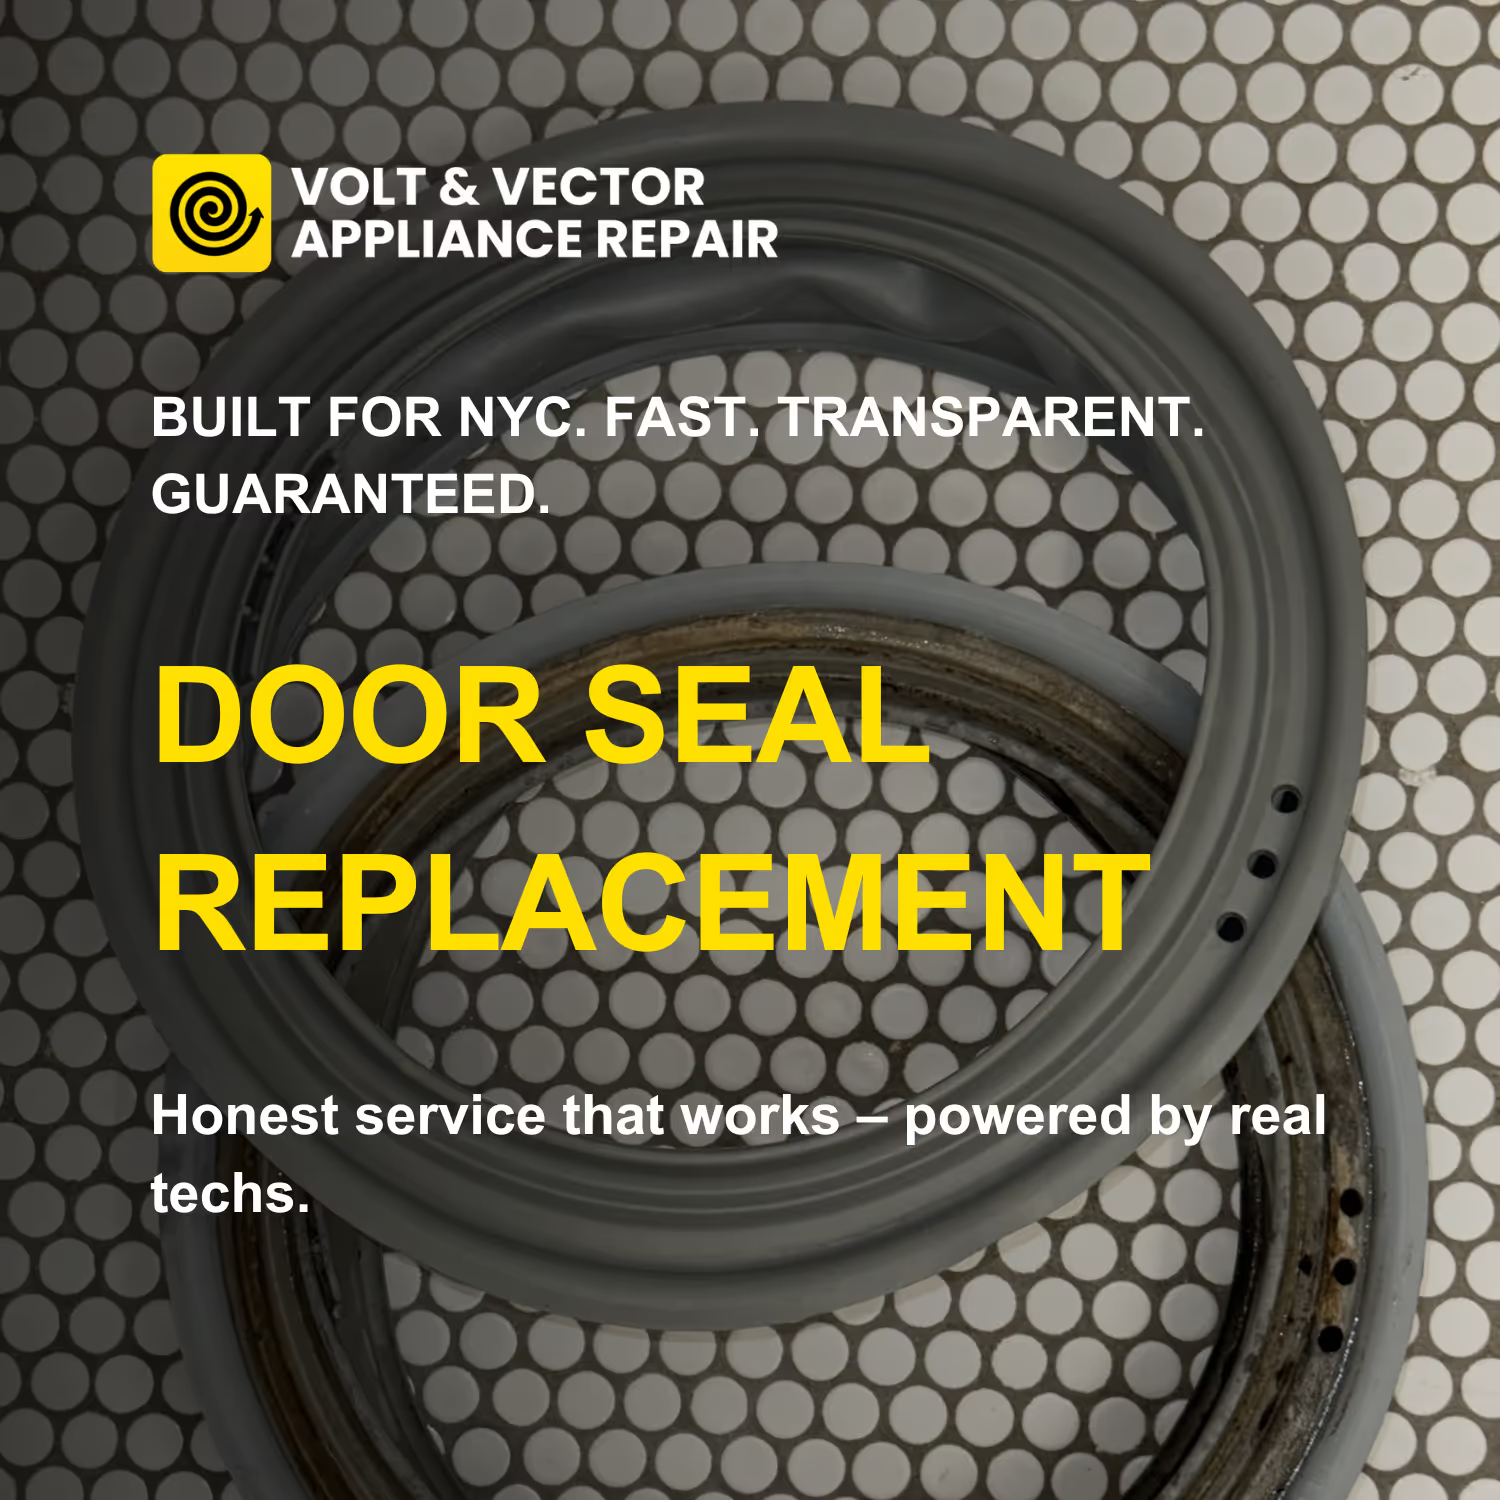
• Door sealing: gasket compression and hinge geometry control heat retention. Poor sealing causes long preheat times, hot spots, and excessive cabinet temperatures.
• Safety devices: thermal cutoffs, door switches, and on self clean models a door lock motor and latch. These protect against runaway heat and unsafe operation.
Why these details matter in NYC kitchens
Built in ovens are commonly installed in tight cabinetry with limited airflow and long wire runs. Small issues, like a blocked toe kick vent, a kinked conduit, or a weak junction box splice, can create recurring symptoms that look like a failed control board.
When we diagnose ILVE ovens, we test the oven as a system. We validate power quality, load performance, sensor accuracy, and airflow. This reduces repeat visits and avoids replacing parts that are not the root cause for this specific oven configuration.
Safety First and Quick Self Check (No Disassembly)
If you suspect a gas smell, stop and call your gas utility. This page covers electric ovens, but some kitchens combine multiple fuel appliances.
Before any appointment, you can do a few safe checks that help narrow the problem. Do not remove panels or pull the oven from the cabinet.
Safe quick checks
• Confirm the clock and display behavior. A blank display can indicate loss of power, a tripped breaker, or a failed control supply.
• Check the breaker. For a 240 volt oven, a half tripped breaker can leave one leg energized. The oven may light up but not heat properly.
• Test multiple modes. Try bake, convection, and broil for two minutes each. Note which modes heat and which do not.
• Listen for the cooling fan. After preheat begins, many ovens run a cooling fan. No fan can lead to shutdowns and error conditions.
• Check the door seal. Look for gaps, torn gasket sections, or a door that sits proud on one side.
Common symptoms and likely causes
• No heat in any mode: loss of one leg at breaker or junction, open thermal cutoff, failed control relay supply.
• Broil works but bake does not: failed bake element, burned element connector, open circuit in bake wiring.
• Bake works but convection is weak: failed convection fan motor, failed ring element, airflow restriction.
• Oven overheats or temperature swings: drifted temperature sensor, control board regulation issue, door seal leakage, cooling fan failure.
• Trips breaker during preheat: shorted element, moisture intrusion, damaged harness, failing breaker under load.
• Display resets or goes blank when heating starts: voltage drop, loose junction connection, failing control power supply, overheating in the control compartment.
• Self clean will not start or stops: door lock fault, latch switch fault, high temperature cutoff opened, cooling airflow problem.
These symptoms can overlap. On ILVE ovens, accurate diagnosis depends on measuring voltage under load and verifying element resistance and sensor readings. Symptom guessing results in replacement without fixing the full cause.
What We Test (Volt and Vector Diagnostic Flow for ILVE Ovens)
Our diagnostics are measurement driven. We isolate the fault to a component, a wiring segment, a control function, or an installation constraint.
Step 1: Power and load verification
• Confirm correct breaker type and wiring size for the oven load.
• Measure line to line and line to neutral voltage at the junction box.
• Check voltage stability under heat load. A weak connection can read normal with no load and collapse when the elements energize.
Step 2: Heater circuit testing
• Measure resistance of bake, broil, and ring elements.
• Inspect element terminals for heat damage and loose spade connections.
• If an element is shorted to ground, we identify the exact heater or harness segment causing the trip.
Step 3: Temperature control validation
• Check oven sensor resistance at room temperature and compare to expected values.
• Run a controlled heat up and log cavity temperature with a calibrated probe to verify regulation and overshoot behavior.
• If calibration is available, confirm whether the issue is calibration drift or control instability.
Step 4: Airflow and thermal protection
• Verify cooling fan operation, airflow path, and cabinet venting.
• Inspect for signs of control compartment overheating: discolored insulation, brittle connectors, heat marks.
• Test thermal cutoffs and door switches, including self clean door lock circuits where applicable.
We check ventilation clearances. If cabinetry traps heat, we note corrections such as vent openings or insulation shields. Photos are taken when needed to support quotes and accurate parts identification.
Step 5: Repair plan and quote
After testing, we provide a written scope: what failed, what parts are required, what access is needed, and whether a return visit is required for part installation. The diagnostic fee is $99 and is credited toward the repair when you approve the work.
The outcome is a fix that matches the failure mode: component replacement when the component is proven bad, wiring repair when resistance or heat damage is present, and airflow or installation corrections when overheating is the root driver.
Prep for Your ILVE Oven Service Visit (Access, Timing, and What to Expect)
A built in oven repair is often limited by access. Proper preparation reduces time on site and lowers the chance of needing a second visit just for access.
Before we arrive
• Send the model and serial information. A photo of the rating plate is ideal.
• Describe the symptom and when it occurs: during preheat, after 20 minutes, only in convection, only during self clean, intermittent resets.
• Confirm whether the oven is hardwired or has a plug.
• Ensure we can reach the breaker panel. Many tests require cycling power and verifying both legs.
• Clear the cabinet area around the oven. Remove cookware and any stored items near the vent path.
• If the oven is installed in a tight wall cabinet, confirm whether there is an accessible trim kit and whether the unit can be pulled forward if needed.
Building logistics
• If your building requires COI, send the management form and the insured name before scheduling.
• Confirm parking or loading rules, elevator reservations, and any service entrance instructions.
• Secure pets during testing. The oven door may be open during live temperature measurements.
After repair, we verify bake, broil, and cooling fan operation under load.
Scheduling and arrival windows
We use fixed arrival windows: 9 to 11, 11 to 1, 1 to 3, 3 to 5. Same day or next day slots are available in our core service ZIPs.
Parts and follow up
Many ILVE oven repairs require OEM parts that are not stocked locally. When parts are needed, we order after diagnosis to match the variant and revision. Installation is scheduled after parts arrive. Multi visit repairs are common for control boards, latch assemblies, and specialty fans.
Warranty and documentation
Completed repairs include a 180 day parts and labor warranty. For co ops and condos, we can provide a certificate of insurance on request.
To book ILVE oven service, share the model, the symptom, and your address ZIP. We will confirm availability and the arrival window.
Need help from our experts?
+1 (332) 333-1709
9:00 AM - 6:00 PM
Our service manager handles all calls personally. For short questions, text works best.
Google Business Profile
See live reviews, photos, and recent jobs. Booked with us? Please leave a review, thank you!
180-Days Warranty
Every completed repair includes a 180-day parts & labor warranty. OEM parts only. Warranty service is prioritized.
Local Service
Built by real NYC technicians - not marketers.
Volt & Vector is where clean design meets certified service.
Services
.avif)
.avif)
.avif)
See the full catalog of our services—organized by brand and by appliance—right here.
Need help from our experts?
+1 (332) 333-1709
9:00 AM - 6:00 PM
Our service manager handles all calls personally. For short questions, text works best.
Google Business Profile
See live reviews, photos, and recent jobs. Booked with us? Please leave a review, thank you!
180-Days Warranty
Every completed repair includes a 180-day parts & labor warranty. OEM parts only. Warranty service is prioritized.
Local Service
Built by real NYC technicians - not marketers.
Volt & Vector is where clean design meets certified service.