

An ILVE oven that will not heat needs a platform and control-mode check before parts are named. ILVE’s own Professional Plus troubleshooting guidance points to basic conditions such as temperature not being set, the oven not being in manual mode, heating element failure on electric ovens, igniter issues on gas models, and safety thermostat behavior after overheating. That means a no-heat complaint can be a control state, gas ignition issue, electric element issue, power issue, or service-level safety condition.
Start with what still works. Does the display or clock work? Does the oven light work? Does broil heat while bake does not? Does convection fan run? On a gas model, does an igniter glow or spark but no flame appears? On an electric model, does any element heat? These answers tell a technician more than the phrase "oven not heating."
First checks at the controls
- Confirm the oven is not in a timer-delayed, automatic, or non-manual state that prevents heating.
- Set a real cooking temperature, not just a function selector.
- Check whether the clock must be set after a power outage for the oven to operate on that model.
- Confirm the door closes fully and the racks or cookware are not holding it open.
- Try bake and broil only as normal user functions, then record which one heats.
- For gas models, stop immediately if you smell gas or ignition is delayed.
Do not remove panels, test live voltage, adjust gas components, or hold a gas oven in repeated ignition attempts. If gas does not ignite normally, cancel the cycle and keep the oven off.
Gas ILVE versus electric ILVE
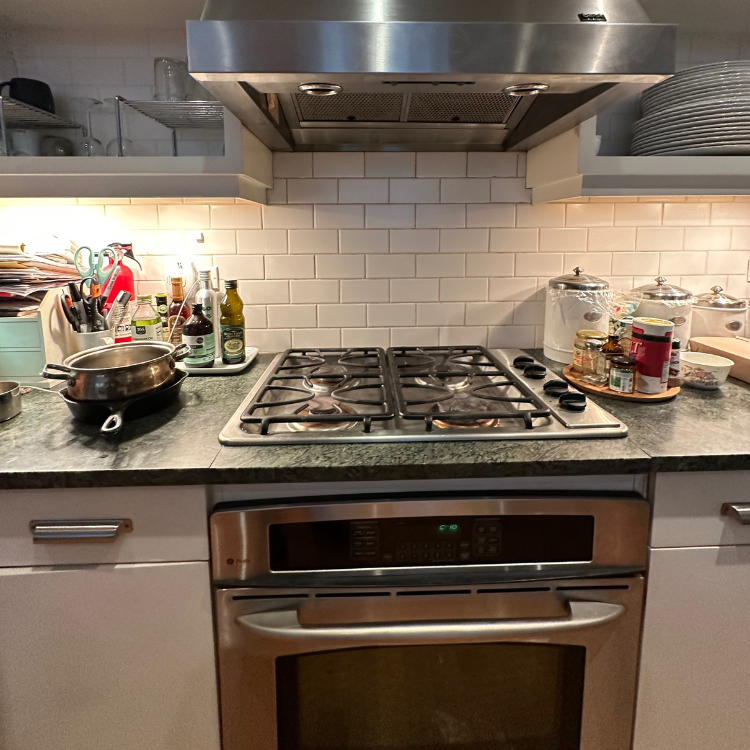
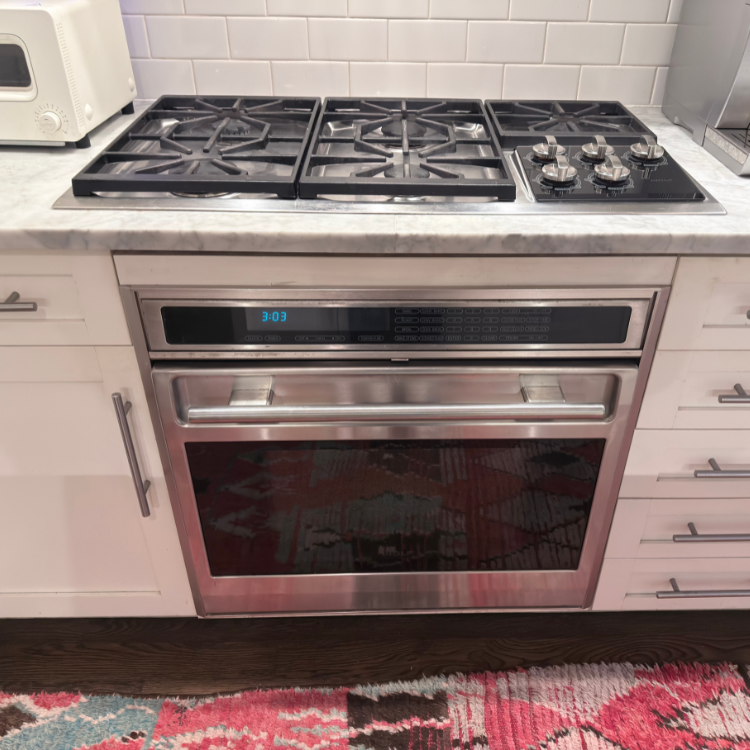
Gas and electric ILVE ovens do not fail the same way. A gas oven may have a glow igniter, spark ignition, safety valve, gas supply, or flame-sensing branch depending on model. An electric oven may have bake element, broil element, convection element, relay, sensor, safety thermostat, or power-supply branches. The homeowner does not need to test those parts, but the service request must identify gas or electric and which function failed.
If the broiler works but bake does not, the oven has power and at least one heat path. If nothing heats but the display works, the branch is different. If the stovetop works on a range but the oven does not, that does not prove oven gas or electric systems are healthy because surface burners and oven heating use different paths.
What no heat does not prove
No heat does not prove a failed bake element, igniter, thermostat, control board, or safety thermostat. It may be a timer/manual setting, temperature not set, power after outage, door condition, gas supply issue, function selector issue, or a model-specific protection state. A visible glow from a gas igniter also does not prove the igniter is strong enough or that gas ignition is safe; if flame does not establish normally, stop.
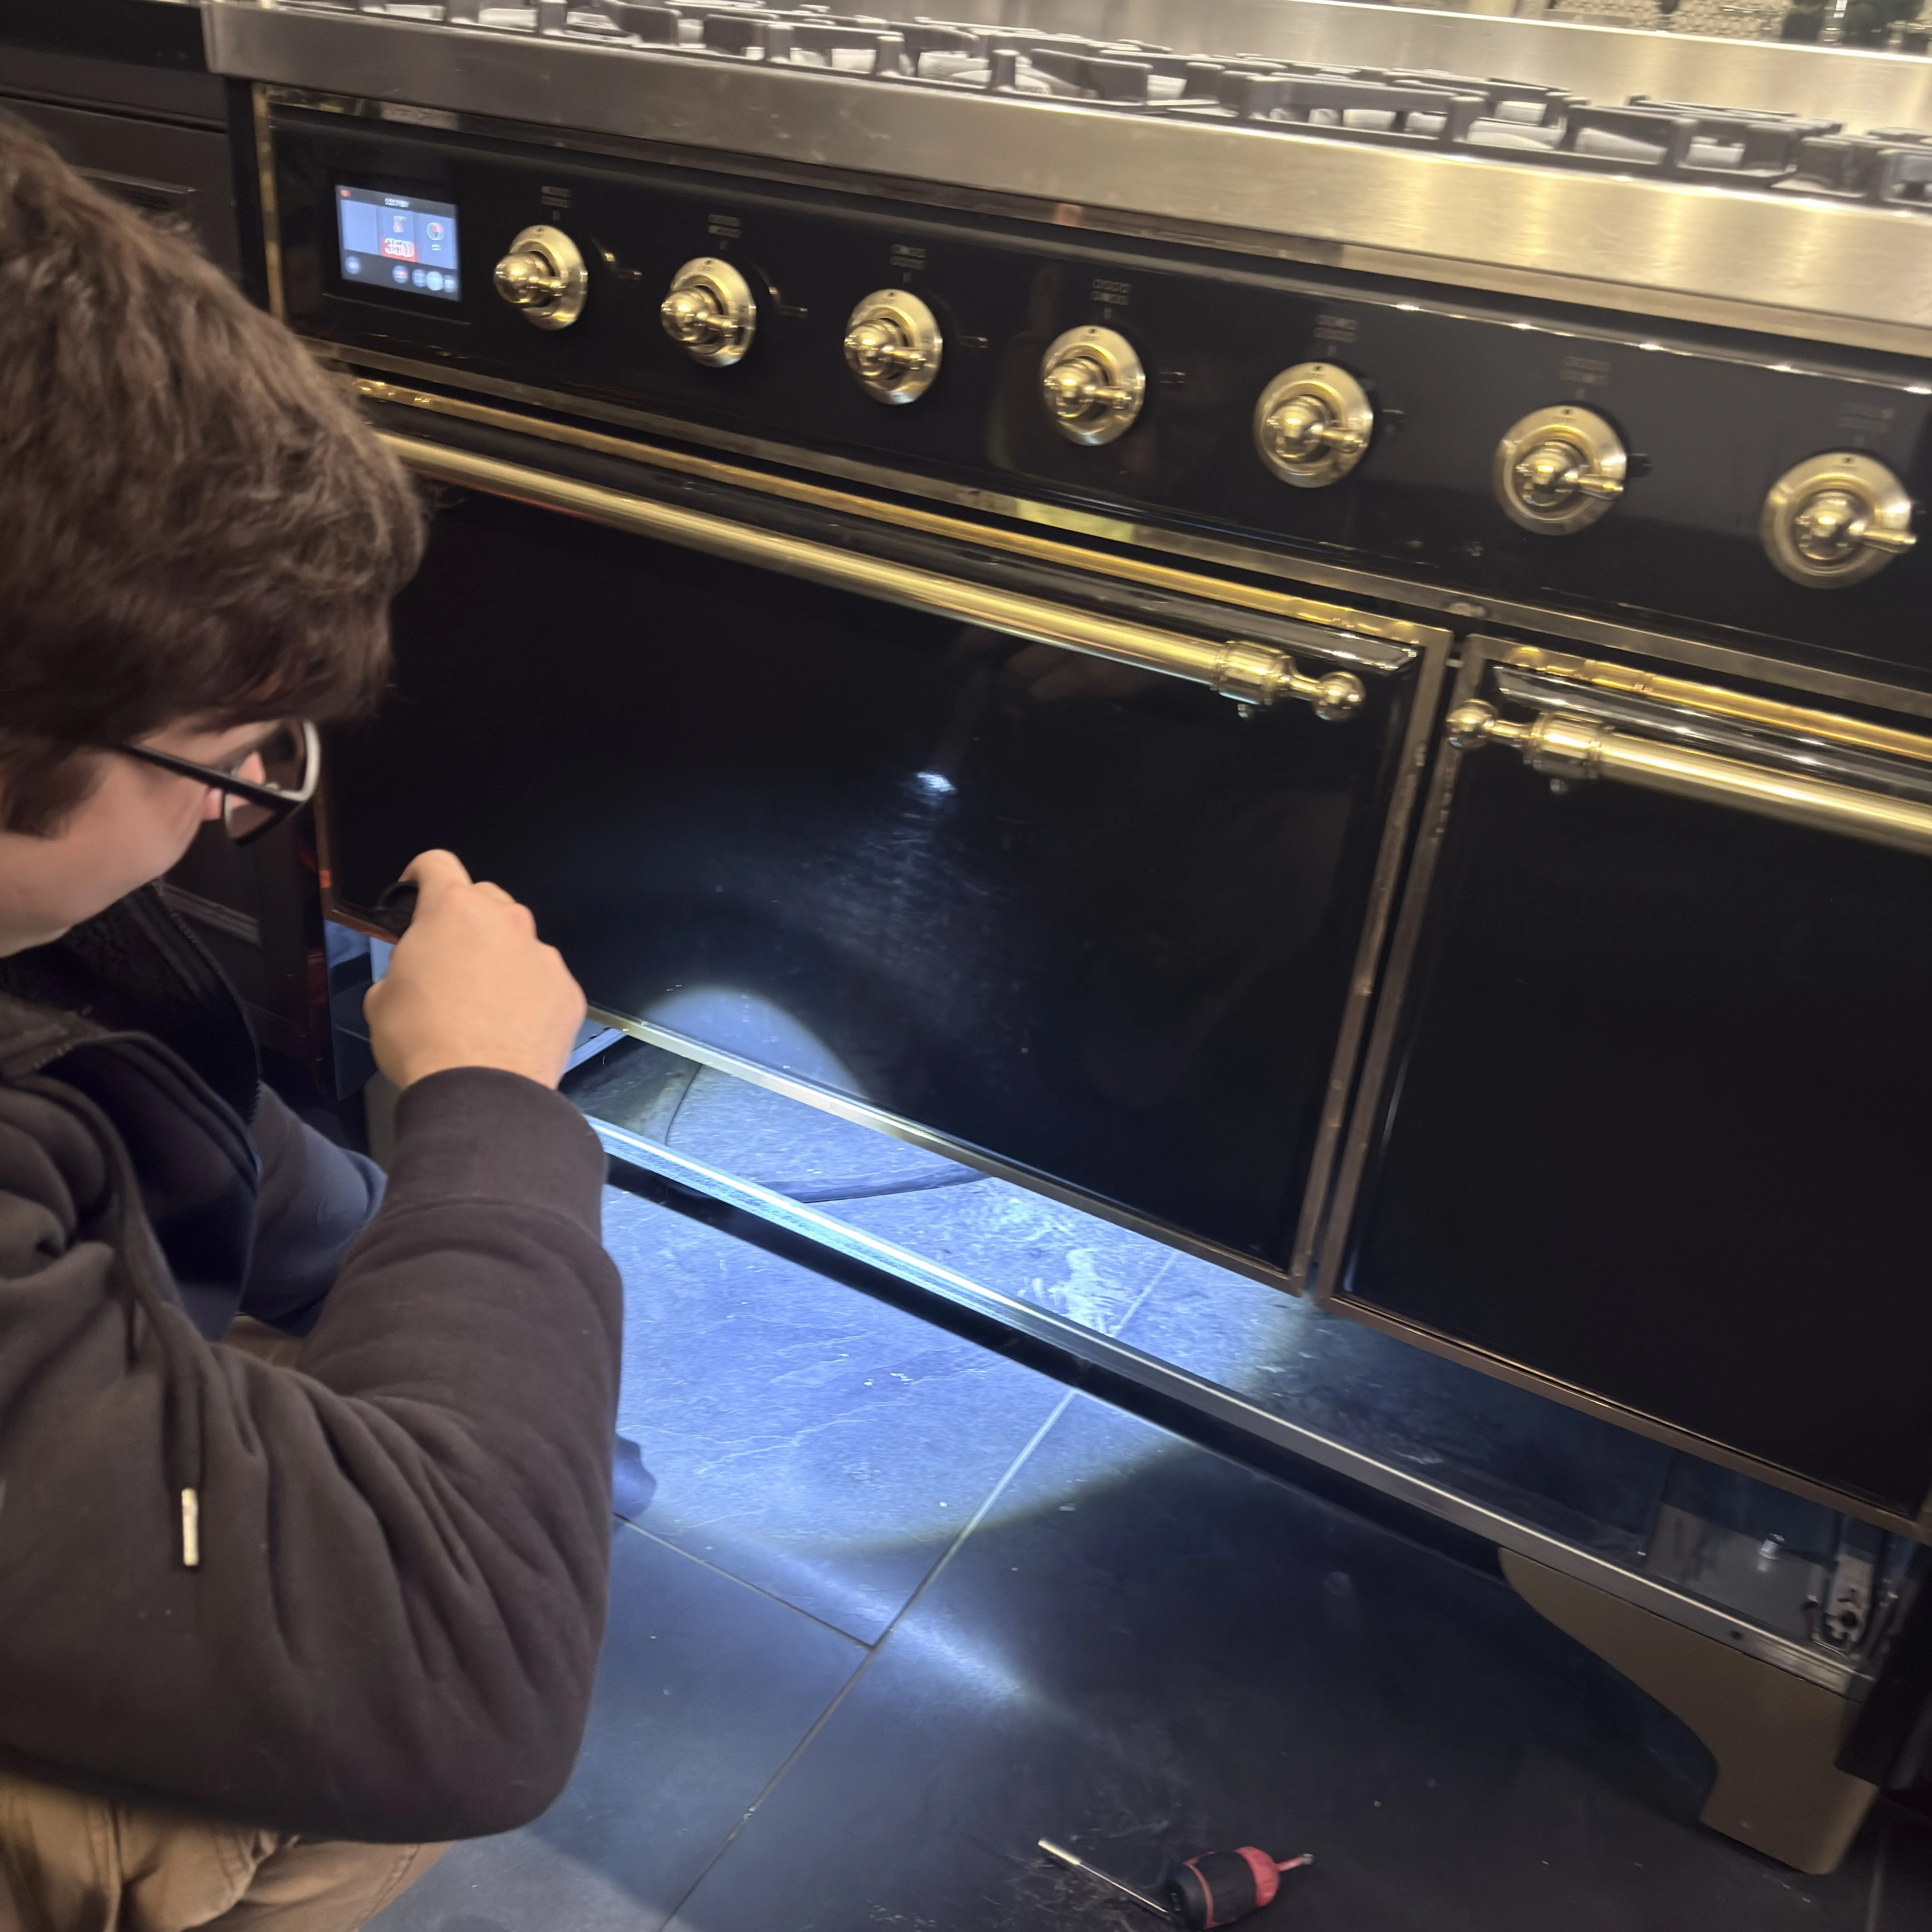
Another false assumption is that all ILVE ovens use the same control logic. Different series and fuel types have different selectors, timers, and heating layouts. The model tag and control photo are part of the diagnosis.
How to narrow it safely
Use normal controls only. Choose one function, set a temperature, and observe from outside the oven. If bake is cold but broil heats, record that. If the fan runs but there is no heat, record that. If the oven says it is preheating but temperature never rises, note how long you waited and whether any heat source was visible. If the oven tripped a breaker or showed a smell, do not repeat.
For gas models, record whether there is clicking, glow, flame, delayed ignition, or gas odor. Do not leave the oven in bake waiting for gas. For electric models, record whether bake, broil, or convection heat works. Do not touch elements to test heat; use safe observation and a thermometer only after the oven is operating normally.
Safety thermostat and overheating clue
ILVE troubleshooting material mentions safety thermostat behavior when overheating is detected. If the oven failed after an overheating event, self-clean style high heat, heavy spill, ventilation issue, or repeated preheat failure, include that timeline. A safety-protection event is different from a simple setting error. If the oven is dead after a high-heat incident, service should know that before opening the appliance.
NYC installation context
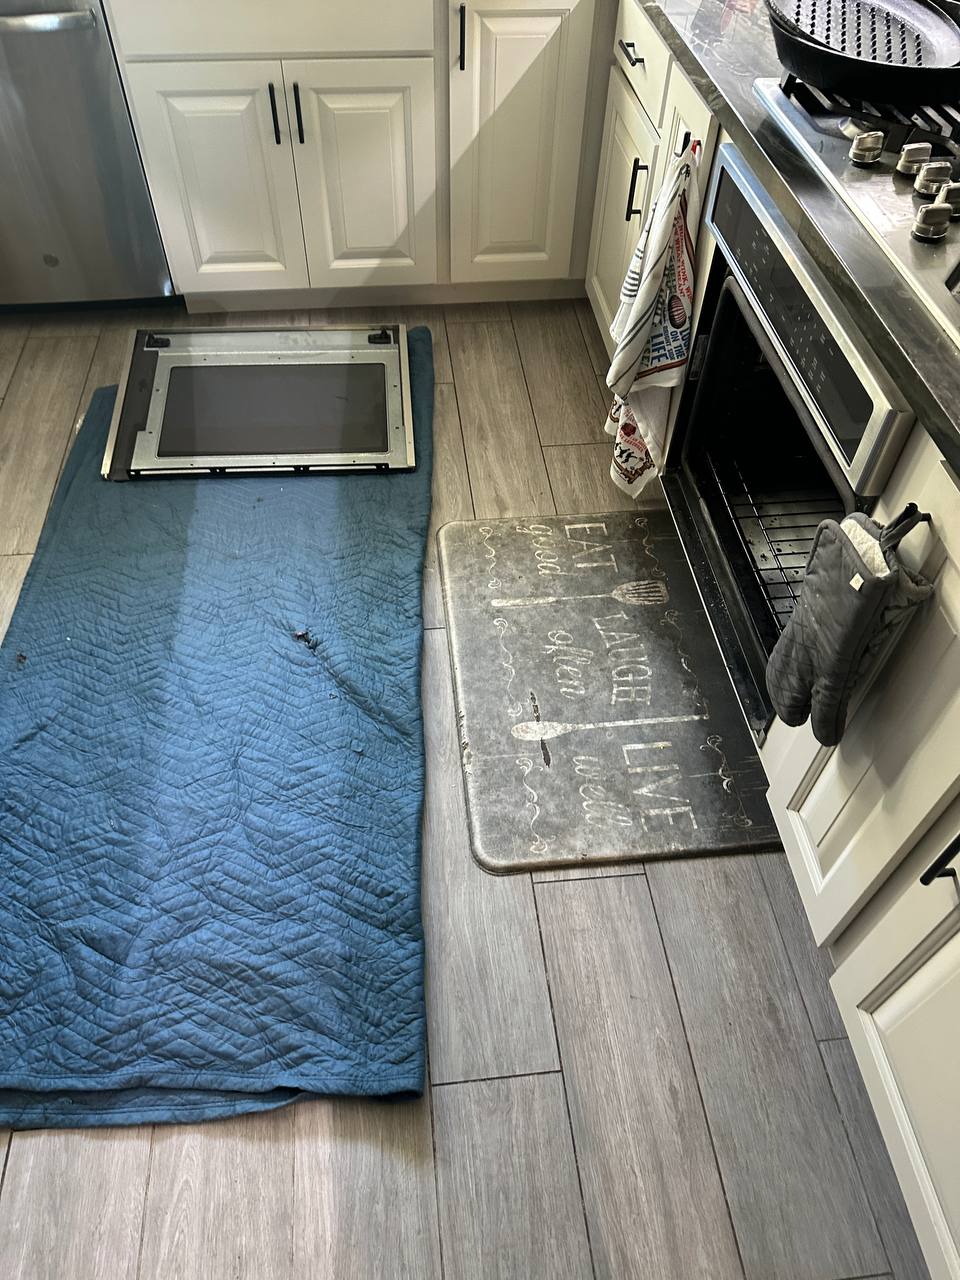
Many ILVE ranges are installed in tight kitchen cabinetry where moving the appliance can affect gas flex lines, anti-tip brackets, electrical connections, and flooring. Do not pull a range out to inspect behind it. Photograph the front controls, model tag, and installation. If a gas range requires service access, building rules may require COI or coordinated access.
When to stop
- Stop for gas smell, delayed ignition, boom ignition, smoke, or burning electrical odor.
- Stop if the oven trips the breaker or loses power repeatedly.
- Stop if a selector, knob, or control feels loose, stuck, or overheated.
- Stop if bake or broil glows abnormally or sparks.
- Stop if diagnosis requires moving the range or opening panels.
Evidence to save
Save the model tag, fuel type, control-panel photo, function selected, temperature set, whether bake/broil/convection heat, whether igniter glows or sparks, any error message, and what happened right before failure. If the clock reset after a power outage, include that. If the oven failed after cleaning, spill, or overheating, include that too.
A strong service note says: ILVE gas oven display works, stovetop works, bake igniter glows but no flame after one attempt, no gas odor after canceling; or ILVE electric oven broils but bake stays cold. Those statements prevent random part guessing.
Useful next branches
If the oven is Bosch, compare Bosch oven not heating. If the platform is GE, use GE oven not heating up. If the issue is a Viking gas oven igniter branch, use Viking oven not heating up igniter.
Common questions
Can a timer setting stop an ILVE oven from heating?
Yes. Some ILVE controls require the correct manual or timer state before heating starts.
Does a glowing gas igniter mean it is good?
No. A glow is only evidence that it is energized. If flame does not establish normally, stop and document it.
Can I test elements myself?
No live electrical or element testing belongs in homeowner checks. Record bake vs broil behavior instead.
What matters most for service?
Model, fuel type, control state, which functions heat, ignition behavior, power event, and any smell or trip.
Bake, broil, fan, and selector clues
ILVE ranges often have multiple selectors and cooking modes. A missed selector position can look like no heat. Before calling it a failure, record the function knob, thermostat setting, timer/manual position, and whether the fan runs. If fan runs but no heat appears, that is different from a dead control panel. If broil works but bake does not, that is different from no oven heat in any mode.
Use one function at a time. Do not change selector, temperature, and timer simultaneously while trying to prove a symptom. A clear test says: Bake at a set temperature produced no heat; Broil produced heat; or no function produced heat while display worked. That is the useful branch.
Gas ignition observations
On a gas ILVE oven, ignition evidence should be collected from outside the appliance. Does it click? Does an igniter glow? Does flame appear normally? Does the oven smell of gas? If ignition does not happen promptly, cancel the cycle. A glowing igniter can still be weak or the gas valve may not open, but deciding that requires service testing.
If there is a delayed whoosh or boom when flame finally appears, keep the oven off. Delayed ignition is not a symptom to reproduce. Save the timing and stop.
Electric heat observations
On an electric ILVE oven, bake, broil, and convection elements can fail separately. A bake-only problem may still allow broil heat. A convection-only issue may leave conventional bake working. Record which heating mode still works before service. Do not touch elements or remove panels; visible cracks, blistering, or arcing are enough to stop and report.
Power and clock after outage
Some ovens require clock or manual mode reset after power interruption. If the display reset, timer is flashing, or the oven was off at the breaker, include that timeline. A control-state problem after an outage is different from a failed element. If a breaker trips again, stop and do not keep resetting.
Installation evidence
ILVE appliances are often installed as premium ranges in tight cabinetry. Anti-tip brackets, gas flex, electrical supply, and floor protection make movement risky. A service request should include photos of the range front, controls, side clearance, and model tag. Access planning matters as much as the diagnosis.
Manual mode is not a minor detail
On ovens with mechanical or electronic timer functions, manual mode is a real heating permission, not a cosmetic setting. If the oven appears powered but refuses to heat, the timer/manual state deserves a photo. A service call that starts with a timer-state issue is very different from one that starts with a failed heating circuit.
Partial heat versus no heat
If the oven warms slightly but never reaches temperature, record that separately from total no heat. Weak heat may involve sensor calibration, one element missing, gas flame weakness, airflow obstruction, or control cycling. Total no heat points toward permissions, supply, ignition, element, or safety branch. Use an oven thermometer only if the oven is heating safely.
After cleaning or spill
If the failure began after heavy cleaning, a spill, or moisture around controls, include that timeline. Liquids near selectors, ignition, or electrical components can create symptoms that look like part failure. Do not keep heating to dry it out if there is odor, smoke, or control irregularity.
What not to write
Do not write "ILVE element bad" unless a technician has confirmed it. Write "Bake selected at 350, fan runs, no heat; Broil heats" or "gas bake igniter glows, no flame, canceled after one attempt." Those are technician-readable facts.
One practical handoff summary
Before service, write a compact handoff: model, fuel type, manual/timer state, Bake result, Broil result, fan result, ignition behavior, and whether there was any odor or trip. That summary is better than a long story because it names the branch. If the oven is gas and ignition failed, include whether the igniter glowed, clicked, or did nothing. If it is electric, include which element mode produced heat.
.jpeg)
