


Dryer Repair


Dryer Repair in NYC, Brooklyn, Astoria, and Long Island City
Dryer problems split along two axes: heat and airflow. A dryer that tumbles cold needs a different diagnosis than one that heats but takes three cycles, and both differ from a drum that will not turn at all. Volt & Vector approaches dryer repair in NYC by identifying the platform first, because gas, electric vented, ventless condenser, and heat pump dryers fail in genuinely different ways, and NYC apartments run an unusually high share of the ventless types.
Brooklyn brownstones often carry long or improvised vent runs, Astoria and Long Island City buildings frequently prohibit venting entirely, and stacked closet installations are everywhere. The platform, the install, and the symptom together pick the diagnostic branch. Send the brand, visible model information, gas or electric, vented or ventless, and photos of the installation, and we plan from there. The diagnostic is credited toward the repair, with an estimate before repair work begins.
DIY vs Pro
Safe Checks Before the Visit
Owner checks stay outside the cabinet and at the user filter stages.
Safe to check
- Clean the lint screen and, on ventless platforms, every filter stage the manual shows
- Note fuel type, platform type, and whether the drum tumbles
- Time a standard load and record the trend
- Photograph codes, the vent route, and the installation
- Check for a half-tripped double breaker on electric models
Leave to the technician
- Anything behind the cabinet panels, including the belt and heat source
- Gas connections and gas valve area, always
- Disconnecting or rerouting vent ducting behind the unit
- Bypassing thermal fuses or protection devices
- Moving stacked pairs to reach the dryer
Diagnostic Process
How Dryer Diagnosis Works
The visit starts by separating heat generation from heat delivery. A heat source that never fires points at the gas valve circuit, igniter behavior, or heating element branch depending on fuel type. Heat that fires but cannot dry points at airflow: internal lint paths, the blower, the transition duct, or the building vent run. Thermal protection adds a third layer, because a dryer that overheats and shuts down can be protecting itself from an airflow restriction rather than failing electrically. The gas-versus-electric logic is laid out in dryer not heating: gas versus electric.
Ventless condenser and heat pump dryers replace the vent problem with heat exchanger, condensate, and filter-stack behavior, and they dry differently by design, which matters before declaring a fault. That platform is covered in ventless combo washer-dryer not drying.
The general visit sequence is described in how appliance repair works, with the 180-day parts and labor warranty on completed repairs. When the diagnosis shows the airflow path itself is the problem rather than a failed part, the dedicated internal deep cleaning and vent reset service is the right branch.
New York City — What's Different
NYC Building Realities for Dryer Work
NYC dryer repair is platform-diverse in a way the suburbs are not. Many Brooklyn and Astoria buildings prohibit new vent penetrations, which is why ventless condenser and heat pump dryers dominate newer installations, while older vented units often run long, lint-heavy duct paths. Long Island City and Manhattan towers add stacked closets, gas-versus-electric building rules, and management approval for anything touching a gas line.
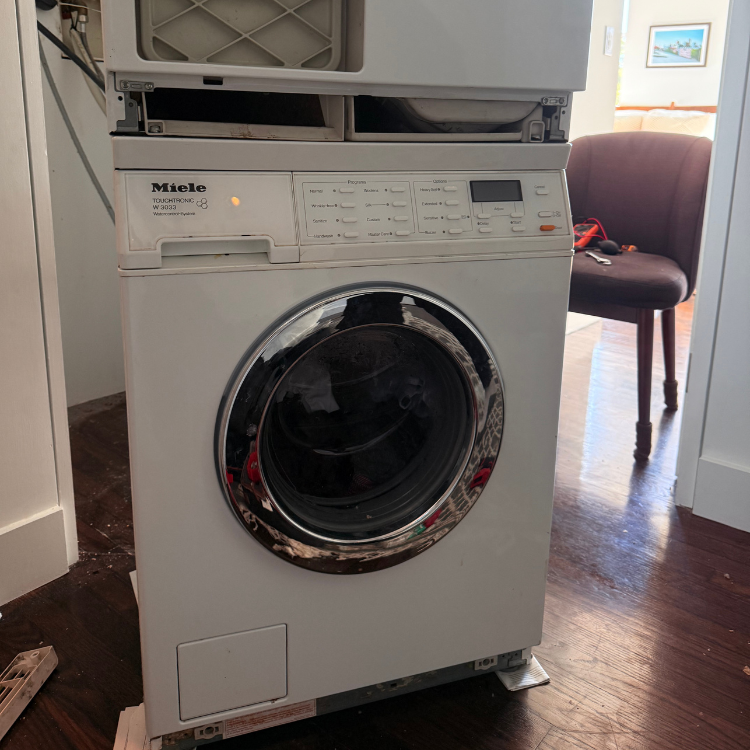
Access photos decide whether the visit is a repair, a deep cleaning and vent reset, or both. If your building requires documentation, a certificate of insurance can be provided. Laundry coverage is organized under the laundry repair hub, including brand-specific pages such as Miele dryer repair and LG dryer repair.
Symptoms
Symptom Guide: Platform and Timing Tell the Branch
Dry time grew slowly over months
Likely branch: Gradual decline is the signature of accumulating restriction in the lint and vent path rather than sudden part failure.
Check safely: Compare today's cycle time for a standard load against what it used to be, and read dryer takes too long to dry.
Avoid: Running back-to-back long cycles against a suspected restriction.
Heat stopped suddenly between loads
Likely branch: Sudden no-heat points at a component event: thermal fuse, igniter, element, or a tripped half of a 240V supply.
Check safely: Check the breaker panel for a half-tripped double breaker; on electric dryers one leg can fail while the drum still turns.
Avoid: Repeated breaker resets if it trips again.
Airflow or vent warning appears on the display
Likely branch: Airflow sensing flagged restriction somewhere between the blower and the building exit. The lint screen is only the first inch of that path.
Check safely: Photograph the warning and the visible vent route, and see dryer vent clogged in an NYC apartment.
Avoid: Treating a recurring warning as a nuisance to clear.
Code on an LG or Samsung platform
Likely branch: LG d80, d90, and d95 codes report measured duct blockage percentage; Samsung HC-family codes report overheat conditions. Both are airflow-and-heat evidence, not board failures by default.
Check safely: Photograph the exact code; details are in the LG d80 and d90 guide and the Samsung HC overheating guide.
Avoid: Clearing the code and continuing to run loads.
Squeak, thump, or grind that scales with the drum
Likely branch: Rollers, glides, idler pulley, or belt condition. The sound's character and where in rotation it occurs narrow it down.
Check safely: Record video with sound, empty versus loaded.
Avoid: Lubricating anything inside the cabinet.
Maintenance Tips
Maintenance That Prevents Repeat Visits
Dryer maintenance is airflow maintenance, and on ventless platforms it is also heat exchanger hygiene.
- Clean the lint screen every load, and wash it occasionally if softener film builds up.
- On condenser and heat pump dryers, follow the manual's full filter-stack and heat exchanger schedule.
- Watch dry time as the early-warning gauge; rising time precedes most failures.
- Keep the transition duct behind the unit from being crushed against the wall.
- Book the internal deep cleaning and vent reset when warnings or hot smells repeat after screen cleaning.
FAQ
Dryer Repair Questions
My dryer runs but the air is cold. Gas or electric, does it matter?
It changes the whole branch. Gas no-heat usually involves the igniter, flame sensor, or valve coils; electric no-heat involves the element, thermal fuse, or a half-failed 240V supply. Tell us the fuel type when booking.
Clothes take two or three cycles now. Is the dryer dying?
Usually it is moisture removal, not heat: lint restriction, vent issues, or a washer leaving loads too wet. Gradual decline points strongly at the airflow path.
Is a burning smell ever normal?
New-unit coating smell aside, no. Stop the dryer, do not run another load, and describe the smell and timing when booking. Lint near the heat source is a fire-path issue, not a comfort issue.
Do you service ventless condenser and heat pump dryers?
Yes, including compact 24-inch and combo units common in Astoria, Long Island City, and Manhattan apartments. These platforms have their own filter, condenser, and condensate logic.
Repair or replace an older dryer?
Dryers are often the most repair-friendly appliance in the laundry pair. Repair versus replace in NYC gives the framework, and the estimate before work begins makes it concrete.