
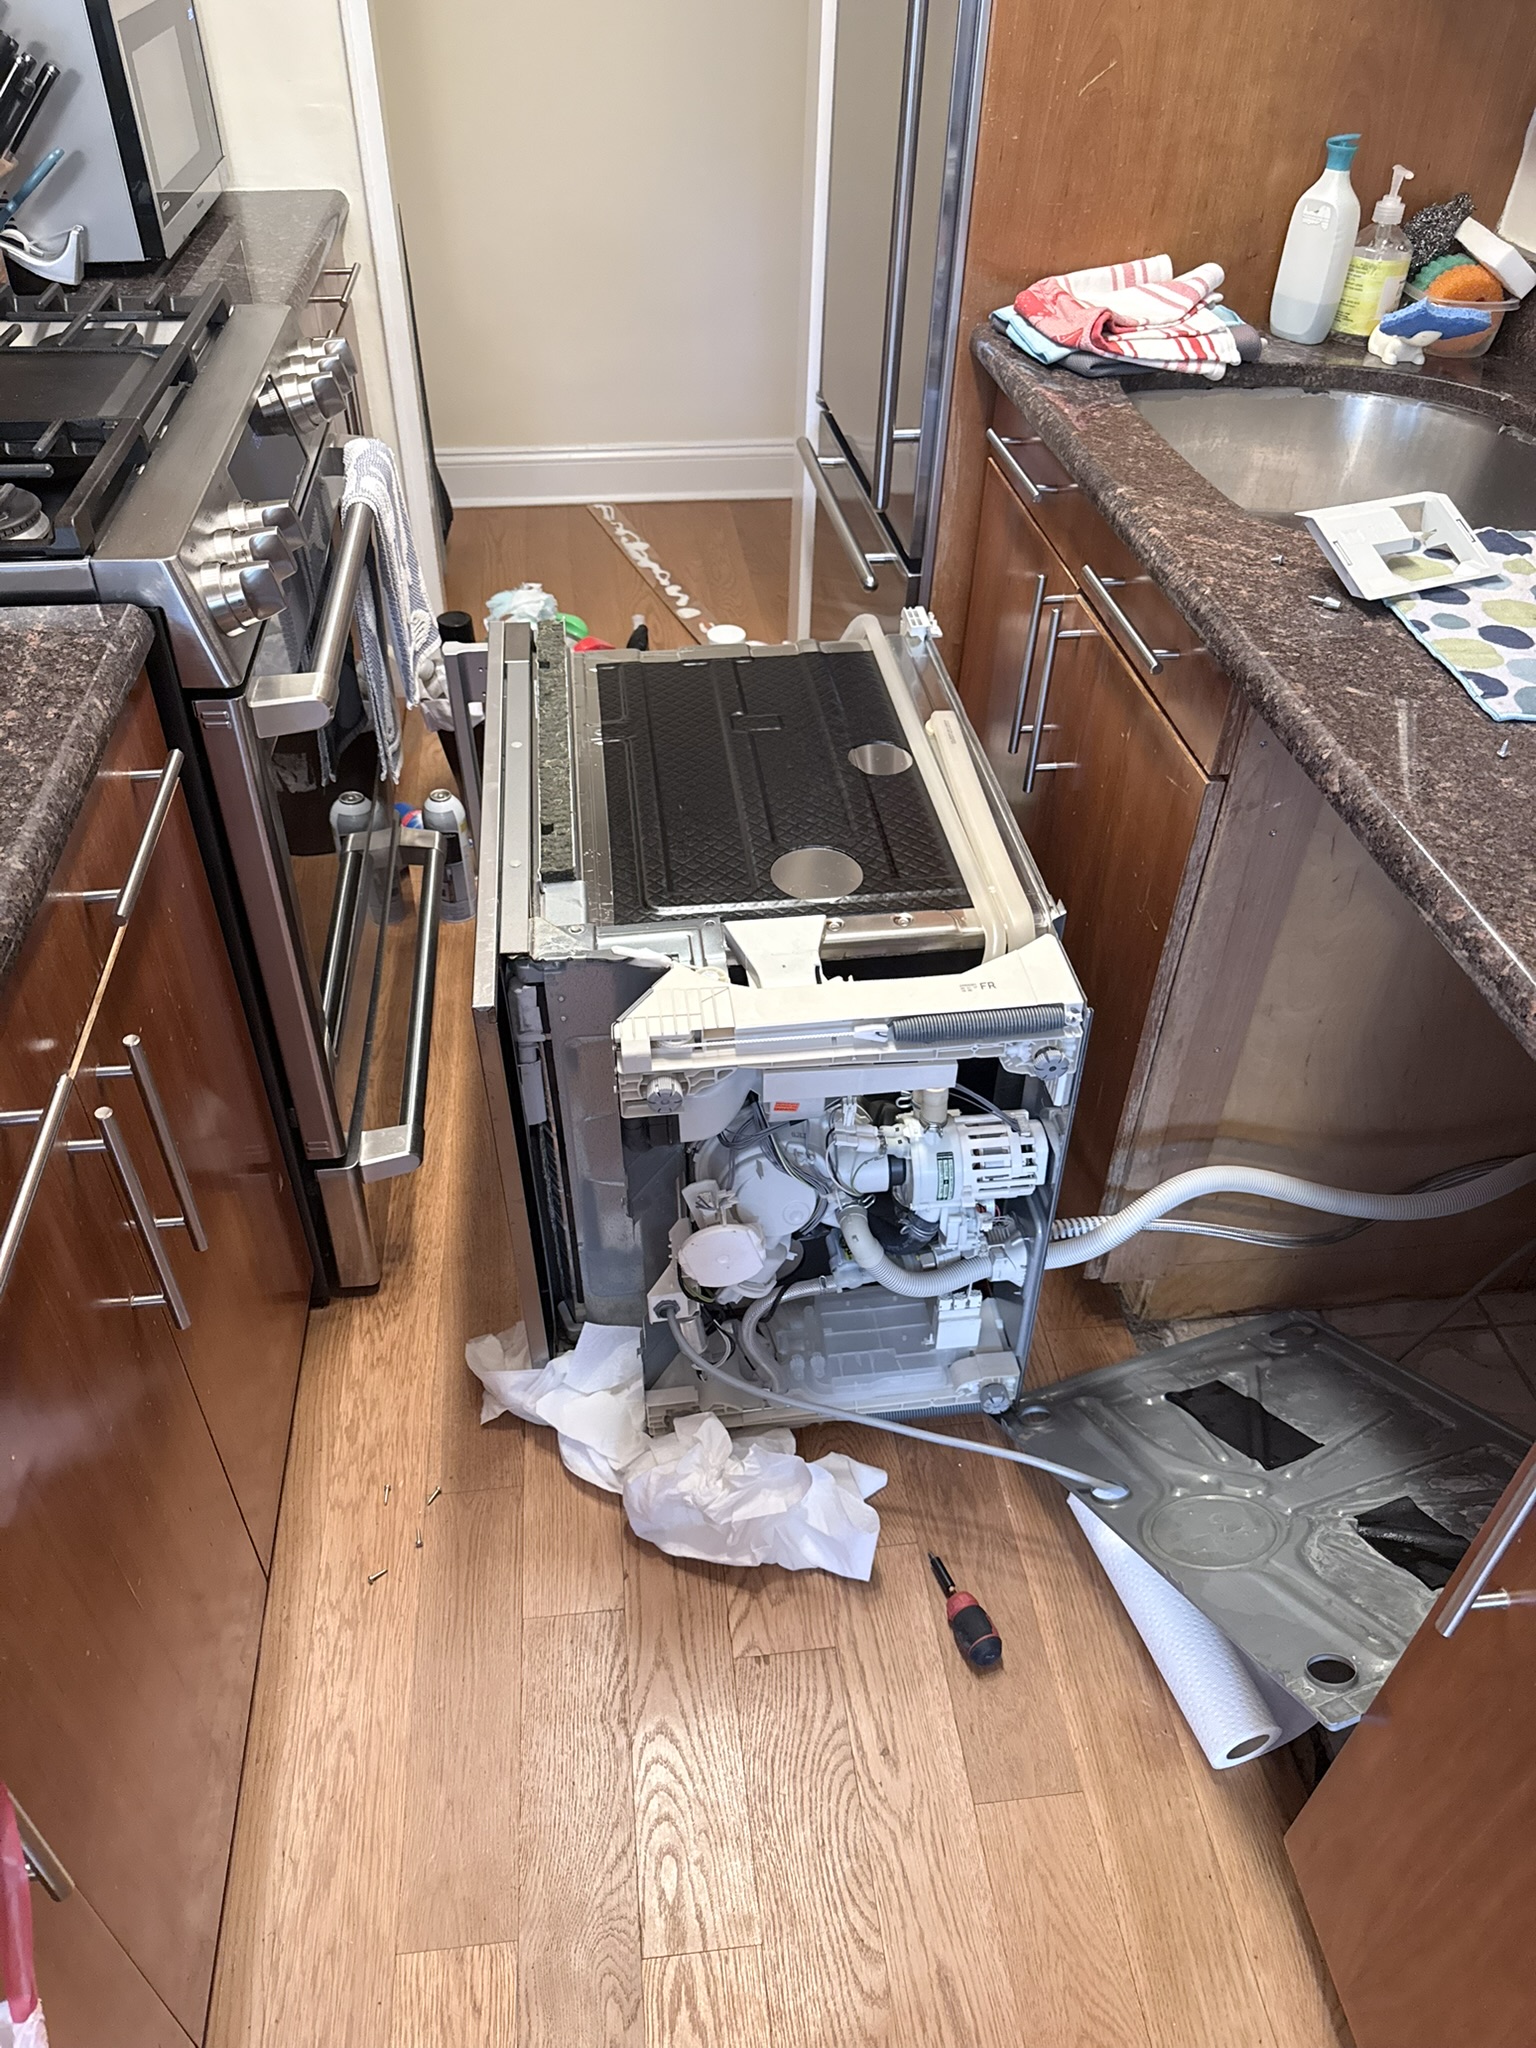

Miele Dishwasher F600 Error: Clean AutoDos Safely
Miele dishwasher F600 means the AutoDos outlet is blocked. Clean the correct parts safely, prevent detergent clumps, and know when the fault needs service.
Miele dishwasher F600 means the AutoDos outlet is blocked. Clean the correct parts safely, prevent detergent clumps, and know when the fault needs service.
Miele dishwasher F600 is an AutoDos dispensing-outlet fault; Miele identifies a blocked AutoDos system, not a drain-pump failure. Turn the dishwasher off and complete only the exact-model lower-spray-arm and AutoDos clean, dry, and reseat steps below; if F600 remains afterward, stop resetting or opening the dispenser and arrange model-specific diagnosis.
Miele defines F600 as an AutoDos dispensing-process outlet fault and states that the AutoDos system is blocked. When the dishwasher detects it, the running program is canceled and the drain pump starts. That pump activity is a response to the detected fault; it does not turn F600 into a drain-pump or drain-clog code.
The blockage can be visible, but it does not have to look like a completely packed dispenser. The useful question is where the dry detergent path or its flushing process stopped working.
Visible dirt therefore supports the F600 diagnosis, but “it is always just dirt” is too strong. Correct cleaning is a meaningful first repair step; recurrence is a different diagnostic state.
Preserve the exact characters on the display before clearing anything.
1) Photograph F600 before turning the dishwasher off. Also photograph the model and serial label at the door area if it is safely visible.
2) Note when F600 appeared: immediately after Start, during dispensing, after a PowerDisk replacement, after AutoDos cleaning, or after a period of non-use.
3) Turn the dishwasher off before removing the lower spray arm or any owner-removable AutoDos part.
4) Compare the dispenser geometry with the exact model instructions. Miele publishes different cleaning procedures for AutoDos 1.0 and AutoDos 2.0.
5) Keep water and liquid cleaner out of the installed AutoDos housing. Use water only on a removed part when the exact Miele instructions permit it, and dry that part completely before it goes back.
Do not use liquid dishwasher detergent, a chemical drain cleaner, compressed air, a hair dryer, or a heat gun inside AutoDos. Do not force a part that does not release exactly as the operating instructions show.
This split matters because “clean AutoDos” is not one universal disassembly procedure. A correct 1.0 step can become a broken-part risk on different geometry.
1) With the dishwasher off, remove the lower basket.
2) Remove the lower spray arm only by the method shown in the exact operating instructions.
3) Look for accessible particles or debris in the spray openings. Clear only accessible debris and rinse the removed arm thoroughly.
4) Check the filter combination below the arm. It must be correctly installed, locked, and lying flat before the spray arm goes back.
5) Reinstall the lower spray arm and rotate it by hand. It should move freely without touching a rack, utensil, pan, or filter part.
Do not run the dishwasher without the filters and spray arms correctly installed. If the exact display is F607 instead of F600, use the F607 instructions rather than treating the codes as interchangeable.
1) Open the AutoDos lid and remove the PowerDisk.
2) Inspect the PowerDisk, holder, visible housing, and generation-appropriate removable part for dry powder residue or clumps.
3) Lift out only the holder and any other part that Miele identifies as owner-removable for that exact AutoDos generation.
4) Wipe the installed housing and holder with a lightly damp cloth where Miele permits. Do not pour, spray, or flush water into the installed AutoDos cavity.
5) On AutoDos 1.0 only, clean the removed fill channel with water and a soft brush when it matches the official illustration. Do not perform this removal on AutoDos 2.0.
6) Remove loosened detergent residue from the permitted parts. Avoid scraping sealing surfaces or forcing the dispensing mechanism.
7) Dry the housing surfaces, holder, and every removed part completely. No moisture should remain where dry detergent travels.
8) Reinstall the holder so its arrows align and it lies flat.
9) Install a full PowerDisk so it sits flush in the holder.
10) Wipe the lid seals clean, close the lid tightly, and move the handle fully under the lock symbol.
11) Recheck that the lower spray arm is installed and can rotate freely.
After correct reassembly, turn the dishwasher on and observe one bounded restart. Miele says the dishwasher checks whether the fault is still present. If F600 remains or restart is prevented, the result is evidence for service; it is not a reason to repeat resets or dismantle the dispenser.
Stop the homeowner cleaning loop when F600 remains, returns, or prevents restart after one complete, generation-appropriate lower-spray-arm and AutoDos clean, dry, and reseat procedure.
At that point, do not open the door panel, remove the dispenser drive, force a cam or gear, enter service mode, clear fault memory, probe wiring, test live voltage, or order a guessed AutoDos motor. Those steps can erase useful evidence or damage a mechanism that has not been proved faulty.
Do not assume the dishwasher can continue with manual detergent. Miele publishes an AutoDos-off/manual-compartment option in its F601 guidance for applicable models, but the exact F600 page does not promise that bypass, and persistent F600 may prevent the dishwasher from restarting. The exact model and its controls decide what is available.
Before arranging dishwasher diagnosis, record:
A useful service diagnosis starts with the documented exact model and the result of the completed owner procedure. It must then prove the hidden failed stage instead of translating F600 directly into a replacement part.
Miele residential requests are considered in Brooklyn, Manhattan below 96th Street, and selected Queens routes; stacked, panel-ready, and built-in access conditions are checked with the exact address.


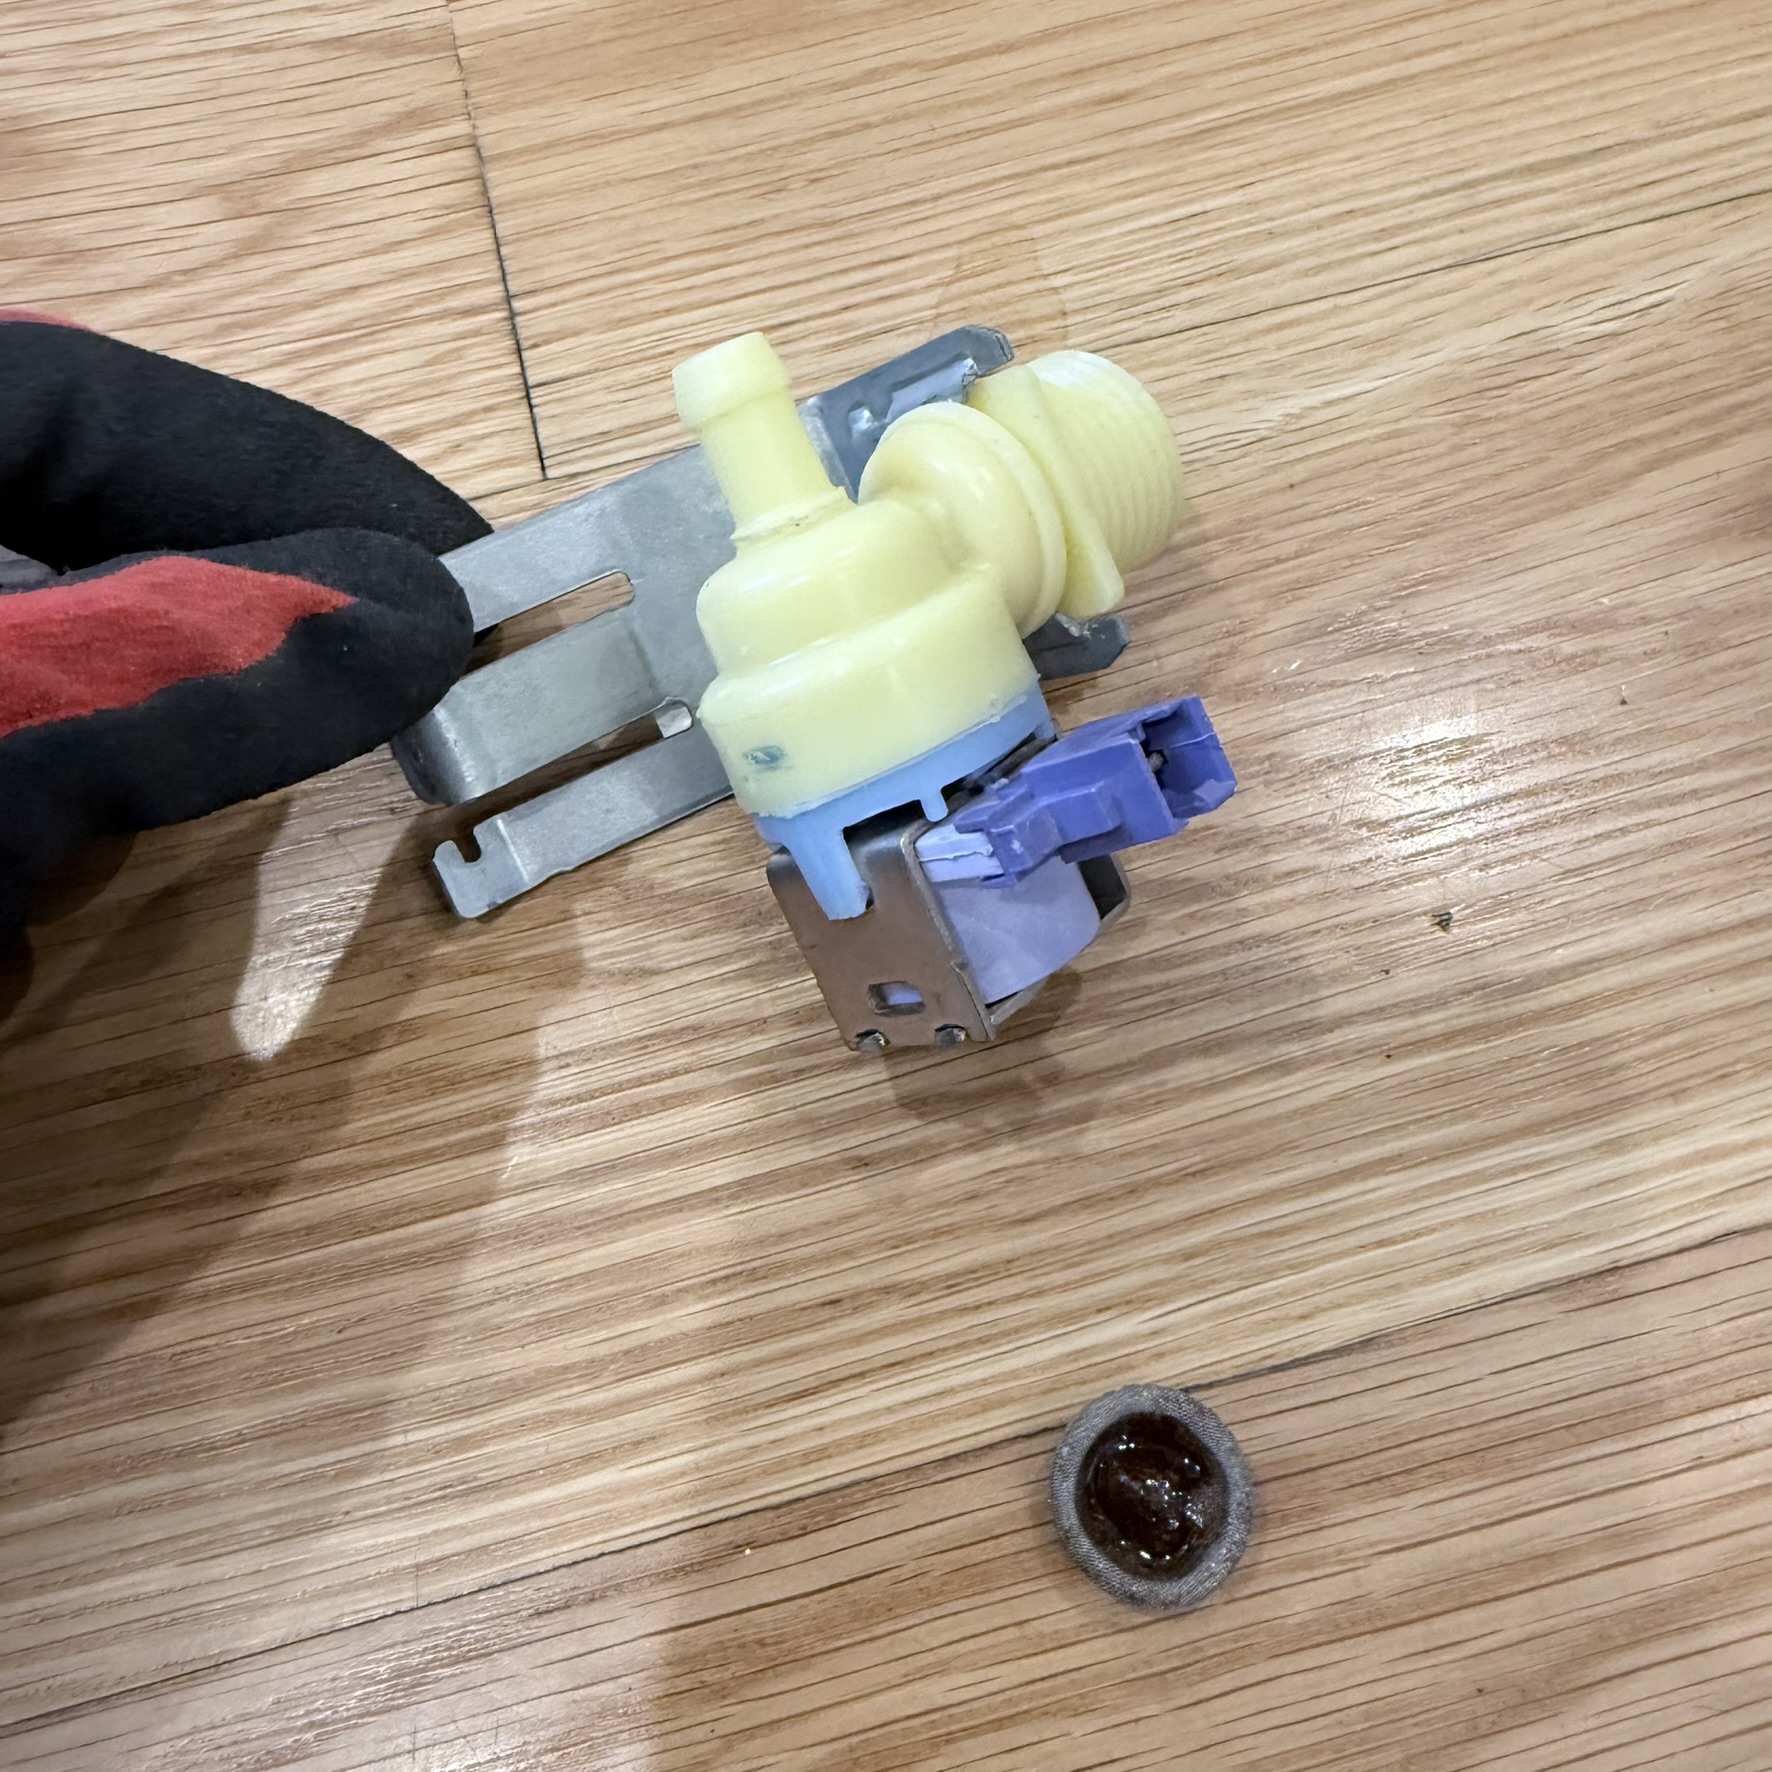
Technician experience standard: 4+ years of hands-on appliance repair per technician; senior technicians bring 8 and 16 years. Miele intake starts with the data plate, platform, program, message, failed stage, and stacked or built-in access. Independent service; no current manufacturer authorization implied.

