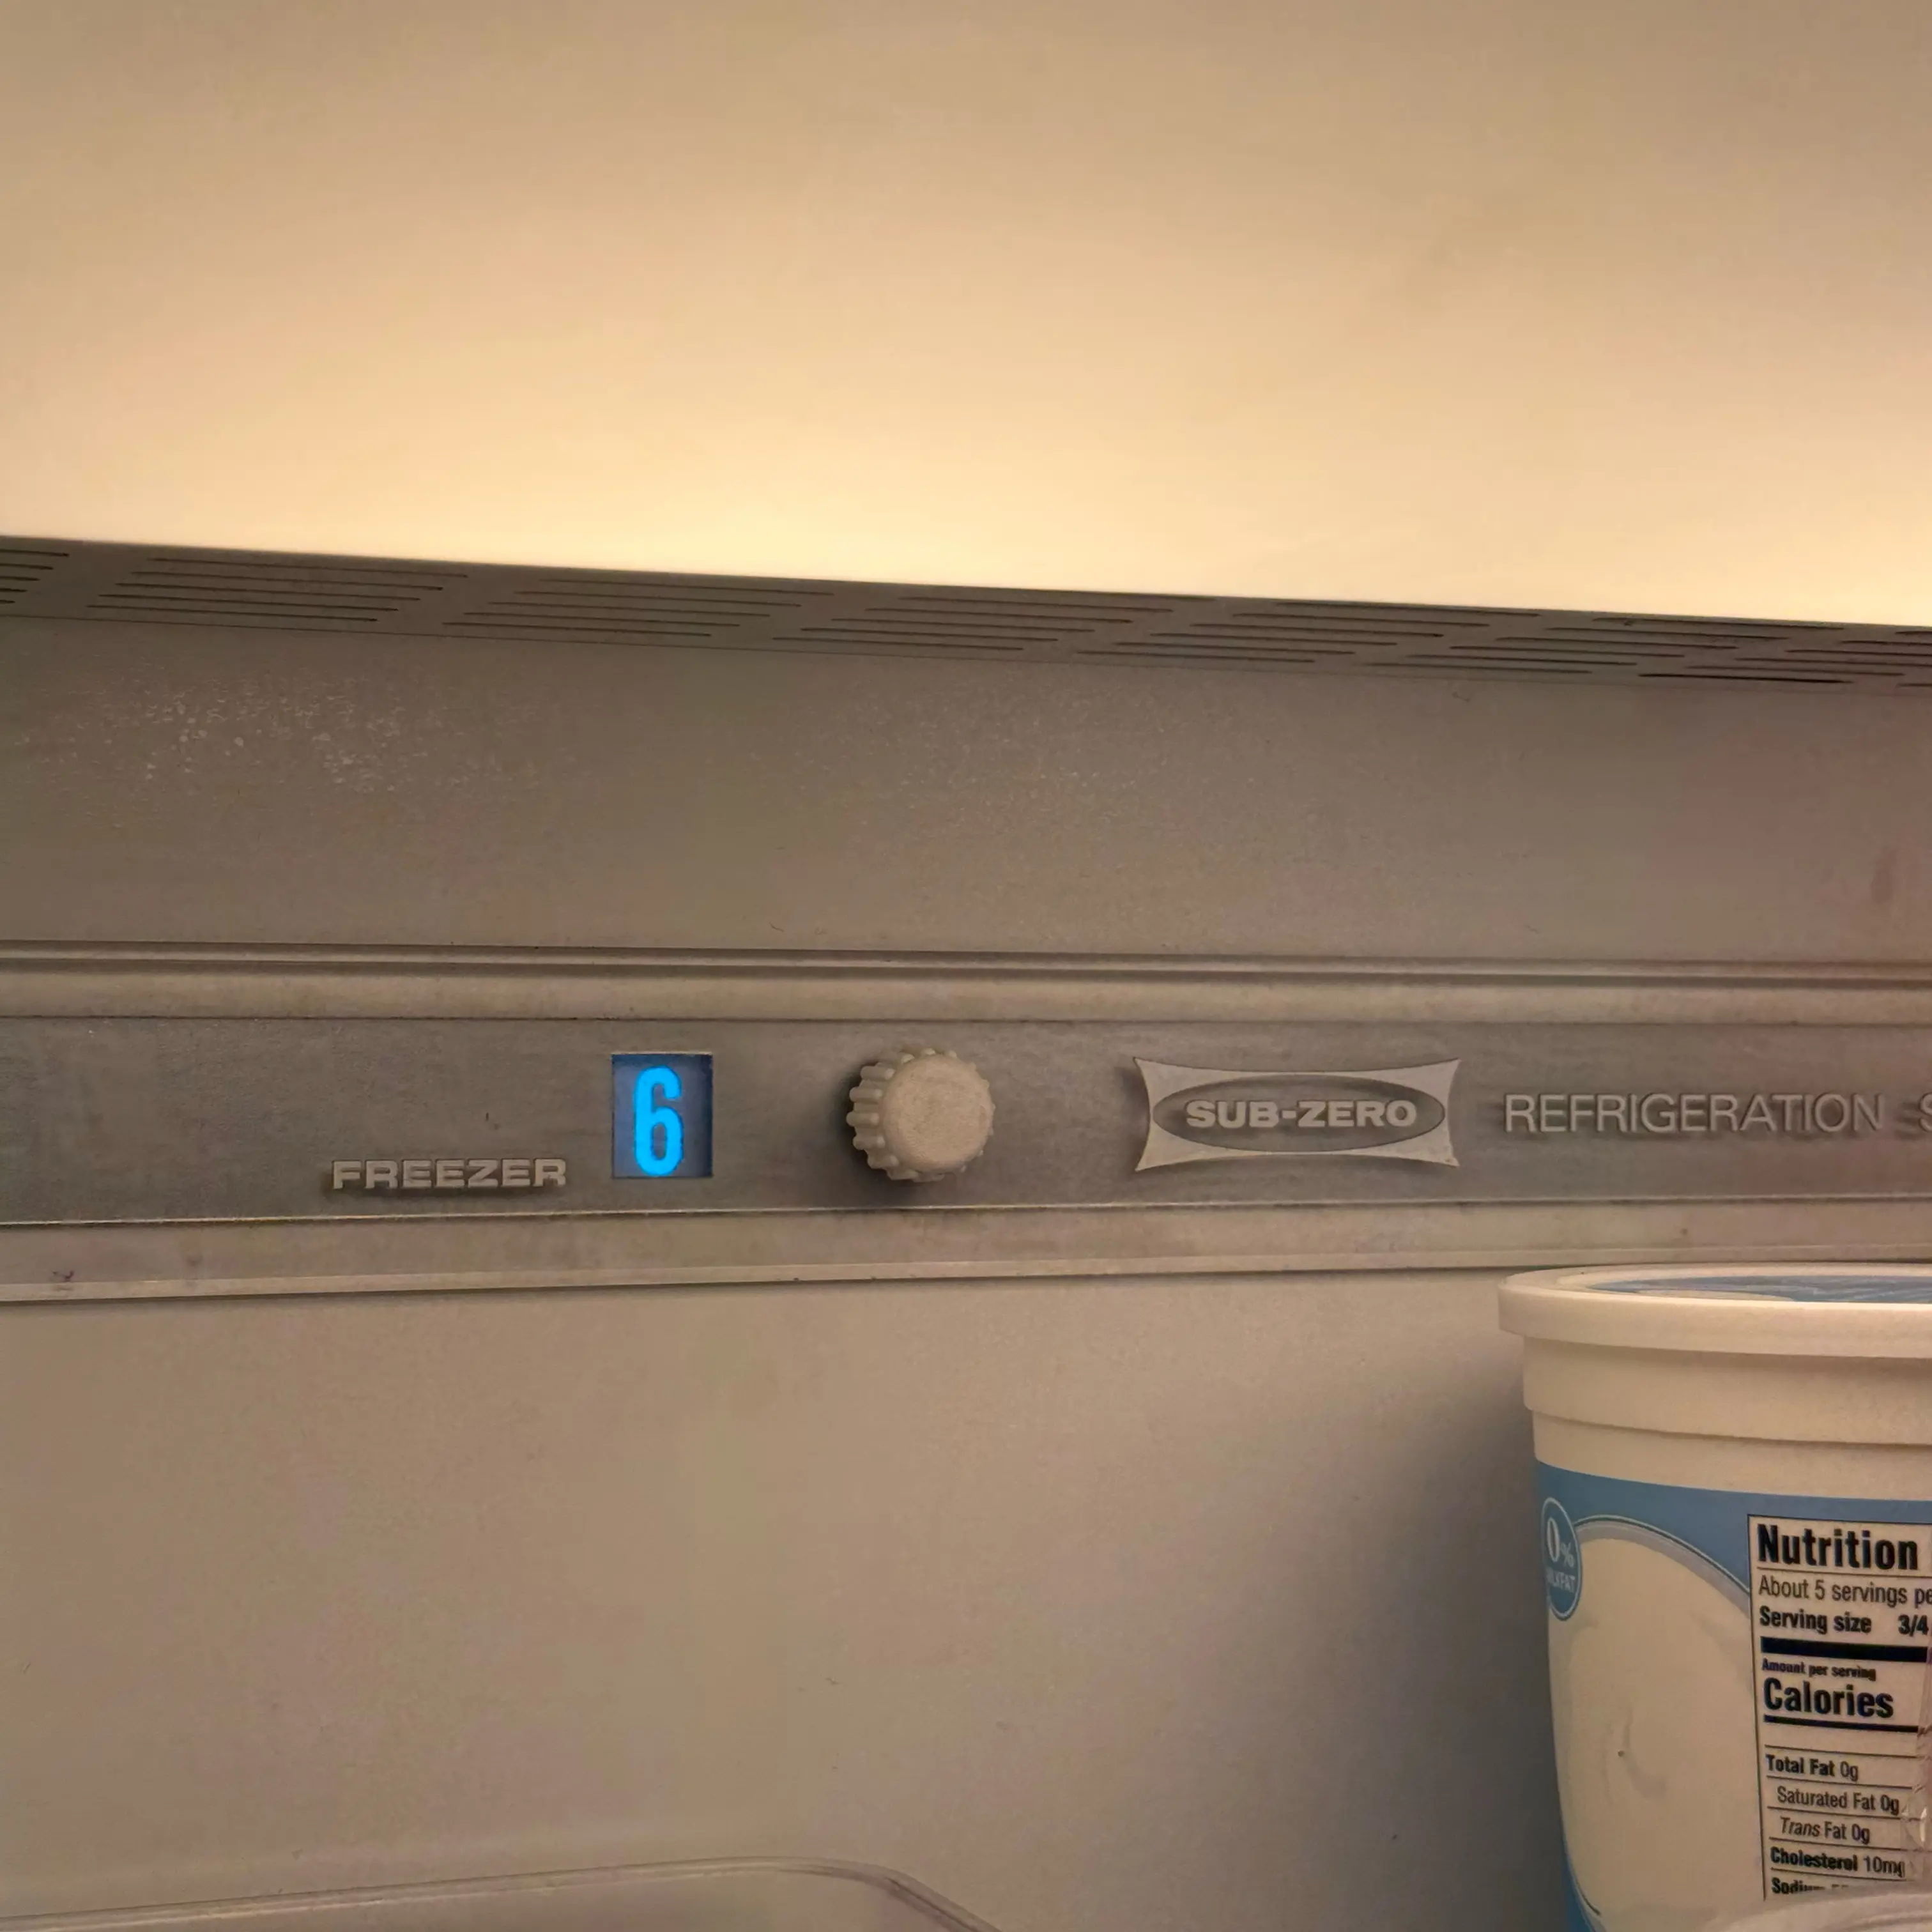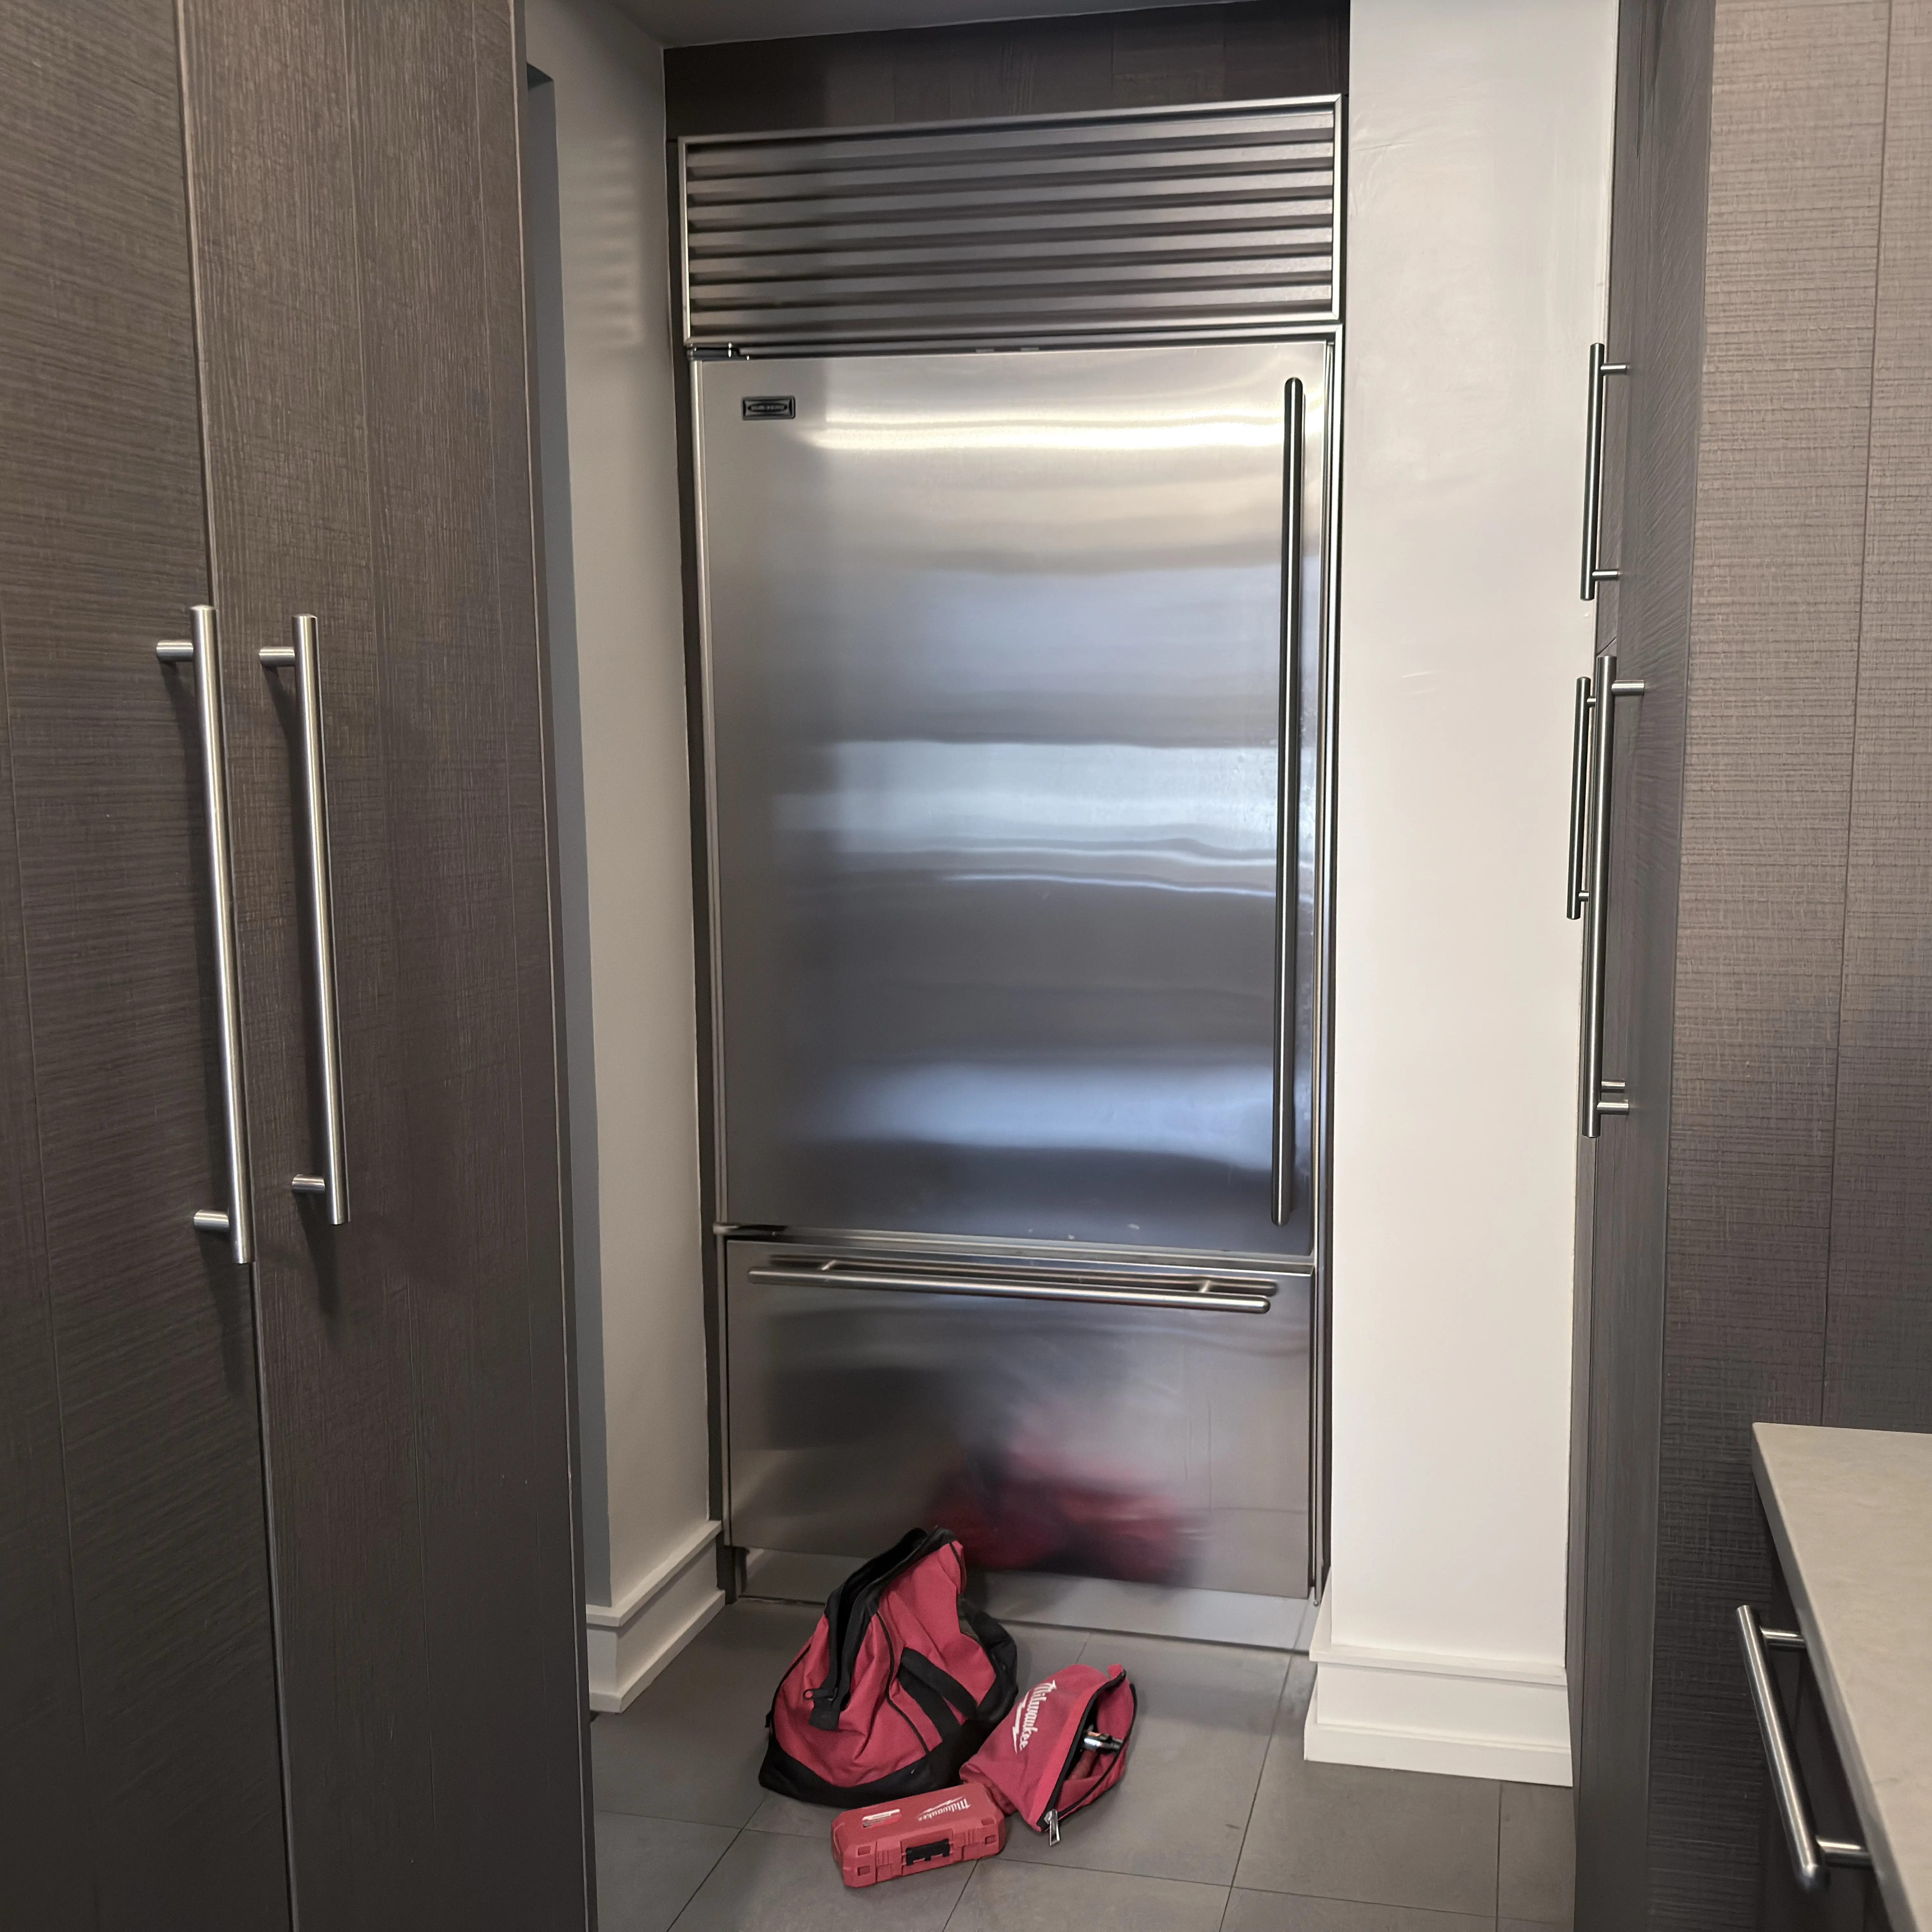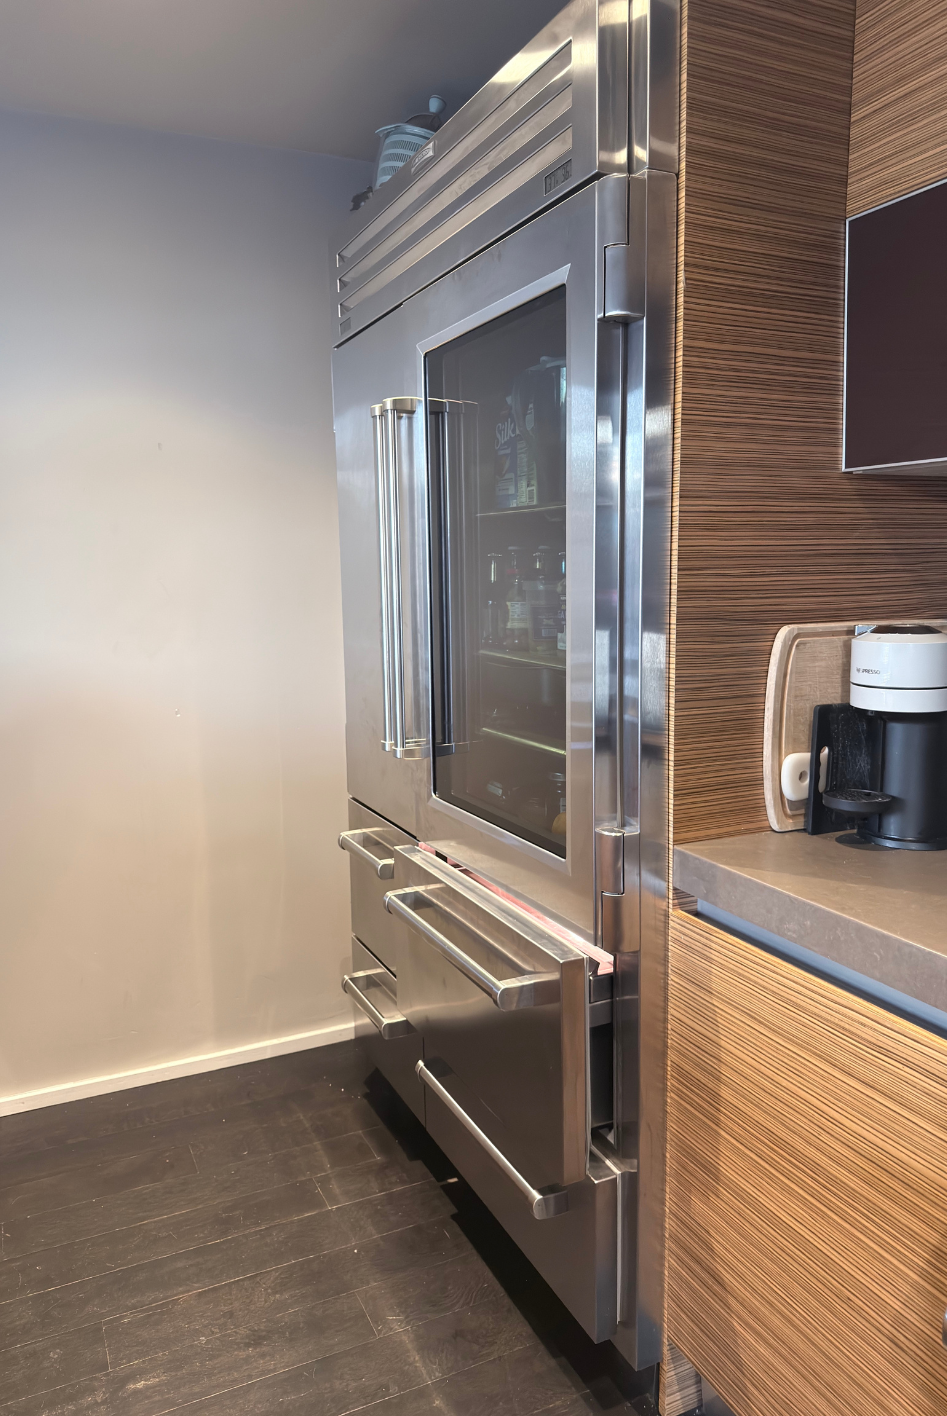


Water beneath a Sub-Zero does not by itself prove a drain pan, valve, ice maker, or internal drain failure because water can travel through cabinetry and appear away from its source. Contain the leak, keep water away from electricity, mark the first wet edge, and record whether it follows dispensing, ice making, door opening, defrost, or occurs continuously. If a supplied-water leak is suspected, close the accessible appliance water shutoff when this can be done safely, and do not pull the built-in refrigerator forward.
Safety gate for water under a refrigerator
Water can damage wood, flooring, ceilings, and electrical systems before the refrigerator’s cooling complaint becomes obvious. Treat spread and location as urgent evidence.
Take immediate action when:
- water approaches a cord, receptacle, power strip, floor outlet, or electrical component;
- water continues flowing rather than forming a small stable puddle;
- flooring swells, a ceiling below becomes wet, or water enters cabinetry;
- a water-supply line, filter connection, or valve area appears to spray or drip;
- the plug, cord, receptacle, or cabinet is hot or damaged;
- there is burning odor, sparking, or repeated power loss;
- food temperatures are rising;
- access would require moving the built-in refrigerator.
If a pressurized water leak is suspected and the appliance’s shutoff valve is safely accessible, close it. If the valve is hidden, seized, leaking, or controlled by the building, contact the responsible plumbing or building party. Do not reach through water to unplug the unit, use an extension cord, pull the refrigerator out, or open panels.
What’s really happening
“Water underneath” tells you where water became visible, not where it began. A Sub-Zero built into cabinetry can channel water along the toe kick, floor slope, panel, supply tube, drain route, or adjacent wall. Nearby plumbing, a dishwasher, a sink, or condensation can also create a puddle that appears to belong to the refrigerator.
Sub-Zero’s official guidance divides likely routes among:
- water-supply plumbing, tubing, valves, filters, dispenser, or ice-making paths;
- condensation or frost related to door closure or warm-air entry;
- model-specific drain or drain-pan behavior;
- water coming from above the unit;
- surrounding home plumbing or another appliance.
Use the Source–Trigger–Travel map:
- Source: Where is the first visible wet point?
- Trigger: What event starts or increases the water?
- Travel: How could water move from that point to the floor?
First wet point matters more than the largest puddle
Before wiping everything, take a wide photo and a close-up. Place dry paper towels at safe, visible edges:
- front-left and front-right toe-kick areas;
- adjacent cabinet seam;
- beneath an accessible supply shutoff;
- around a visible filter or top water area when owner-accessible;
- near, but never on, electrical equipment.
The first towel that becomes wet can narrow travel direction. This is a passive observation, not permission to reach behind or under the refrigerator.
Trigger timing separates water paths
Record whether the leak:
- appears immediately after using the dispenser;
- follows an ice-maker fill or harvest;
- increases while the household water supply is open;
- appears after a door was left open or heavy frost melts;
- follows filter replacement;
- appears after a power interruption;
- remains steady with no refrigerator use;
- occurs only during humid conditions;
- coincides with sink, dishwasher, or building plumbing use.
A leak that stops when the appliance water supply is closed points toward a supplied-water path, but it does not identify the exact fitting or valve. Water that continues may be stored meltwater, condensation, drainage, another appliance, or building plumbing.
Top, interior, and floor leaks are different owners
Sub-Zero publishes separate guidance for water leaking from the top. A filter, valve, or tubing condition above can travel down and appear under the unit. Water confined beneath the crisper has a separate interior path involving condensation, frost, door sealing, and model-specific drains.
This page owns water that reaches the floor beneath or in front of the appliance. Preserve top and interior observations because they may explain the travel path, but do not merge every puddle into one assumed repair.
Ranked action plan
Low effort: contain damage and preserve the pattern
Photograph before cleanup
Why it works: The original boundary, color, debris, and direction can disappear as soon as towels spread the water.
Tools/materials: Phone camera, flashlight, disposable gloves, and absorbent towels.
What to do:
- Take one wide room photo and close-ups of every wet edge.
- Include toe kick, adjacent cabinets, floor seams, and any ceiling damage below.
- Note clear, cloudy, colored, oily, or food-contaminated appearance without direct skin contact.
- Mark the outer boundary with removable tape where safe.
- Then contain water without pushing towels beneath electrical areas.
Common mistakes:
- wiping first and photographing later;
- inserting towels deep under the appliance;
- assuming the center of the puddle is the source;
- ignoring water below the room;
- using a fan or heater near wet electrical equipment.
Protect food, floor, and cabinetry
Why it works: Limiting exposure reduces secondary damage while the source is identified.
Tools/materials: Absorbent towels, shallow catch tray only in a safe visible location, verified cold storage, and property contact.
What to do:
- Keep towels at visible floor edges where they do not block ventilation.
- Replace wet towels and record how quickly they saturate.
- Move perishables if compartment temperature is unsafe.
- Notify a landlord, manager, or downstairs resident when property damage can spread.
- Keep doors closed as much as practical.
Common mistakes:
- blocking the grille or toe-kick airflow;
- placing a tray beneath hidden wiring;
- leaving soaked towels against wood;
- waiting for a large puddle before notifying the property;
- judging food safety by smell alone.
Check the accessible water shutoff
Why it works: Closing a supplied-water source can stop ongoing damage and creates useful trigger evidence.
Tools/materials: Labeled shutoff location, dry hands, flashlight, and building contact.
What to do:
- Use only a clearly identified, dry, accessible appliance water valve.
- Close it gently if a pressurized leak is suspected.
- Do not force a stuck or corroded valve.
- Record whether new water slows or stops.
- Leave dispenser and ice maker off while the supply is closed.
Common mistakes:
- moving the refrigerator to find the valve;
- operating an unlabeled building valve;
- forcing a seized shutoff;
- reopening water to reproduce the leak;
- treating “leak slowed” as identification of a specific component.
Medium effort: locate the trigger without disassembly
Map the first wet edge
Why it works: Dry witness towels reveal direction more reliably than the final pooled shape.
Tools/materials: Paper towels, removable tape, marker, timer, and phone.
What to do:
- Dry the safe visible floor completely.
- Place small numbered towels along the front and adjacent seams.
- Note the time each becomes damp.
- Photograph the sequence.
- Stop if water approaches electricity or spreads beyond containment.
Common mistakes:
- packing material under the whole refrigerator;
- blocking air openings;
- using colored towels that hide water condition;
- leaving the test unattended;
- reaching behind the built-in unit.
Compare leak timing with appliance events
Why it works: Dispenser, ice-maker fill, filter change, door opening, defrost, and continuous supply create different time signatures.
Tools/materials: Written log and clock.
What to do:
- Record the last dispenser use and ice-making activity.
- Note recent filter replacement and whether the correct part seated normally.
- Record prolonged door opening, frost, power interruption, or warm groceries.
- Note sink, dishwasher, or nearby plumbing use.
- Do not intentionally recreate a pressurized or electrical hazard.
Common mistakes:
- cycling the dispenser repeatedly;
- turning the ice maker on to force a fill;
- reseating a leaking filter under pressure without the exact guide;
- assuming correlation from one event;
- omitting nearby plumbing.
Inspect owner-visible top and interior areas
Why it works: A high leak or interior water path may travel down before becoming visible at the floor.
Tools/materials: Flashlight, phone, and exact Sub-Zero guide.
What to do:
- Check the top or filter area only if it is intended for owner access.
- Inspect interior shelves and crisper area for water, frost, or ice.
- Check accessible gasket faces and door closure.
- Photograph a wet top, rear-wall frost, or water under drawers.
- Route a confined crisper puddle to the specific crisper-water path.
Common mistakes:
- removing a top service panel;
- pushing tools into a drain;
- applying heat to ice;
- adjusting door hinges;
- assuming a dry interior eliminates a supply leak.
High effort: coordinate appliance, plumbing, and building access
Prepare a Source–Trigger–Travel report
Why it works: It helps determine whether the next visit needs appliance diagnosis, plumbing control, cabinetry access, or more than one trade.
Tools/materials: Photos, towel sequence, water-supply result, temperature log, model/serial, and recent service history.
What to prepare:
- First visible wet point and spread direction.
- Continuous versus event-triggered timing.
- Water-on versus water-off behavior.
- Dispenser, ice maker, filter, door, frost, defrost, and nearby plumbing context.
- Interior, top, toe-kick, and floor observations.
- Food temperatures and electrical safety conditions.
- Recent filter, plumbing, flooring, cabinetry, or appliance work.
Common mistakes:
- asking for a water valve by guess;
- drying all evidence before photos;
- saying only “leaks sometimes”;
- omitting a building drain or neighboring appliance;
- reopening a known leaking supply.
Plan built-in movement only when required
Why it works: Sub-Zero units can be heavy, panelized, anchored, and connected to hidden water and electrical systems.
Tools/materials: Installation documents, floor and panel protection plan, measurements, building contact, and COI requirements.
What to prepare:
- Photograph custom panels, toe kick, floor, walls, and approach path.
- Identify the appliance shutoff, breaker, and property plumbing contact.
- Confirm elevator, arrival window, and access approval.
- Record prior floor or cabinet damage.
- Leave pulling, panel removal, and concealed-line work to the coordinated visit.
Common mistakes:
- prying against cabinetry;
- pulling by the door or handle;
- damaging a panel or finished floor;
- moving the unit before shutting water safely;
- assuming appliance diagnosis alone can repair a building line.
Stop DIY and call a pro if…
- water continues after basic containment;
- water reaches electrical areas, cabinetry, flooring seams, or a ceiling below;
- the accessible shutoff is stuck, leaking, hidden, or building-controlled;
- leakage changes with dispenser or ice-maker activity;
- water is visible at the top, behind panels, or beneath the built-in cabinet;
- food temperature rises or cooling becomes abnormal;
- there is burning odor, heat, sparking, or repeated power loss;
- the source cannot be separated from nearby plumbing or another appliance;
- diagnosis requires moving the refrigerator, opening panels, disconnecting water, clearing hidden drains, or live testing.
Standards and documentation
Verify the exact Sub-Zero use-and-care and installation instructions for:
- model and serial location;
- filter installation and replacement;
- ice maker and dispenser operation;
- owner-accessible drain or condensation care;
- water-supply material, shutoff, pressure, and connection requirements;
- electrical supply and grounding;
- anti-tip, anchoring, custom panels, toe kick, ventilation, and service access.
For property and warranty records, save:
- first-occurrence date and time;
- before-cleanup photos;
- model/serial and installation record;
- first wet edge and towel sequence;
- water shutoff result;
- filter part and replacement date where relevant;
- food-temperature log;
- damage to wood, floor, wall, or ceiling;
- recent plumbing, filter, cabinetry, or appliance work;
- person notified and containment actions.
Do not label the leak as an internal valve, pan, tube, or drain failure unless it was confirmed.
Maintenance cadence
Weekly
- Check the floor and toe-kick area for moisture.
- Confirm doors and drawers close freely.
- Notice dispenser, ice, and temperature changes.
Monthly
- Clean accessible gasket faces and interior spills by the exact guide.
- Inspect the visible filter and supply-shutoff area for moisture.
- Check actual compartment temperatures.
Quarterly
- Review filter age and replacement procedure.
- Inspect accessible cabinetry and floor seams for staining or swelling.
- Test the accessible shutoff only if building policy and the valve design permit routine operation.
Annual
- Recheck installation and maintenance instructions.
- Arrange inspection of concealed water, drain, electrical, and built-in access conditions when due.
- Update leak, filter, service, and property records.
FAQ
Why is water appearing in front of my Sub-Zero?
Water may travel from a supply, top, interior, drain, condensation, or nearby plumbing source. The first wet edge and trigger timing matter more than the final puddle.
Should I turn off the refrigerator water?
If a supplied-water leak is suspected and the appliance shutoff is safely accessible, close it gently. Do not force a hidden or corroded valve.
Can I keep the refrigerator running after shutting off water?
Cooling may continue, but turn off the ice maker and dispenser functions as directed and monitor temperature. Any electrical or overheating signal changes this answer.
Does water underneath mean the drain pan is cracked?
No. The visible location does not identify the source or part.
Could the dishwasher or sink cause the puddle?
Yes. Nearby plumbing or another appliance can send water along the same floor or cabinet route.
What if the leak started after a filter change?
Keep the water supply off if leakage continues, preserve the filter and installation details, and follow only the exact model’s filter procedure.
Can water under the crisper end up on the floor?
It can, but water confined under the crisper has a distinct door, frost, condensation, and model-specific drain path that should be documented separately.
Can I pull the Sub-Zero out to look behind it?
No. Built-in and panelized units require planned movement to protect water, power, anchoring, panels, floors, and cabinetry.
How can I tell if the leak is pressurized?
A leak that changes when the appliance water supply is closed suggests a supplied-water path, but it does not identify the exact connection.
What should I photograph?
Photograph the full installation, original puddle, first wet edges, top and interior clues, shutoff area, model/serial, floor or cabinet damage, and temperature readings.
Sources you would cite
- Sub-Zero — Water leaking from underneath a Sub-Zero
- Sub-Zero — Water leaking from top of Sub-Zero
- Sub-Zero — Water or ice under crisper drawer
- USDA Food Safety and Inspection Service — current refrigeration and food-safety guidance.
- Exact Sub-Zero use-and-care and installation manuals — filter, ice maker, dispenser, water supply, drainage, electrical, anchoring, panels, ventilation, and service-access sections.
.jpeg)