Appliance repair service in New York City - Brooklyn

Wolf Gas Burner Keeps Clicking: Safe Checks

Diagnostic fee: $99, credited toward the repair if you move forward
Warranty: 180-day parts and labor warranty on completed repairs
Arrival windows: 9 to 11, 11 to 1, 1 to 3, 3 to 5
For a Wolf burner that keeps clicking, use a gas-odor safety gate, then check recent moisture, cap seating, food debris, flame behavior, and knob return.

Safety gate

Turn all surface-burner controls to Off. If you smell gas, hear gas flow without ignition, see a flame that will not go out, or see flame outside the expected burner ports:

  1. Do not operate lights, switches, plugs, phones, fans, or appliances in the affected area.
  2. Do not light a match or use another flame to investigate.
  3. Leave the building or area.
  4. Call 911 and the gas utility from a safe location.
  5. Do not return until responders say it is safe.

If there is no gas odor but clicking continues while every control is Off, disconnect power only by a normal, safely accessible method if the user manual permits and you can do so without approaching damaged, wet, or hot components. Leave the gas controls off and arrange service.

What’s really happening

The clicking is the sound of the spark-ignition system attempting to light or maintain a surface-burner flame. During normal ignition, sparking is expected for a limited part of the lighting sequence. On some older Wolf designs, more than one burner may click during ignition because of how the system is arranged. The exact model determines what is normal.

Continuous or repeated clicking can follow:

  • moisture after cleaning, boil-over, or spillover;
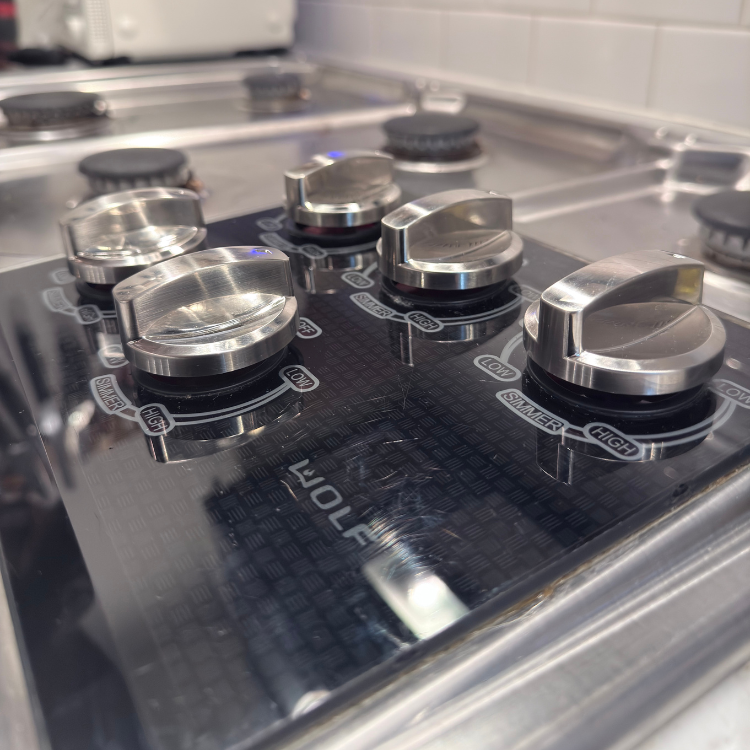
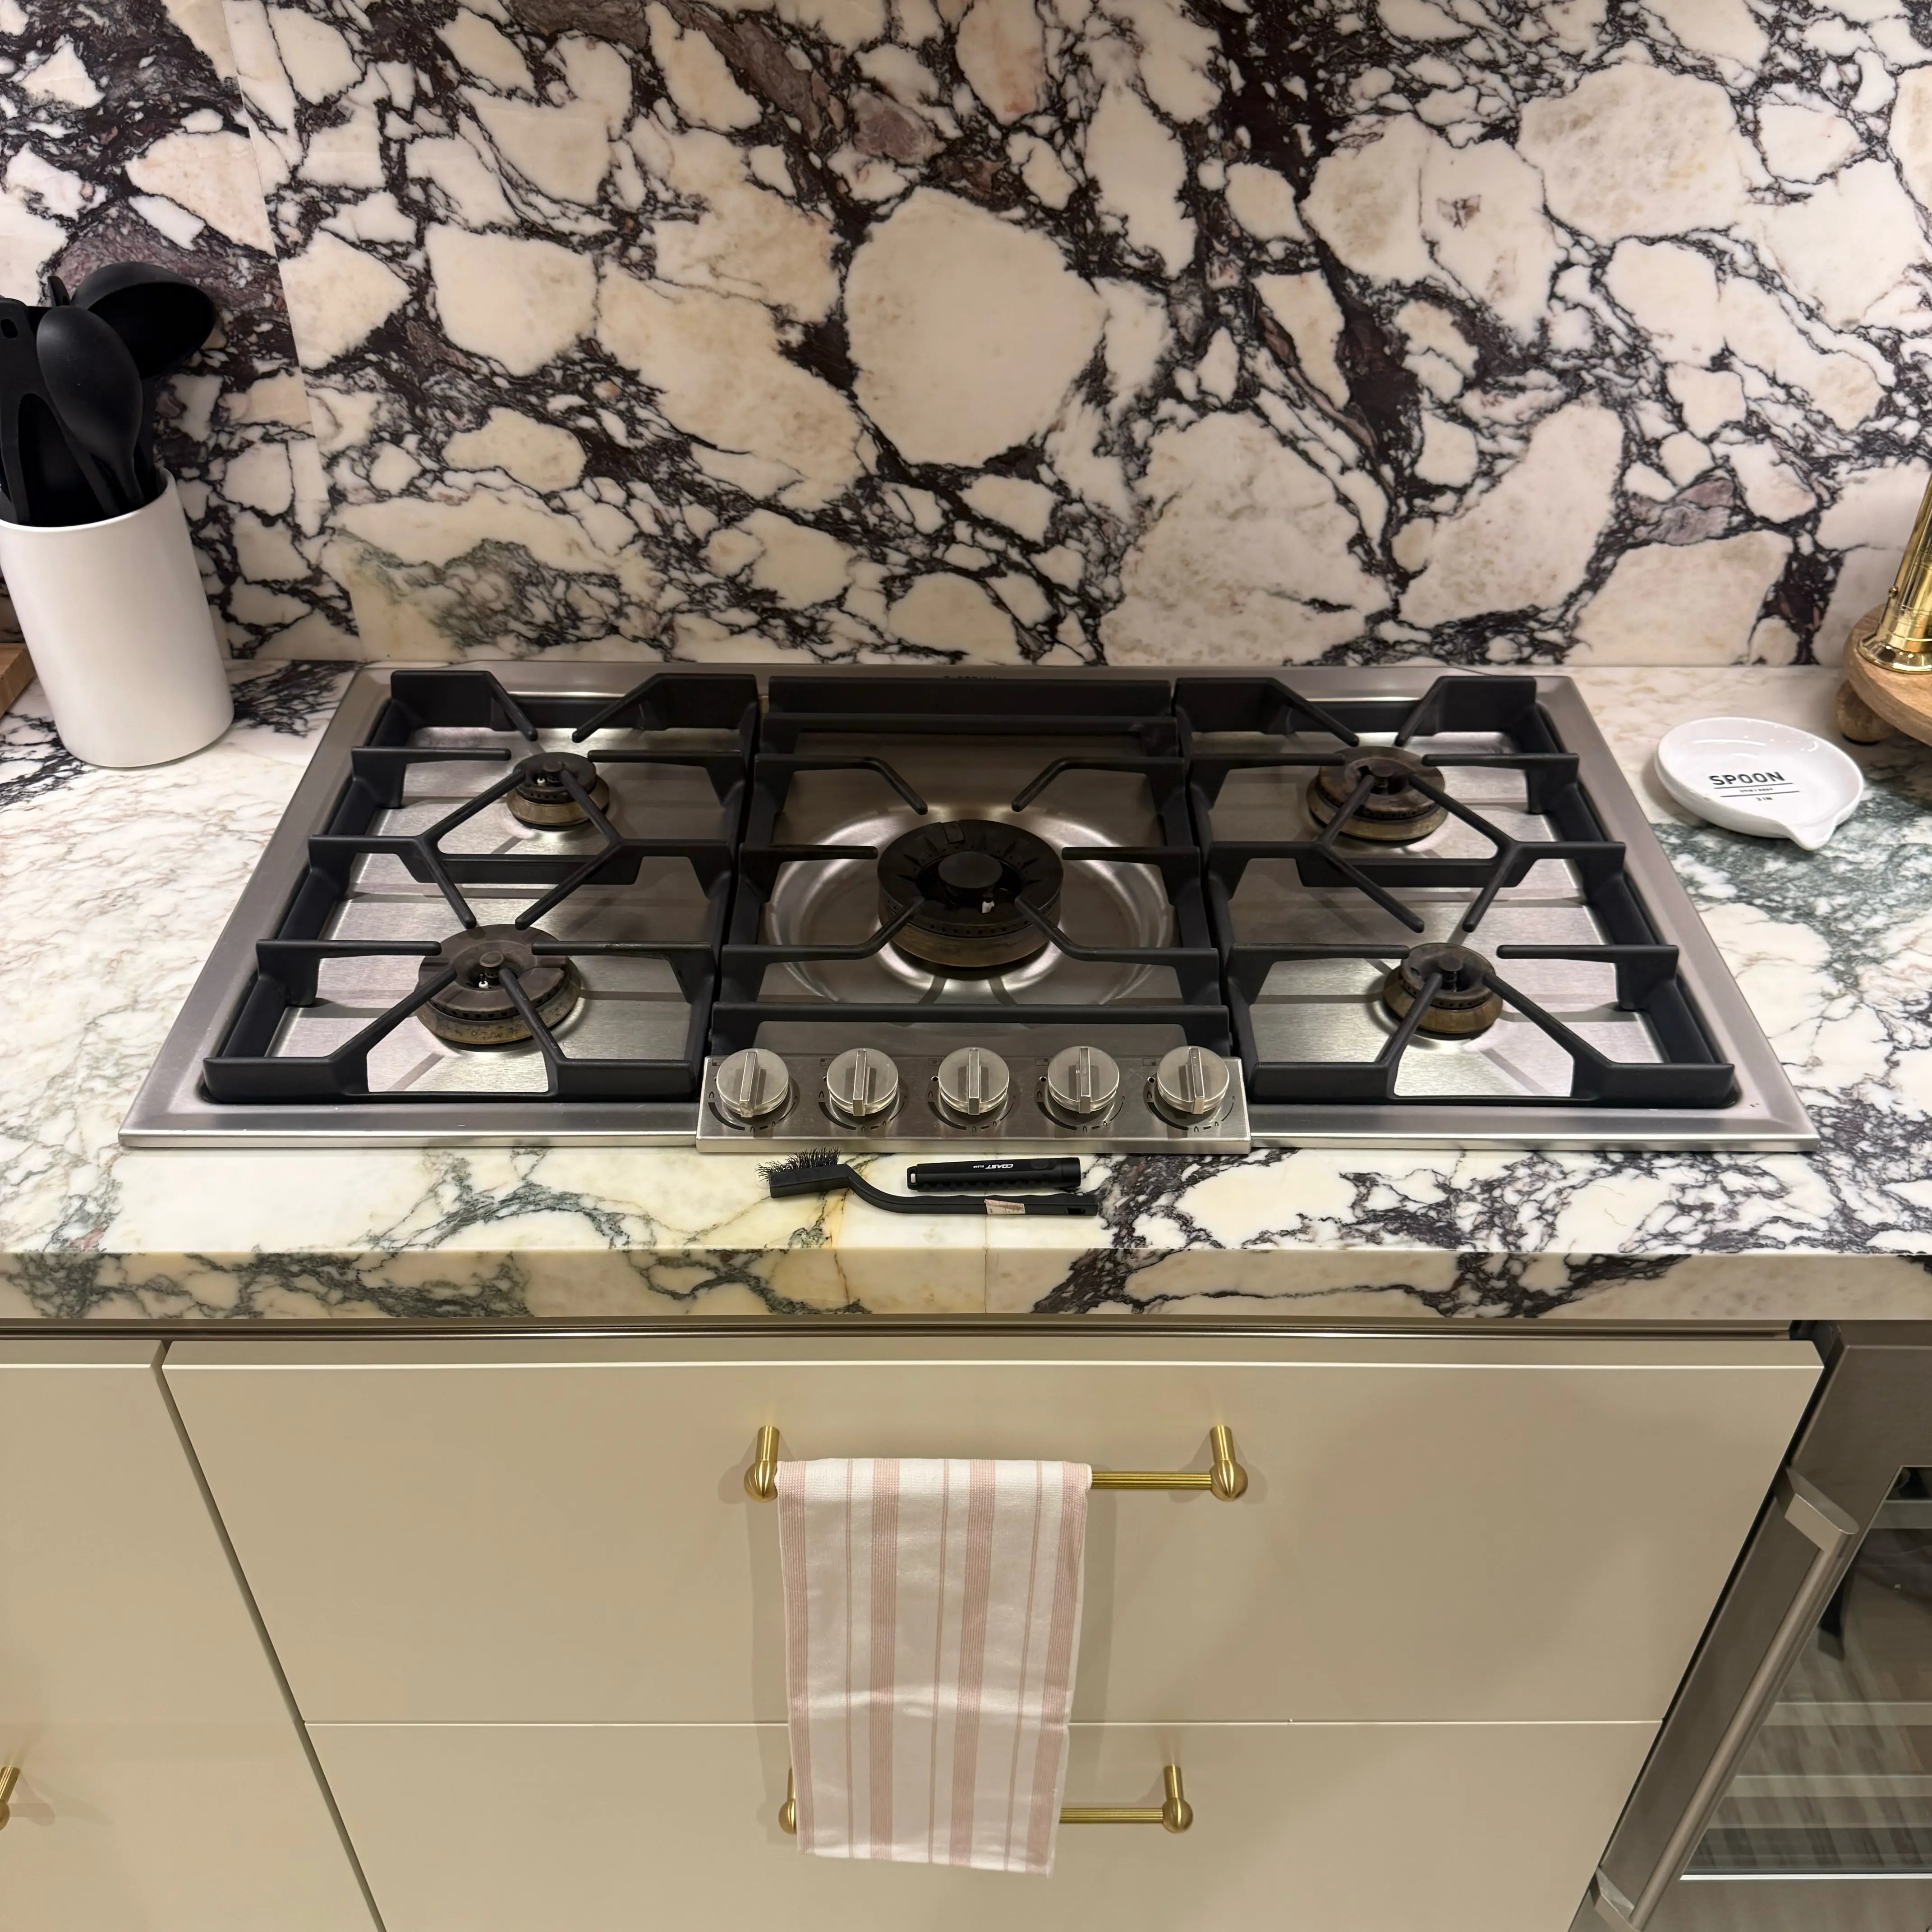
  • a burner cap, ring, or head that is not seated in its indexed position;
  • food, cleaner residue, or debris at the igniter or burner ports;
  • a pot, pan, or draft that disturbs the flame;
  • flame lift, uneven flame, or delayed ignition;
  • a knob or ignition switch that does not return to its normal position;
  • an ignition module, switch, wiring, grounding, or gas-delivery condition that needs service.

Those are mechanisms, not instructions to dismantle the system. Wolf’s public material includes some technical tests and forced-drying suggestions intended for trained support contexts; safe household checks stop at cool, visible, removable, manual-approved parts. Electricity and gas are present in the same appliance.

Identify the exact clicking pattern

Before touching removable parts, note:

  • Does clicking happen only while turning one knob to Light?
  • Does it continue after that burner has a stable flame?
  • Does it continue after all knobs are Off?
  • Did the symptom begin immediately after cleaning or a spill?
  • Is one burner affected or do several click?
  • Does the flame light promptly, lift, flutter, go out, burn unevenly, or appear in the wrong place?
  • Is a knob sticky or slow to return?

A brief ignition click is not the same as continuous sparking with controls off. Multiple burners clicking may be normal on a specific older platform during ignition, but it is not a blanket explanation for clicking after shutdown.

Ranked action plan

Low effort: remove the immediate non-technical causes

Turn everything off and let the cooktop cool

Why it works: Cooling removes burn risk and lets you determine whether clicking is tied to a knob’s ignition position or continues independently.

Tools/materials: None.

What to do:

  • Turn every burner control fully to Off.
  • Confirm visually that all flames are out.
  • Wait until grates, caps, rings, and the cooktop surface are cool.
  • If clicking continues with controls off, stop normal use.

Common mistakes:

  • Grabbing a hot cap.
  • Blowing out a flame while gas continues.
  • Cycling knobs rapidly to stop the sound.
  • Continuing to cook on another burner while the ignition system clicks.

Correlate the symptom with cleaning or spillover

Why it works: Wolf identifies moisture and spill residue as common reasons for clicking. A wet ignition area can conduct the spark differently until fully dry.

Tools/materials: Clean absorbent cloth and time for natural air-drying.

What to do:

  • Recall whether the surface was washed, sprayed, or boiled over.
  • Blot visible moisture only after the unit is cool and off.
  • Remove standing liquid from the surrounding surface without pushing it into openings.
  • Allow natural air circulation and complete drying before one test.

Common mistakes:

  • Using a hair dryer, heat gun, open flame, or oven heat to force drying.
  • Pouring cleaner or water around the igniter.
  • Energizing the appliance repeatedly while it is wet.
  • Assuming moisture is the cause when there was no recent liquid event.

Remove pan and draft effects

Why it works: Wolf notes that cookware position and flame lift can influence re-ignition behavior. An oversized pan, strong room draft, or poor flame contact can make the ignition system continue trying.

Tools/materials: None.

What to do:

  • Turn the burner off.
  • Remove the cookware after it is safe to handle.
  • Stop direct fan or open-window drafts that disturb the flame, without disabling required room ventilation.
  • On the later controlled test, observe flame stability from a normal distance.

Common mistakes:

  • Blocking required ventilation.
  • Leaning over the burner to watch ignition.
  • Moving a burning pan while gas behavior is uncertain.

Medium effort: clean and reassemble owner-removable parts

Photograph burner-part orientation before removal

Why it works: Caps and rings may be indexed or shaped for a specific position. A photo helps restore the original, manual-approved orientation.

Tools/materials: Phone camera and exact Wolf use-and-care guide.

What to do:

  • Confirm the burner is off and fully cool.
  • Photograph the grate, cap, ring, and burner-head arrangement.
  • Remove only parts the manual identifies as owner-removable.
  • Keep parts from different burner sizes separate.

Common mistakes:

  • Mixing caps between burners.
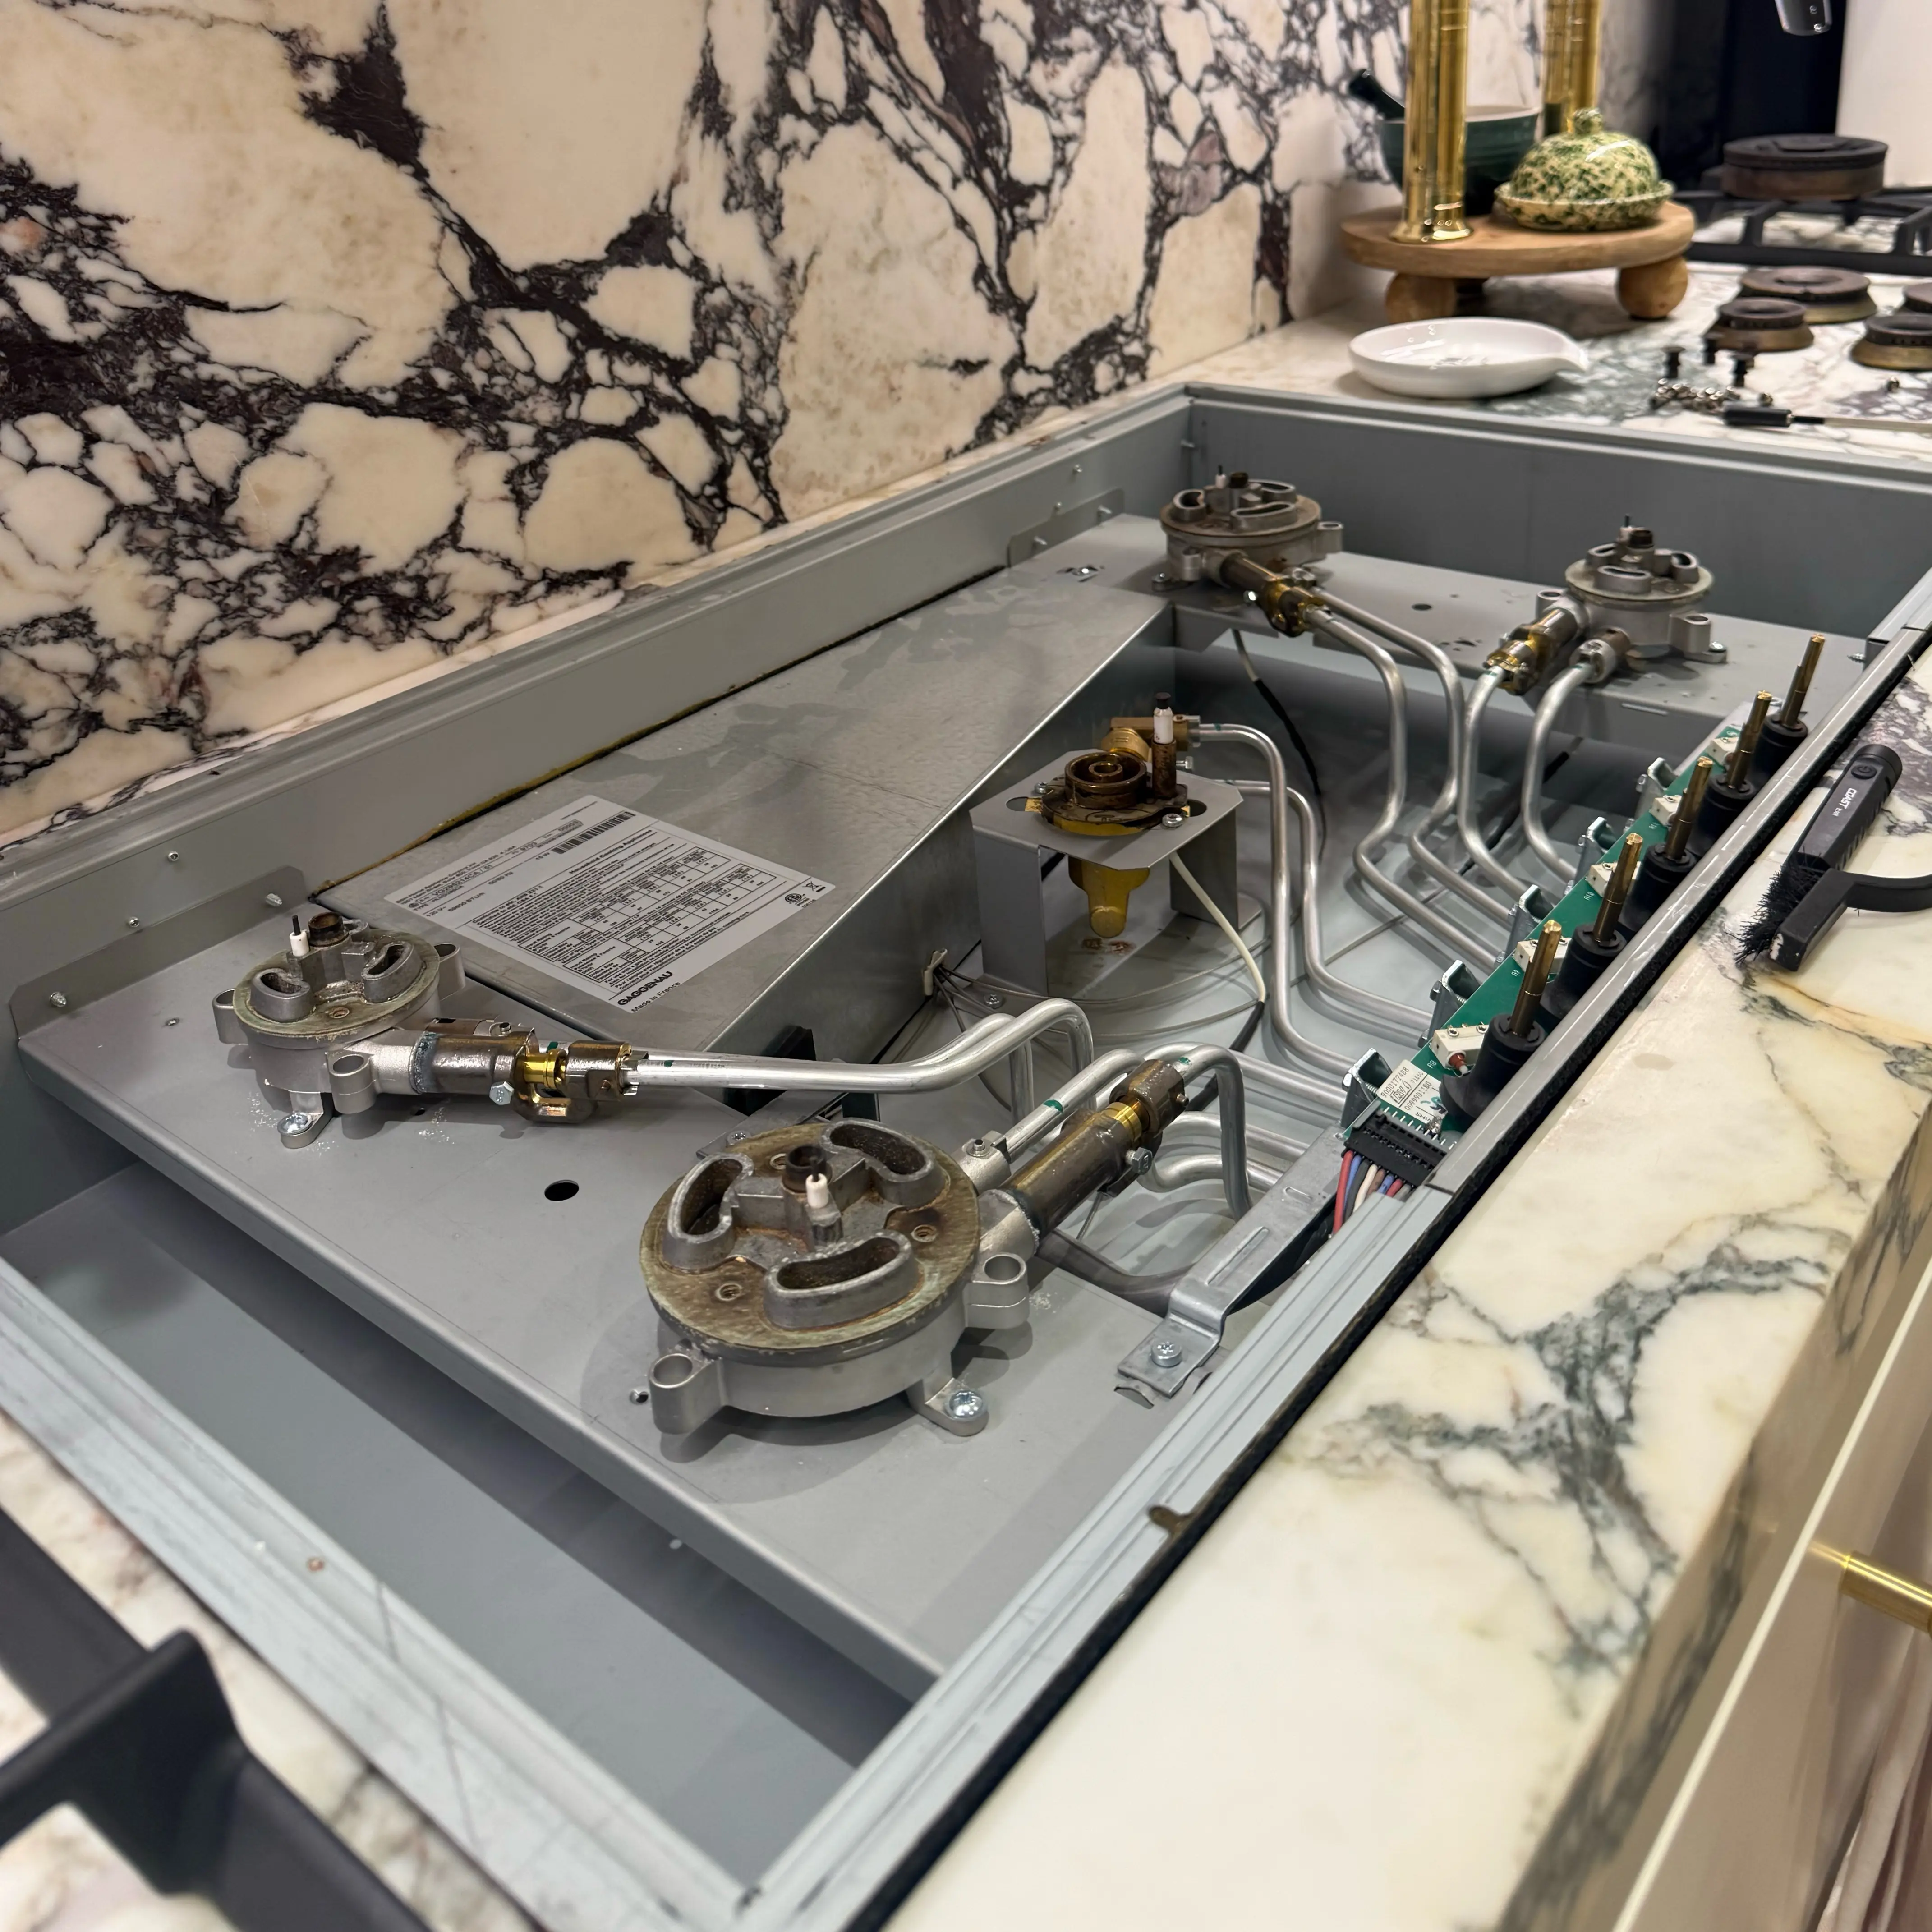
  • Removing screws, igniters, wires, bases, or sealed burner components.
  • Forcing a part that does not lift as the manual shows.

Clean visible residue without changing the burner ports

Why it works: Food, grease, or cleaner film can interfere with ignition and flame distribution. Gentle cleaning restores the designed surfaces without enlarging gas openings.

Tools/materials: Soft cloth, soft nonmetal brush, and the mild cleaning method approved by Wolf.

What to do:

  • Wipe removable caps/rings and the accessible burner surface.
  • Clean around the ceramic igniter carefully without striking or bending it.
  • Remove loose debris from accessible burner ports only by the manual-approved method.
  • Rinse only components the manual says may be rinsed.

Common mistakes:

  • Using a needle, drill bit, or metal pick to enlarge ports.
  • Scrubbing or levering against the ceramic igniter.
  • Spraying cleaner into the switch, stem, or burner base.
  • Using abrasive pads that change mating surfaces.

Air-dry completely and reseat exactly

Why it works: Residual water can keep the spark path unstable; incorrect cap seating can delay or distort ignition. Wolf specifically includes moisture and cap position in its clicking guidance.

Tools/materials: Dry towel, clean drying surface, exact manual.

What to do:

  • Let all cleaned parts air-dry completely.
  • Wipe the cooktop and accessible burner well dry.
  • Match each cap/ring to its original burner.
  • Align tabs, pins, notches, or flat surfaces exactly as shown.
  • Confirm the part sits level and does not rock.

Common mistakes:

  • Testing while parts are still damp.
  • Rotating a cap until it “looks close.”
  • Stacking a cap on food residue.
  • Operating without a cap or ring.

High effort: one controlled ignition observation

Test one burner once, from a normal operating position

Why it works: One controlled test after complete drying and correct assembly shows whether the safe external cause was removed. Repeated clicking tests add unburned-gas and electrical exposure without improving the evidence.

Tools/materials: Phone notes; no meter, flame, or test tool.

What to do:

  • Confirm there is no gas odor.
  • Use the normal lighting procedure in the exact manual.
  • Observe whether ignition occurs normally and the flame is even and stable.
  • Turn the burner off and confirm the flame ends and clicking stops.

Common mistakes:

  • Trying every burner repeatedly.
  • Holding the knob in an undocumented position.
  • Testing with a match or lighter.
  • Looking for spark by removing parts and energizing the system.

Escalate a dry, correctly assembled repeat symptom

Why it works: Once moisture, cap seating, visible residue, cookware, and draft are excluded, service may need to distinguish a switch that remains active, ignition-module output, damaged igniter, grounding/wiring fault, burner gas-flow issue, or flame instability.

Tools/materials: Model/serial photo, video of the normal operating symptom from a safe distance, spill/cleaning history, and the affected-burner position.

Common mistakes:

  • Testing switch continuity while the appliance is connected.
  • Replacing an ignition module because all burners click.
  • Adjusting gas pressure, shutters, valves, or orifices.
  • Using generic Wolf procedures without matching the model.

Stop DIY and call a professional if…

  • Any gas odor is present.
  • A burner does not ignite promptly, ignition is explosive or delayed, or flame appears outside the expected ports.
  • The flame lifts, repeatedly goes out, is very uneven, or does not shut off.
  • Clicking continues after every knob is Off.
  • Clicking returns after complete natural drying and correct cap/ring seating.
  • A knob is stuck, damaged, or does not return normally.
  • The igniter ceramic is cracked, loose, wet internally, or visibly damaged.
  • Liquid entered below the surface, a breaker trips, or there is arcing/burning.
  • The next step requires power measurements, burner-base removal, switch access, wiring, gas pressure, valves, or orifices.

Maintenance cadence

Weekly

  • Wipe spills after the cooktop is off and cool.
  • Confirm removable burner parts remain level and correctly seated.

Monthly

  • Inspect accessible burner ports and igniter areas for residue using the manual-approved method.
  • Check that knobs return smoothly to Off without forcing them.

Quarterly

  • Review flame appearance across burners during normal use and note persistent lift, unevenness, or delayed ignition.
  • Confirm grates and caps have not been mixed after deep cleaning.

Annual

  • Review the exact model’s cleaning and ignition instructions.
  • Arrange evaluation if ignition time, clicking behavior, flame stability, or shutoff behavior has changed.

FAQ

Why does my Wolf burner keep clicking after it lights?

Moisture, cap position, residue, cookware, draft, or unstable flame can keep the ignition system active. Turn it off and use only the cool/dry/reseat checks before one controlled retry.

Why do all the burners click when I light one?

Some older Wolf platforms may spark more than one burner during normal ignition. Confirm the exact model; clicking after all controls are off is not explained by normal ignition.

Can cleaning water cause continuous clicking?

Yes. Moisture around the ignition area is an official Wolf-listed cause. Turn the appliance off, blot visible liquid, and let owner-removable parts air-dry completely.

Can I use a hair dryer to dry the igniter?

No. Forced heat around a gas appliance can damage parts or create an ignition risk. Use natural air-drying with the appliance off.

How should the burner cap sit?

It should match the correct burner, align with the model-specific indexing, sit level, and not rock. Use the exact manual and a before-removal photo.

Can I clean burner holes with a needle?

Do not enlarge or alter the ports. Use only the tool and method specified in the Wolf guide; otherwise stop and arrange service.

Is clicking dangerous if there is no gas smell?

It still deserves correction because it can indicate wet electrical ignition parts, a stuck switch, unstable flame, or another fault. Continuous clicking with controls off is a stop-use condition.

Should I light the burner with a match to test gas flow?

No. Do not introduce a flame to diagnose delayed ignition or clicking. Gas delivery and ignition need qualified evaluation.

Why does clicking return when I put a large pan on the burner?

Cookware position or flame disturbance may affect flame stability. Turn the burner off, remove the pan when safe, and follow the model’s cookware and burner-size guidance.

What evidence should I provide for service?

Provide model/serial, burner position, whether clicking occurs before/after flame or with controls off, recent spill/cleaning history, cap-seating photos, flame description, and a safe-distance video.

Sources you would cite

Booking

Appliance Repair in NYC

Choose a time that works for you. Share the appliance type, address, and the issue you are seeing. We review the request and confirm the appointment details before the visit is finalized.

$99 diagnostic

Credited toward repair after approval

180 day warranty

Parts and labor on completed repair

OEM parts

Used when applicable and available

Licensed and insured

COI available if building requires it

What Happens Next

You send the request with the appliance type, location, and symptom.

We review the details and confirm service area, timing, and access notes.

If needed, we may ask for a model and serial photo before the visit.

Before You Book

If you smell gas, see sparks, notice a burning odor, or have an active water leak near electrical parts, stop using the appliance and handle the safety issue first.

NYC Appliance Repair Help & Guides

Practical appliance repair guides based on real service calls in New York City. Find common problems, error codes, troubleshooting steps, and repair information for refrigerators, washers, dryers, dishwashers, ovens, ranges, and other home appliances.