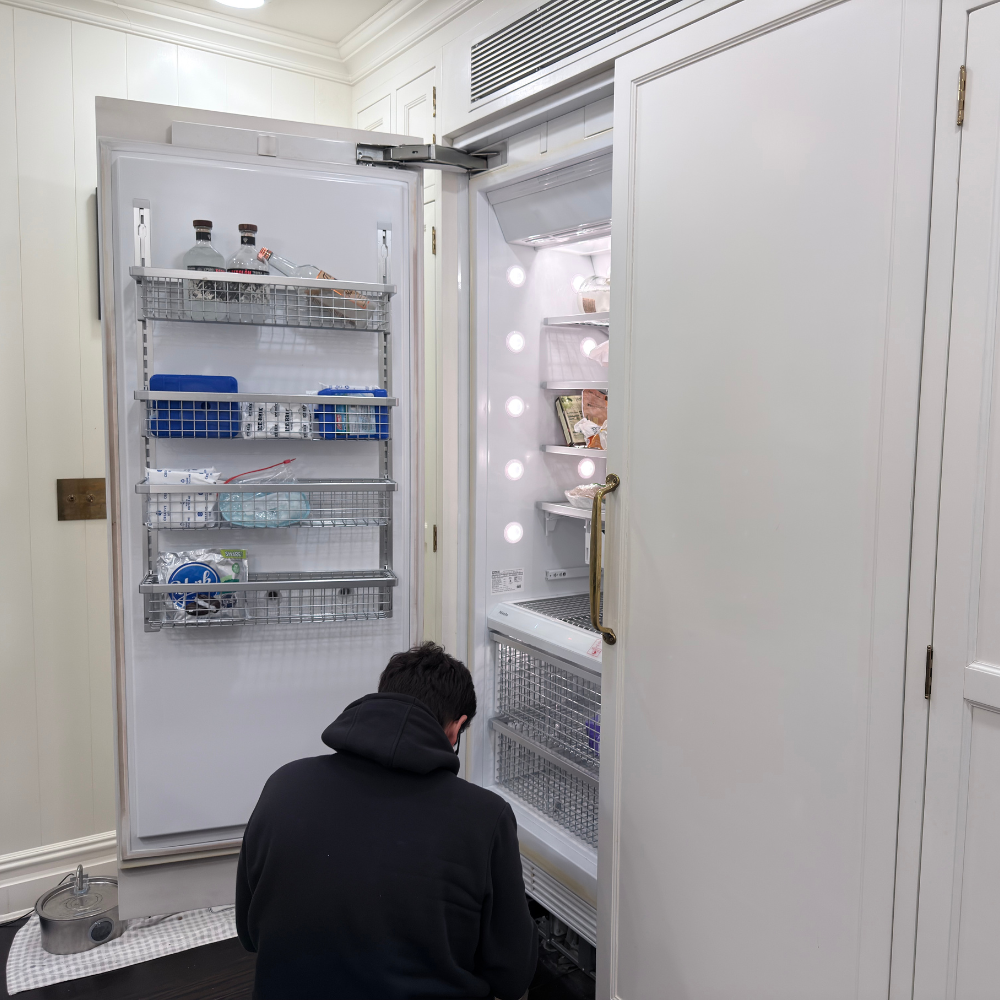
Replace a bad Sub-Zero door seal because torn, cracked, or deformed gaskets let warm, humid air leak into the cabinet. That leak can create condensation or frost and makes the unit work harder to maintain proper cooling. If cleaning and confirming the door closes fully does not restore a tight paper-test seal, replacement is the correct fix.
At-a-Glance Checklist (2 minutes)
- Inspect the gasket for rips, tears, cracks, hardened spots, or areas pulling away from the door.
- Clean the gasket and the cabinet contact surface, then dry thoroughly.
- Do the paper (or dollar bill) test around the full perimeter.
- Confirm nothing inside the unit prevents the door from closing fully.
- If the gasket is damaged or still fails the paper test after cleaning, plan on gasket replacement.
Quick Fix (10–20 minutes)
This is the fastest safe path to rule out “dirty gasket” versus “failed gasket.”
- Turn the unit off.
- Wipe the gasket with mild detergent and water using a soft cloth.
- For tougher stains, use water plus baking soda paste.
- If mold or mildew is present, wipe with a 1:10 bleach-to-water solution, then rinse.
- Rinse and dry thoroughly.
- Repeat the paper test after everything is dry.
Before You Start (Safety + Tools)
- Do not disassemble the unit or adjust hinges unless you are trained.
- Turn the unit off before cleaning the gasket.
- Use only mild detergent, water, and a soft cloth. Avoid cleaners that can damage plastics.
Fast Diagnosis: What Your Symptoms Usually Mean
- Paper (or dollar bill) slides out easily in one spot: localized seal failure, deformation, or door not closing square at that corner.
- Paper slides out easily in multiple spots: gasket is worn/hardened, or the door is not closing properly.
- Condensation or moisture near the door opening: warm, humid air is getting in, commonly from a door left ajar or a compromised gasket.
- Frost/ice buildup inside: door not closing properly and/or gasket damage can be a contributing factor.
Why This Happens (Real Root Causes)
- Physical damage: rips, tears, or cracks prevent the gasket from sealing.
- Loss of gasket “shape”: the gasket can deform or stiffen so it no longer presses evenly against the cabinet.
- Contamination: sticky residue and spills can accelerate gasket wear and interfere with sealing until cleaned.
- Door not fully closing: food containers, bins, or shelf loads can stop the door from seating fully, creating a persistent air leak.
Step-by-Step Troubleshooting (Do This in Order)
- Clean and dry the gasket and contact surface
- Why it matters: residue can prevent a proper seal and can accelerate gasket wear.
- Checks: wipe the full gasket, the corners, and the cabinet surface it contacts; rinse and dry thoroughly.
- What the result means: if sealing improves after cleaning, the gasket may be serviceable.
- Next action: retest the seal with paper after everything is fully dry.
- Run the paper test around the entire perimeter
- Why it matters: it quickly shows whether the door seals “airtight” under normal closing force.
- Checks: close the door on a strip of paper so it is half in and half out; repeat at multiple points.
- What the result means: if the paper pulls out easily, the latch may need adjustment or the seal may need replacing.
- Next action: if the test fails after cleaning and proper closing, treat it as a gasket replacement decision.
- Inspect for obvious gasket failure
- Why it matters: rips, tears, and cracks are not “adjustment” problems; they are seal integrity problems.
- Checks: look for splits at corners, cracks on folds, hardened sections, or areas separating from the door edge.
- What the result means: visible damage is a direct reason to replace the gasket.
- Next action: schedule gasket replacement (Sub-Zero commonly recommends a service technician for this work).
- Confirm the door is actually closing fully every time
- Why it matters: a door left ajar or blocked from closing behaves like a bad gasket (warm air leaks in).
- Checks: verify nothing inside the unit interferes with the door; close the door and confirm it seats evenly.
- What the result means: if the door does not close properly, sealing will be unreliable even with a new gasket.
- Next action: if the door alignment or closing mechanism seems off, stop and schedule service.
Common Mistakes That Waste Time
- Skipping cleaning and declaring the gasket “bad” without retesting after drying.
- Testing the seal in only one spot instead of checking the full perimeter.
- Treating visible rips/cracks as an “adjustment” issue instead of a replacement issue.
- Using harsh chemicals that can damage plastics and make sealing worse over time.
When to Call a Technician
- The gasket is ripped, torn, cracked, hardened, or pulling away from the door.
- The paper test still fails after cleaning, drying, and confirming the door closes fully.
- You see persistent condensation/moisture near the door area after you confirm the door is not being left ajar.
- You suspect the door is not closing properly due to alignment or hardware issues.
If you need professional service, link this text to your hub page: Sub-Zero appliance repair NYC.
FAQ
Is a bad door seal just an efficiency issue, or can it affect cooling?
It can affect both. A compromised seal lets warm, humid air enter, which increases the load on the refrigeration system and can contribute to moisture/frost symptoms and unstable conditions.
How do I know it’s the gasket and not something else?
A failing seal is usually confirmed by a combination of (1) visible damage and/or (2) failing the paper test after the gasket and contact surfaces have been cleaned and dried.
Can cleaning really fix it?
Cleaning can fix “contamination-caused leaking” (sticky residue, mildew, buildup). If the gasket is physically damaged or still fails the paper test after cleaning, replacement is the correct fix.
Does Sub-Zero recommend professional replacement?
For door gasket replacement guidance, Sub-Zero explicitly indicates replacement for damaged gaskets and notes that having a service technician replace the gasket is recommended.


.avif)
.avif)


.png)

.jpg)
