
Appliance water leaks in NYC apartments demand immediate action. Follow this exact playbook: shut off water, notify the building, document damage, assess liability.
A water leak from your dishwasher or washing machine in a NYC apartment is not just an appliance failure—it's a building emergency with legal implications. The first 30 minutes determine whether damage is contained or cascades to neighbors. The response protocol differs dramatically between co-ops, condos, and rental apartments.


.jpeg)


An appliance water leak in an NYC apartment building is not a single-unit event. Water in a multi-story building doesn't respect floor boundaries — it flows through subfloors, across ceiling joists, down through wiring, and into the unit below. A washer supply hose failure, a dishwasher door seal that let go during a cycle, or a refrigerator ice maker line that finally cracked after years of small drips can produce dozens of gallons on your floor in less than 10 minutes. By the time water reaches the unit below, you're not managing a maintenance call anymore — you're managing a liability situation.
What happens in the first five minutes determines whether this is a contained appliance repair or a multi-unit insurance claim with your name on it. The protocol below is not hypothetical — it's what we observe prevents cascading damage in the situations we're called into after the fact.
The single most important action in the first 60 seconds is identifying and stopping the water source. Every appliance in your kitchen and laundry area has a dedicated shut-off valve or a source you can cut off. Know these locations before there's an emergency.
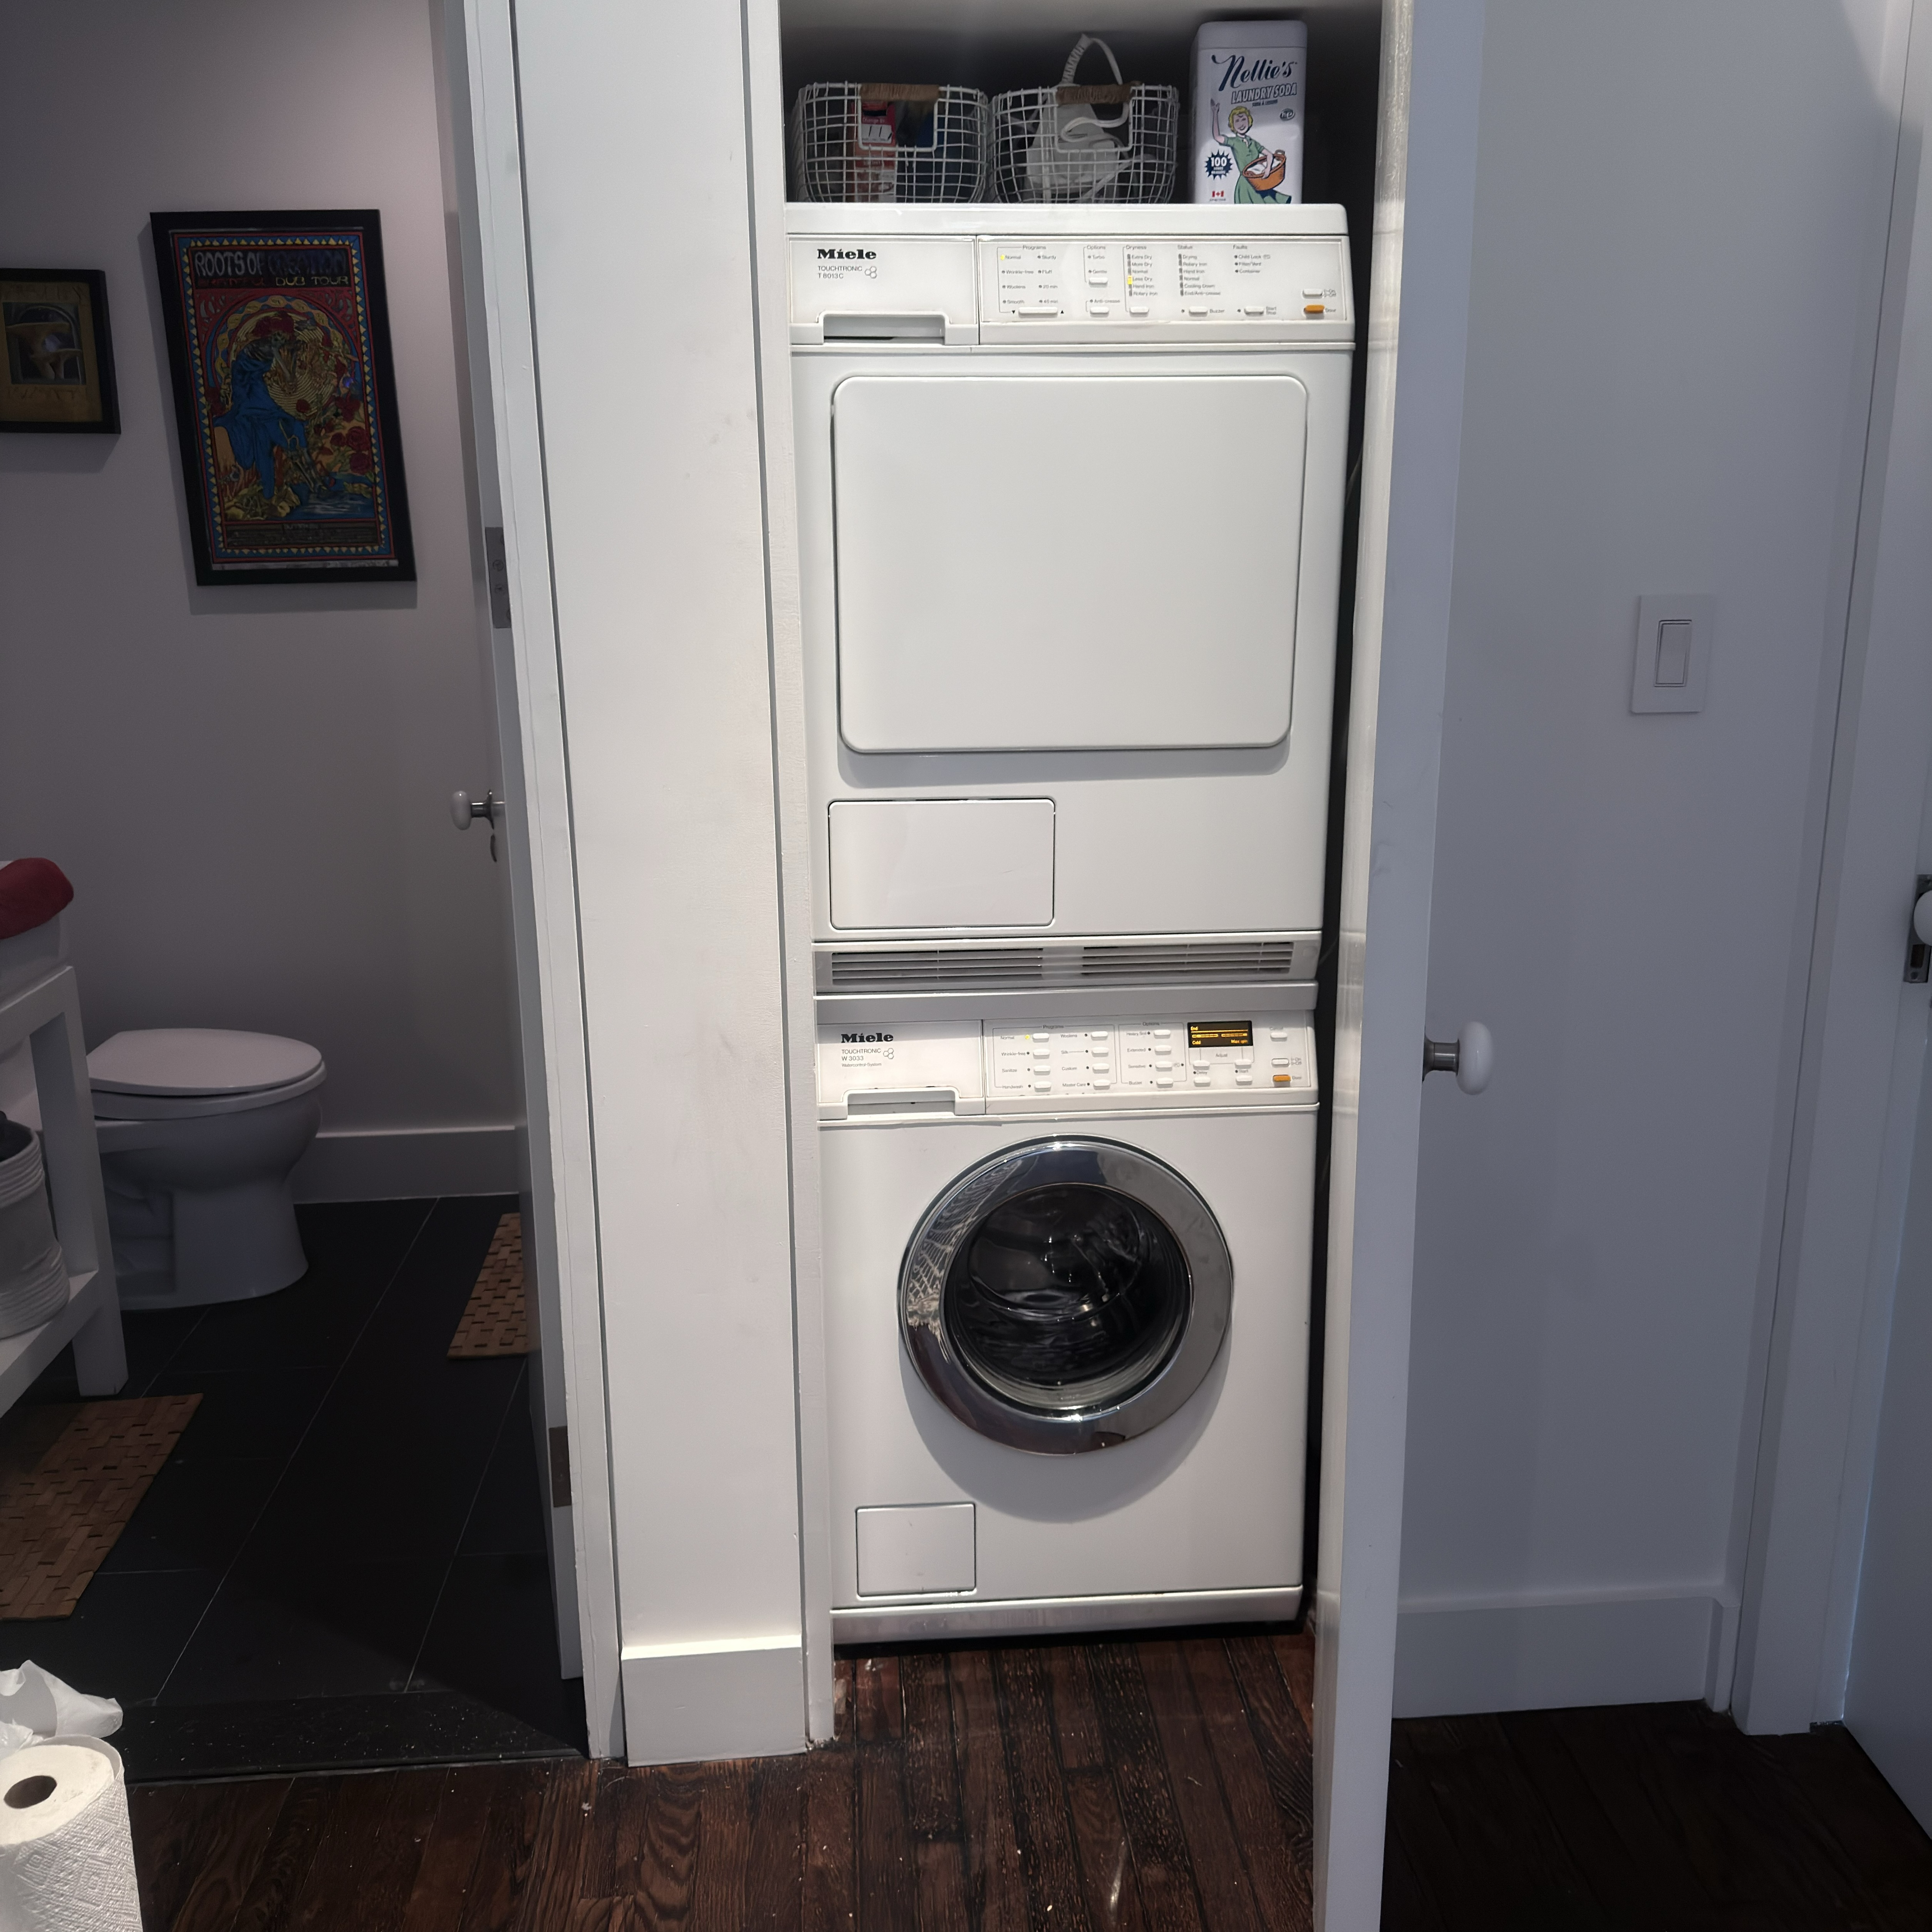
Washing machine: two shut-off valves on the wall behind or above the unit — one for hot, one for cold. Turn both clockwise until they stop. If the valves are old and won't turn, or if you can't reach them because the machine is in the way, go to the main building water shut-off for your unit (typically in a hallway utility closet or under the kitchen sink).
Dishwasher: the water supply shut-off is under the sink, on the hot water line running to the dishwasher connection. Turn it clockwise to stop flow. If you can't identify it quickly, shut off the main under-sink hot water valve.
Refrigerator with ice maker or water dispenser: the supply line shut-off is behind the refrigerator, on the wall. In most NYC kitchens, the refrigerator is tight against the wall. If you can't reach the valve, pull the refrigerator away from the wall far enough to access it. Alternatively, turn off the main building shut-off for your unit.
Main unit shut-off: every NYC apartment should have a main water shut-off valve. It's typically in a utility closet, under the kitchen sink, or in a bathroom vanity. Know where yours is before you need it. Turning off the main stops all water to the unit and is the backup when individual appliance valves can't be accessed quickly.
Once the water source is stopped, take 90 seconds to photograph everything before touching anything. This documentation is your protection in an insurance claim and in any dispute with the unit below about the source and extent of the damage.
Photograph: the appliance and the visible water source. The floor coverage — how far water spread. Any visible water damage to cabinets, baseboards, flooring, and walls. The shut-off valve you used and its position. If water has gone toward the walls or appears to have reached any building structural element, photograph that specifically.
The time-stamp on your photos is critical. In multi-unit building claims, the sequence of events and the timeline of notification matters. A timestamped photograph of standing water in your kitchen is evidence that the event occurred at a specific time and that you responded immediately.
In a multi-story NYC building, you have an affirmative duty to notify building management — super, property manager, or building owner — immediately after a water event. This is not just a courtesy; it's a legal protection. If the unit below has water coming through their ceiling and they filed a complaint before you notified management, the liability timeline starts running against you.
Call or text the super first — text creates a timestamped record. If you can't reach the super immediately, contact the property management company directly. In co-ops and condos, the building's emergency line is typically listed in your governing documents. Notification should happen within 30 minutes of the event if at all possible.
When you notify management: state the appliance that was the source, the time the leak started, the time you stopped it, the approximate area of floor coverage, and that you've photographed the damage. Ask whether the unit below has reported any water penetration. This question establishes that you proactively asked about neighbor impact.
After documentation and notification: get towels down on the floor and begin absorbing standing water. The longer water sits on hardwood or below tile, the more it penetrates into the subfloor and structural layers. A wet-dry vacuum is significantly faster than towels for large volumes and is worth having in any NYC apartment where in-unit laundry or a kitchen is present.
Open windows and doors to begin ventilation. If the event happened in winter and humidity is a concern, a dehumidifier in the affected area reduces the drying time significantly and prevents mold growth in subfloor layers. Mold development under a floor begins within 24–48 hours of water exposure in an unventilated space.
For flooring: hardwood and bamboo floors that have absorbed significant water will likely cup or warp — this is a structural response to moisture, not surface damage, and it may resolve partially as the wood dries. Do not apply direct heat to accelerate wood drying — it causes cracking. Let it dry slowly with good ventilation.
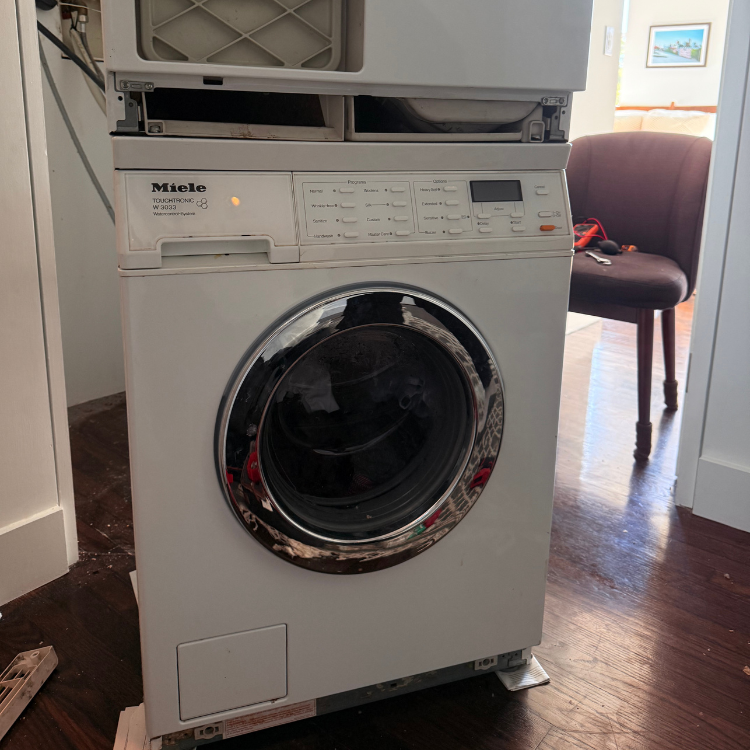
Washing machine supply hose failure is the most catastrophic appliance leak because supply hoses carry pressurized water at full line pressure. A burst hose can discharge 500+ gallons per hour until the source is shut off. If your washing machine supply hoses are more than five years old and original, replace them — braided stainless steel supply hoses are significantly more resistant to failure than rubber hoses and cost very little.
Dishwasher leaks occur at three primary locations: the door seal (water on the floor in front of the dishwasher during a cycle), the drain hose connection under the sink (water in the cabinet below the sink), or the supply line connection (also under the sink, usually a slow drip rather than a flood). Door seal failures are the most visible. Supply and drain line failures often accumulate water for months inside the cabinet before they're discovered.
Refrigerator ice maker line failures are slow-build events — a small crack or loose fitting drips for weeks or months behind the refrigerator before enough water accumulates to be noticed. The water typically pools under the refrigerator and flows toward the nearest cabinet gap. If you find water damage under a base cabinet near the refrigerator and can't immediately identify the source, pull the refrigerator away from the wall and inspect the supply line connection at the back of the unit and at the wall valve.
After the immediate emergency is contained, the appliance that failed requires inspection before it's used again. A dishwasher door seal that failed needs replacement before the next cycle. A washing machine with a burst supply hose needs the inlet valve assessed for secondary damage — a burst hose sometimes indicates the valve behind it also took a pressure spike. A refrigerator ice maker line that cracked may have a faulty compression fitting or a line that was kinked behind the unit for years — just reconnecting the line without inspecting the cause is a temporary fix.
The inspection is separate from the damage repair. Building management handles the structural and flooring damage. An appliance technician handles the appliance. These are two separate calls, and both should happen before the appliance is returned to service.


