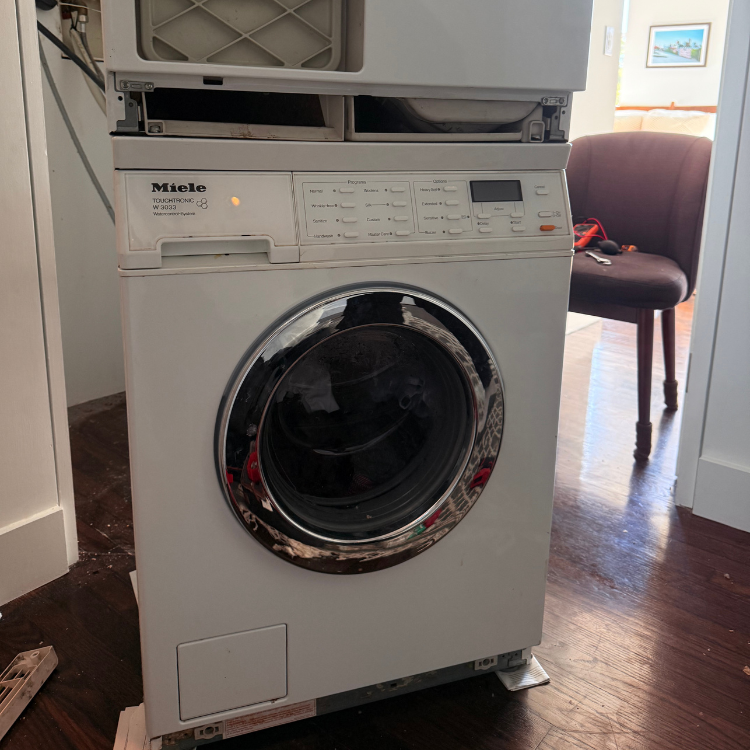
A Speed Queen SF/SWT stacked laundry center should be diagnosed as a two-part appliance: washer half first, dryer half second, shared installation third. Alliance/Speed Queen owner materials for stacked washer/dryers emphasize stable operation during washer high-speed spin, correct dryer heat setting, door closure, lint and exhaust path, and installer checklist items. Forum complaints often describe clothes coming out soaking wet, but that final symptom can start in the washer or the dryer.
The key question is whether the clothes were already too wet before they entered the dryer. If the washer failed to drain or spin, the dryer may look weak while doing its job. If the washer spun normally and the dryer leaves clothes warm damp, airflow or dryer heat becomes stronger. If the dryer is cold, fuel or heat branch matters. If both halves act strange, look at installation, power, access, and building conditions.
Separate washer half from dryer half
After the washer cycle, inspect the load before starting the dryer if possible. Standing water in the washer or dripping clothes means the dryer is not the first branch. A washer that drains but does not spin points toward lid/door lock, balance, belt/drive, motor, control, or service-level spin diagnosis. A washer that does not drain points toward pump, hose, blockage, or home drain. These are not dryer faults.
If the washer result is normal but the dryer leaves clothes damp, check dryer heat, lint screen, airflow, vent path, load size, and fuel type. A stacked cabinet makes the evidence more important because moving the appliance can be difficult.
Owner-safe checks
- Save the model tag and confirm whether the dryer is gas or electric.
- Check whether water remains in the washer at the end of cycle.
- Check whether the washer reaches high-speed spin or aborts with wet clothes.
- Clean the dryer lint screen and note whether the dryer heats.
- Inspect visible vent connection only if safely accessible.
- Do not pull the stacked center forward alone.
- Stop for gas smell, water leak, violent shaking, burning odor, or hot dryer cabinet.
What the symptom does not prove
Wet laundry does not prove the dryer is bad. It may prove the washer never removed water. No spin does not prove a motor failure. Long dry time does not prove a heating part. A stacked laundry center concentrates multiple systems in one cabinet, so the final wet load can hide the first failure.
Another false assumption is that a stacked laundry center can be serviced like a freestanding dryer. The vent, drain, water valves, gas/electric supply, and cabinet access may all be constrained. Service planning is part of the diagnosis.
Gas, electric, and vent differences
Speed Queen stacked centers can have different dryer fuel types and model configurations. Gas dryer complaints require gas safety boundaries. Electric dryer no-heat complaints require power and heat-circuit diagnosis. Both need airflow. A hidden or restricted vent can make a strong dryer leave clothes damp and run hot. Do not treat gas and electric heat symptoms as the same repair.
If the dryer heats but clothes are warm damp, airflow is the first dryer branch. If it tumbles cold, fuel/heat branch is stronger. If it overheats or shuts off, stop and treat airflow or thermal protection as active.
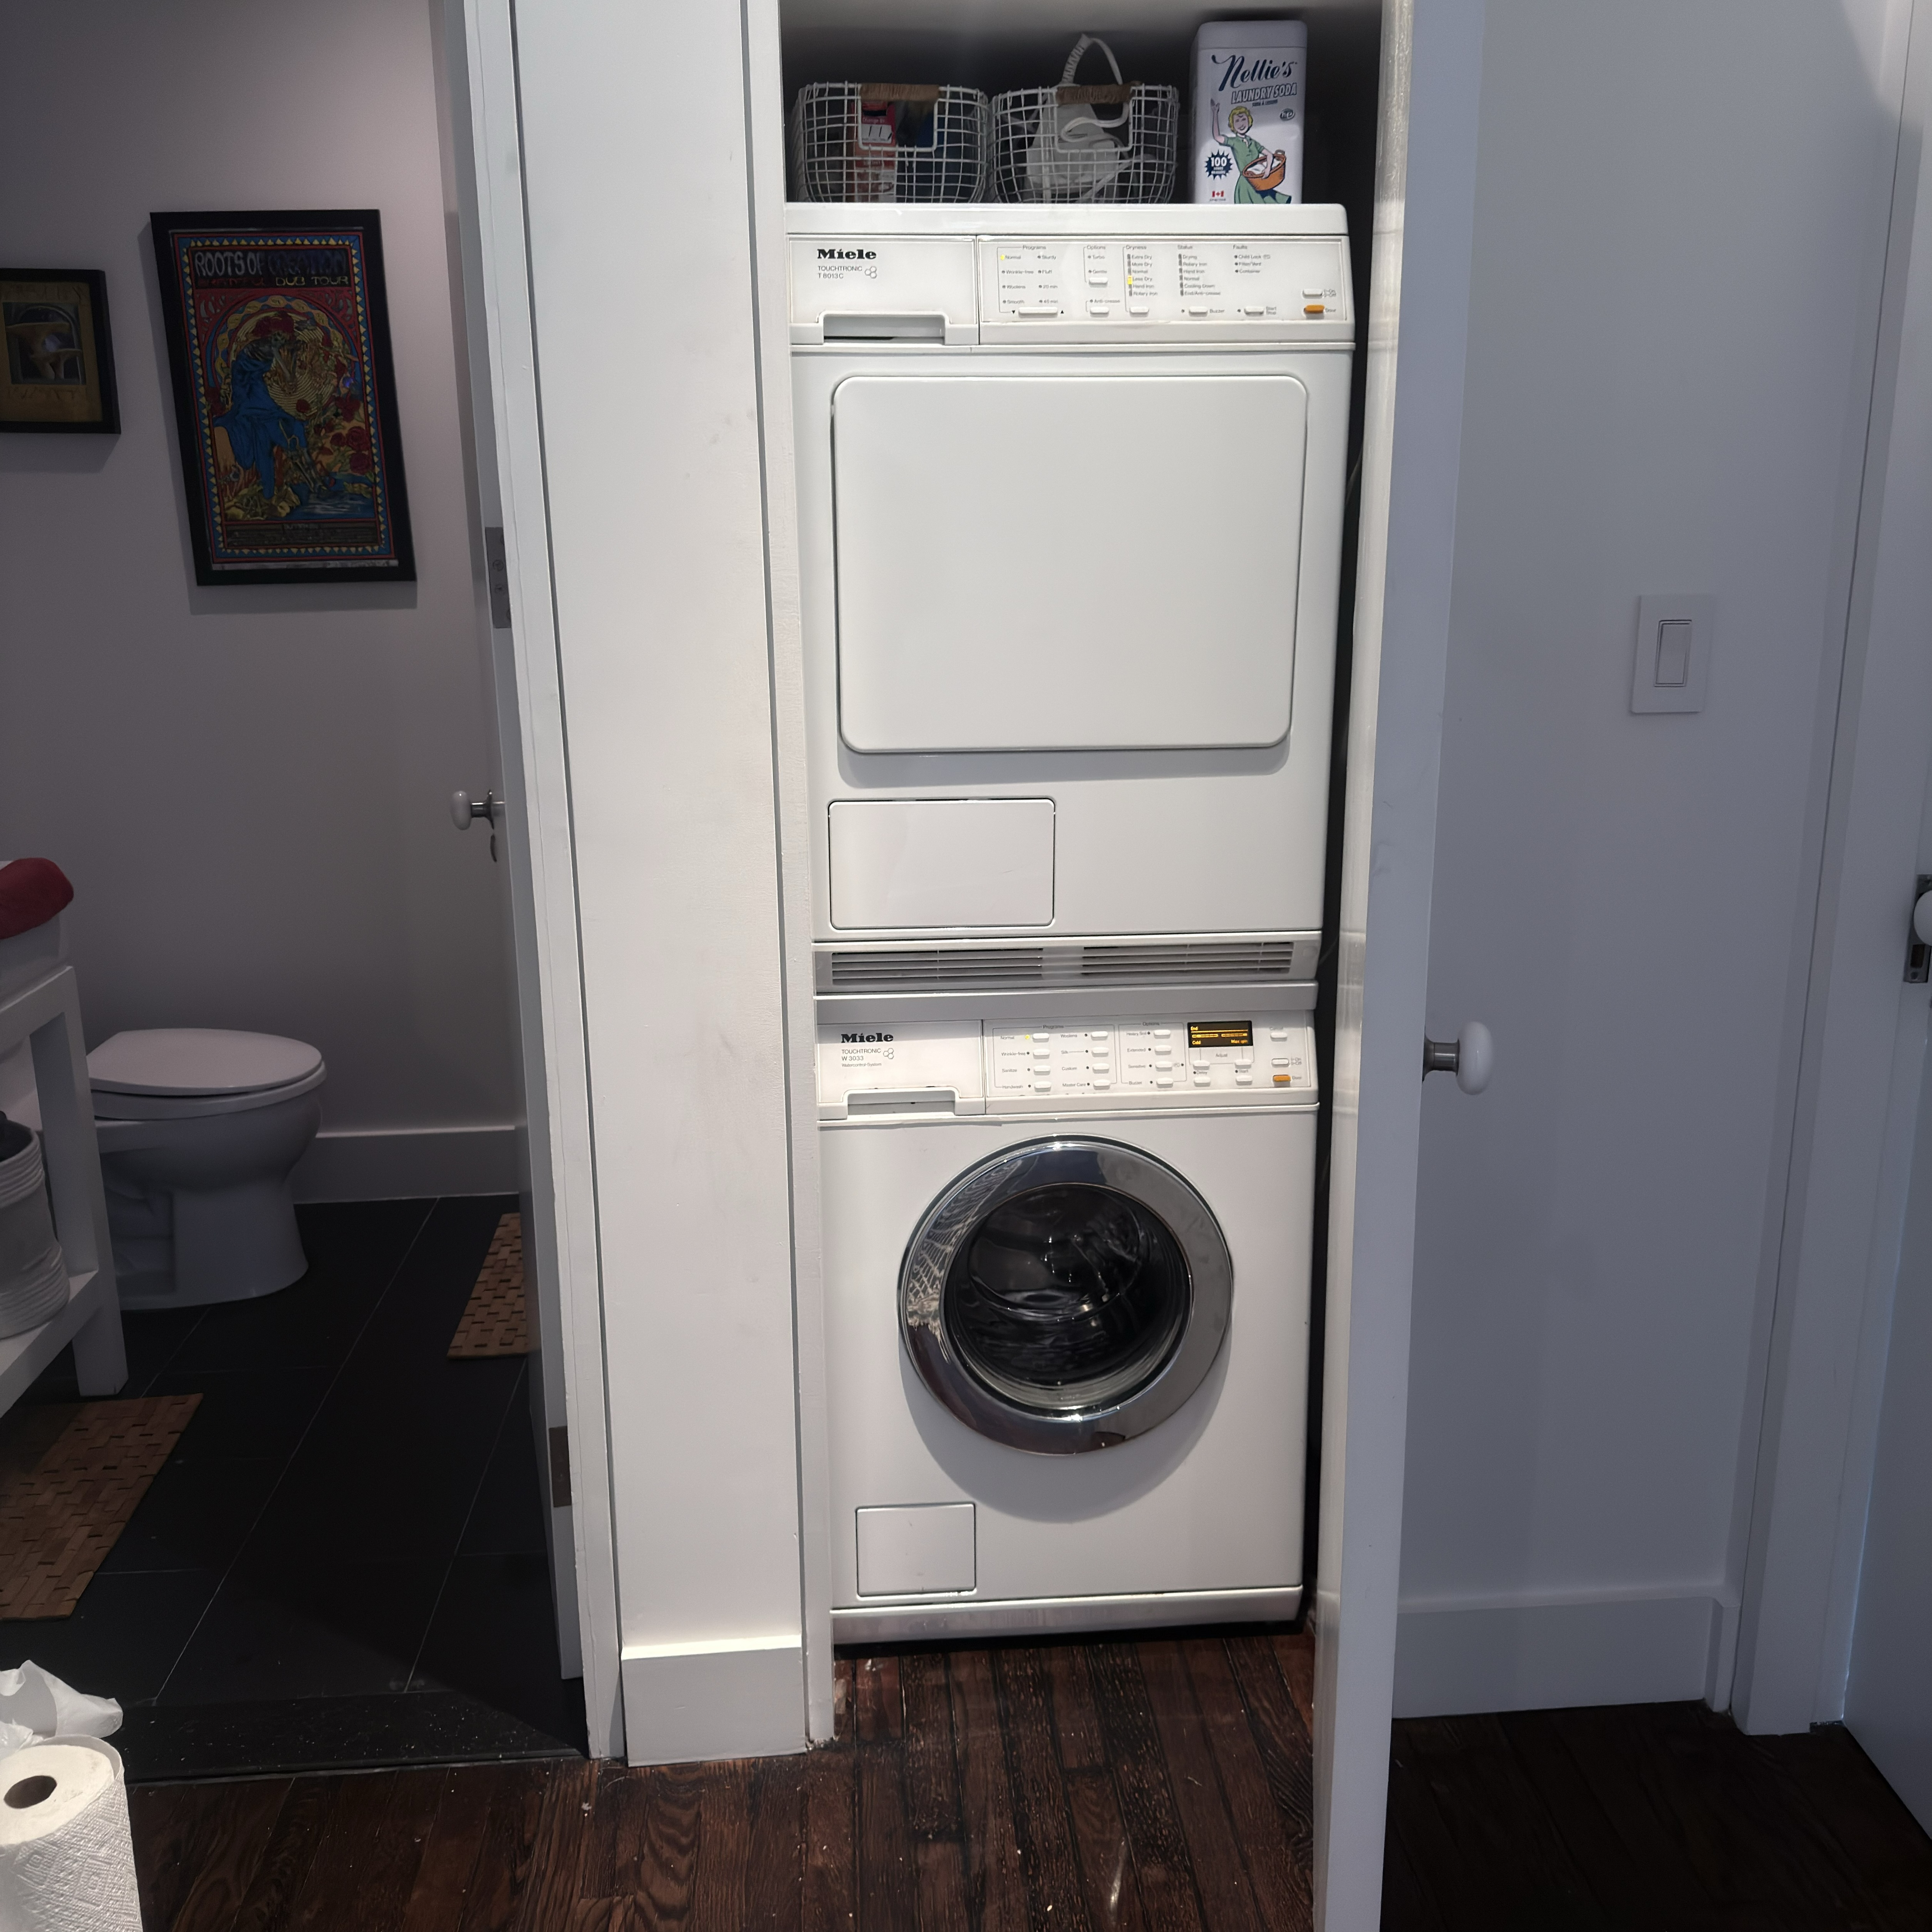
Installation and apartment access
In NYC apartments, unitized or stacked laundry centers are often wedged into closets. A pan, tight side wall, bifold doors, shelves, or building vent can block access. Do not move the center by yourself. It may be attached to water, drain, vent, power, and gas. Photograph the installation before service so access can be planned.
If the washer shakes during spin, the dryer above can amplify movement. If the washer leaks, the water can travel under the entire cabinet. If the dryer vent is hidden, the building may need to approve access. These constraints can decide whether repair succeeds in one visit.
One proof sequence
Run one safe small washer load if there is no leak or violent movement. Check the load before drying. If it is dripping, report washer drain/spin. If it is properly spun, run a normal dryer cycle with clean lint screen and a modest load. Then record cold wet, warm damp, hot damp, or dry. This sequence separates washer extraction from dryer drying.
When to stop
- Stop if water remains in the washer and the lid or door will not release normally.
- Stop if the washer leaks, shakes violently, or moves the stacked cabinet.
- Stop for gas smell or burning odor.
- Stop if the dryer cabinet is hot or the vent is visibly restricted.
- Stop if access requires moving the unit without safe help or building approval.
Evidence to save
Save model tag, gas/electric type, washer water level, spin result, load type, dryer heat result, lint screen photo, vent connection photo, installation photos, and any noise or odor. If clothes are wet, write whether they were wet before the dryer started. If the dryer is cold, write whether it tumbles.
Useful next branches
For Whirlpool unitized centers, compare Whirlpool WET/WGT stacked laundry center problems. For GE unitized platforms, use GE Spacemaker GUD24/GUD27 problems. If the washer will not spin, use washer not spinning. If the vent is hidden, use dryer vent clogged in an NYC apartment.
Common questions
Why are clothes soaking wet?
Check the washer result first. The dryer cannot fix a washer that did not drain or spin.
Can I move the stack myself?
No. It is connected to multiple systems and may need safe access planning.
Does fuel type matter?
Yes. Gas and electric dryer heat branches are different, while both still need airflow.
What evidence matters most?
Washer water level, spin result, dryer heat, vent access, fuel type, model tag, and installation photos.
Commercial-feeling controls do not remove basic checks
Speed Queen laundry centers can feel more mechanical and durable than many compact machines, but the diagnostic order is still basic: washer drains, washer spins, dryer tumbles, dryer heats, dryer vents. Durability does not make a wet-load complaint automatically a failed part. The load path still matters.
Washer spin stability
Owner manuals for stacked washer/dryers include checks for stability during washer high-speed spin. If the washer shakes, the dryer cabinet above can amplify the movement. A spin problem can become an access and safety problem in a stacked center. Stop if the whole unit moves.
Dryer heat setting and lint path
If the washer has done its job, the dryer side needs heat setting, lint screen, load size, and exhaust path proof. A heat setting error is different from weak airflow. A cold dryer is different from warm damp loads. A hidden vent can make the dryer look weak even when the burner or element works.
Shared cabinet, shared evidence
Because the washer and dryer are in one cabinet, service needs the full installation photo. The dryer problem may require moving the entire center. The washer drain or water valve may be behind the same cabinet. Access should be known before the visit.
Rental and building context
Many Speed Queen stacked centers appear in rentals, small buildings, and shared laundry settings. Document who owns the unit and whether building management controls vent or drain access. Technical diagnosis and responsibility may need to be handled together.
Sequence before conclusions
The clean diagnostic order is washer water level, washer spin, dryer tumble, dryer heat, dryer airflow. Skipping that order creates wrong conclusions. A soaking load after wash is not a dryer problem. A properly spun load that leaves the dryer warm damp is not a washer problem. A cold dryer is not a vent-only problem.
Coin-op or shared-use clues
Some Speed Queen stacked centers are used in shared or rental settings. Heavy use, overloaded drums, mixed users, and poor lint maintenance can change the failure pattern. If the unit is shared, record whether multiple users report the same issue or only one load type fails.
Washer water left behind
If water remains after the wash cycle, check drain and spin evidence before using the dryer. A dryer can run for a long time and still not recover from a washer that left water in the load. Report water in tub, not just damp clothes.
Dryer exhaust branch
Speed Queen dryer performance still depends on exhaust. If the dryer heats but leaves warm damp clothing, airflow and vent access matter. If the vent path is long or hidden, service may need more than appliance access.
Unitized movement risk
A stacked laundry center is tall and connected to several systems. Moving it can damage water hoses, gas lines, ducts, or floors. If rear access is needed, plan it. Do not discover access limits after the technician arrives.
If both halves fail together
When washer and dryer symptoms appear at the same time, look beyond individual parts. Shared power, building work, drain backup, vent restriction, or recent movement may affect the whole center. A washer that suddenly drains poorly and a dryer that suddenly dries slowly after building maintenance should not be treated as two unrelated failures without evidence.
If only one half fails, keep the other half out of the complaint. A dryer heat issue does not require washer parts. A washer spin issue does not require dryer parts. The stacked cabinet creates confusion, so the written symptom must be disciplined.
Access before appointment
Measure whether closet doors open enough, whether the lint screen can be removed, whether water valves are visible, and whether the vent can be seen. Send photos before service. A Speed Queen center can be straightforward mechanically but difficult physically if it is trapped in a tight alcove.
If service needs two people
Tell service if the unit is squeezed into a closet, surrounded by shelving, or installed over a pan. Unitized centers may require two-person movement or building coordination before rear access. Reporting that upfront saves a failed visit and prevents unsafe pulling on hoses, vents, or gas lines.
If the washer and dryer have different symptoms, schedule around the first failed half. For example, washer no spin should be described before dryer long dry time because the dryer may be receiving water-heavy loads. Dryer heat or vent complaints should be described only after a normally spun load is proven.
If the center is in a rental or shared laundry area, save who reported the symptom and how often it repeats. Heavy use and mixed user habits can make lint maintenance, overload, and drain problems appear intermittent.