
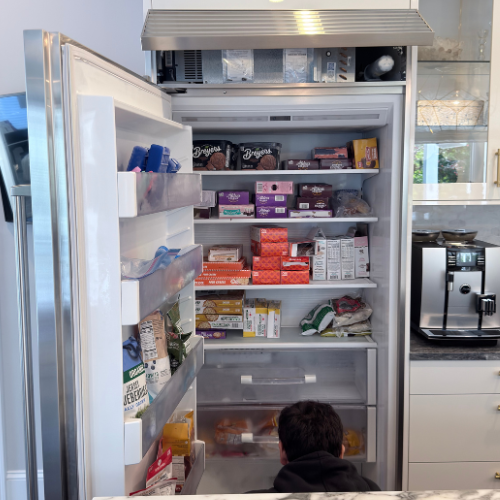

Sub-Zero Freezer Cold but Fridge Warm: Checks
When a Sub-Zero freezer stays cold but the refrigerator warms, check compartment controls, door closure, loading, airflow clues, and recent events.
When a Sub-Zero freezer stays cold but the refrigerator warms, check compartment controls, door closure, loading, airflow clues, and recent events.
If the Sub-Zero freezer is cold but the refrigerator compartment is warm, first confirm that the refrigerator section is on and set normally, then check its door, gasket, loading, and visible air openings. Record actual compartment temperature, display messages, frost, sound, and recent power or loading events rather than lowering the setpoint repeatedly. Move perishable food to safe refrigeration and arrange diagnosis if the refrigerator does not recover within the exact model guide’s test period.
A refrigerator and freezer may share a cabinet but do not necessarily share every control, fan, sensor, or cooling circuit. Some Sub-Zero designs manage the two compartments with substantial independence. That means a freezer can continue holding temperature while the fresh-food section loses cooling because its compartment is disabled, its door is leaking warm air, circulation is obstructed, frost interferes with airflow, or a model-specific component is no longer controlling that section.
The symptom needs two measurements, not a hand test. “The freezer is cold” may mean only that frozen food still feels hard. “The refrigerator is warm” may come from one warm shelf, a recent long door opening, or a real compartment-wide rise. Record displayed temperatures and, if the use-and-care guide permits, measure both sections using its placement and waiting instructions.
Evidence that changes the path includes:
Do not decide that a damper, fan, sensor, control board, or sealed system failed from these observations. Those are diagnostic categories, not conclusions.
Keep the refrigerator door closed while you evaluate it. Move milk, meat, seafood, leftovers, cut produce, and other perishable food to verified safe refrigeration if the compartment cannot maintain a food-safe temperature. Follow current FDA/USDA guidance for time and temperature decisions; smell and appearance cannot reliably prove that food is safe.
Do not keep food in a suspect compartment merely because the freezer still works. Do not place hot cookware, dry ice, or loose bagged ice where meltwater can enter vents or electrical areas.
Low effort: confirm controls and a true split condition
Why it works: Sub-Zero control wording, dual-section operation, special modes, and display behavior vary across series. A refrigerator compartment may be off while the freezer remains on.
Tools/materials: Model/serial photo, phone camera, and matching U.S. use-and-care guide.
What to do:
Common mistakes:
Why it works: A single warm package or door shelf does not establish loss of compartment cooling. Location and timing distinguish normal temperature variation from a broad fault.
Tools/materials: Appliance thermometer if approved by the guide, notes, and a clock.
What to do:
Common mistakes:
Why it works: A package, drawer, shelf, or folded gasket can admit humid room air continuously. The freezer door can seal normally while the refrigerator door does not.
Tools/materials: Flashlight, soft cloth, mild cleaning solution only as approved.
What to do:
Common mistakes:
Medium effort: restore documented air and heat-rejection conditions
Why it works: Cold air and temperature sensing require the clearances shown for the model. Dense packages can create warm pockets or obstruct delivery and return paths.
Tools/materials: Clean cooler or basket.
What to do:
Common mistakes:
Why it works: Frost location and operating sound help distinguish door infiltration, airflow interruption, and a section-specific operating problem without opening the machine.
Tools/materials: Flashlight, photos, and a short video.
What to do:
Common mistakes:
Why it works: A dirty condenser can reduce the appliance’s ability to reject heat. Sub-Zero includes condenser cleaning in owner troubleshooting for many products, but access and method vary.
Tools/materials: Soft-brush vacuum attachment and protective gloves only if the exact guide assigns the procedure to the owner.
What to do:
Common mistakes:
High effort: run one recovery test and preserve evidence
Why it works: After a long door opening, warm-food load, power restoration, setpoint correction, or condenser cleaning, temperature recovery takes time. A controlled interval prevents premature parts conclusions.
Tools/materials: Temperature record and the exact troubleshooting guide.
What to do:
Common mistakes:
Why it works: If the freezer holds normal temperature while the refrigerator remains warm, diagnosis must determine whether the fresh-food section receives the correct control request, airflow, defrost behavior, sensing, and cooling capacity for that architecture.
Tools/materials: Model/serial, temperature log, display photos, frost photos, sound video, and recent-event history.
Ask the diagnosis to separate:
Common mistakes:
If there is smoke, arcing, or fire, leave the area and call 911. If water is near electrical equipment, do not touch a wet plug or stand in the water; isolate the circuit only from a dry, safely accessible control.
The refrigerator compartment may be off, its door may leak warm air, loading may obstruct circulation, or that section may have a control, airflow, frost, sensor, or cooling fault. The cold freezer does not identify which one.
Confirm the normal setting in the exact manual. Repeatedly lowering it can hide the trend and does not correct a door, airflow, frost, or component problem.
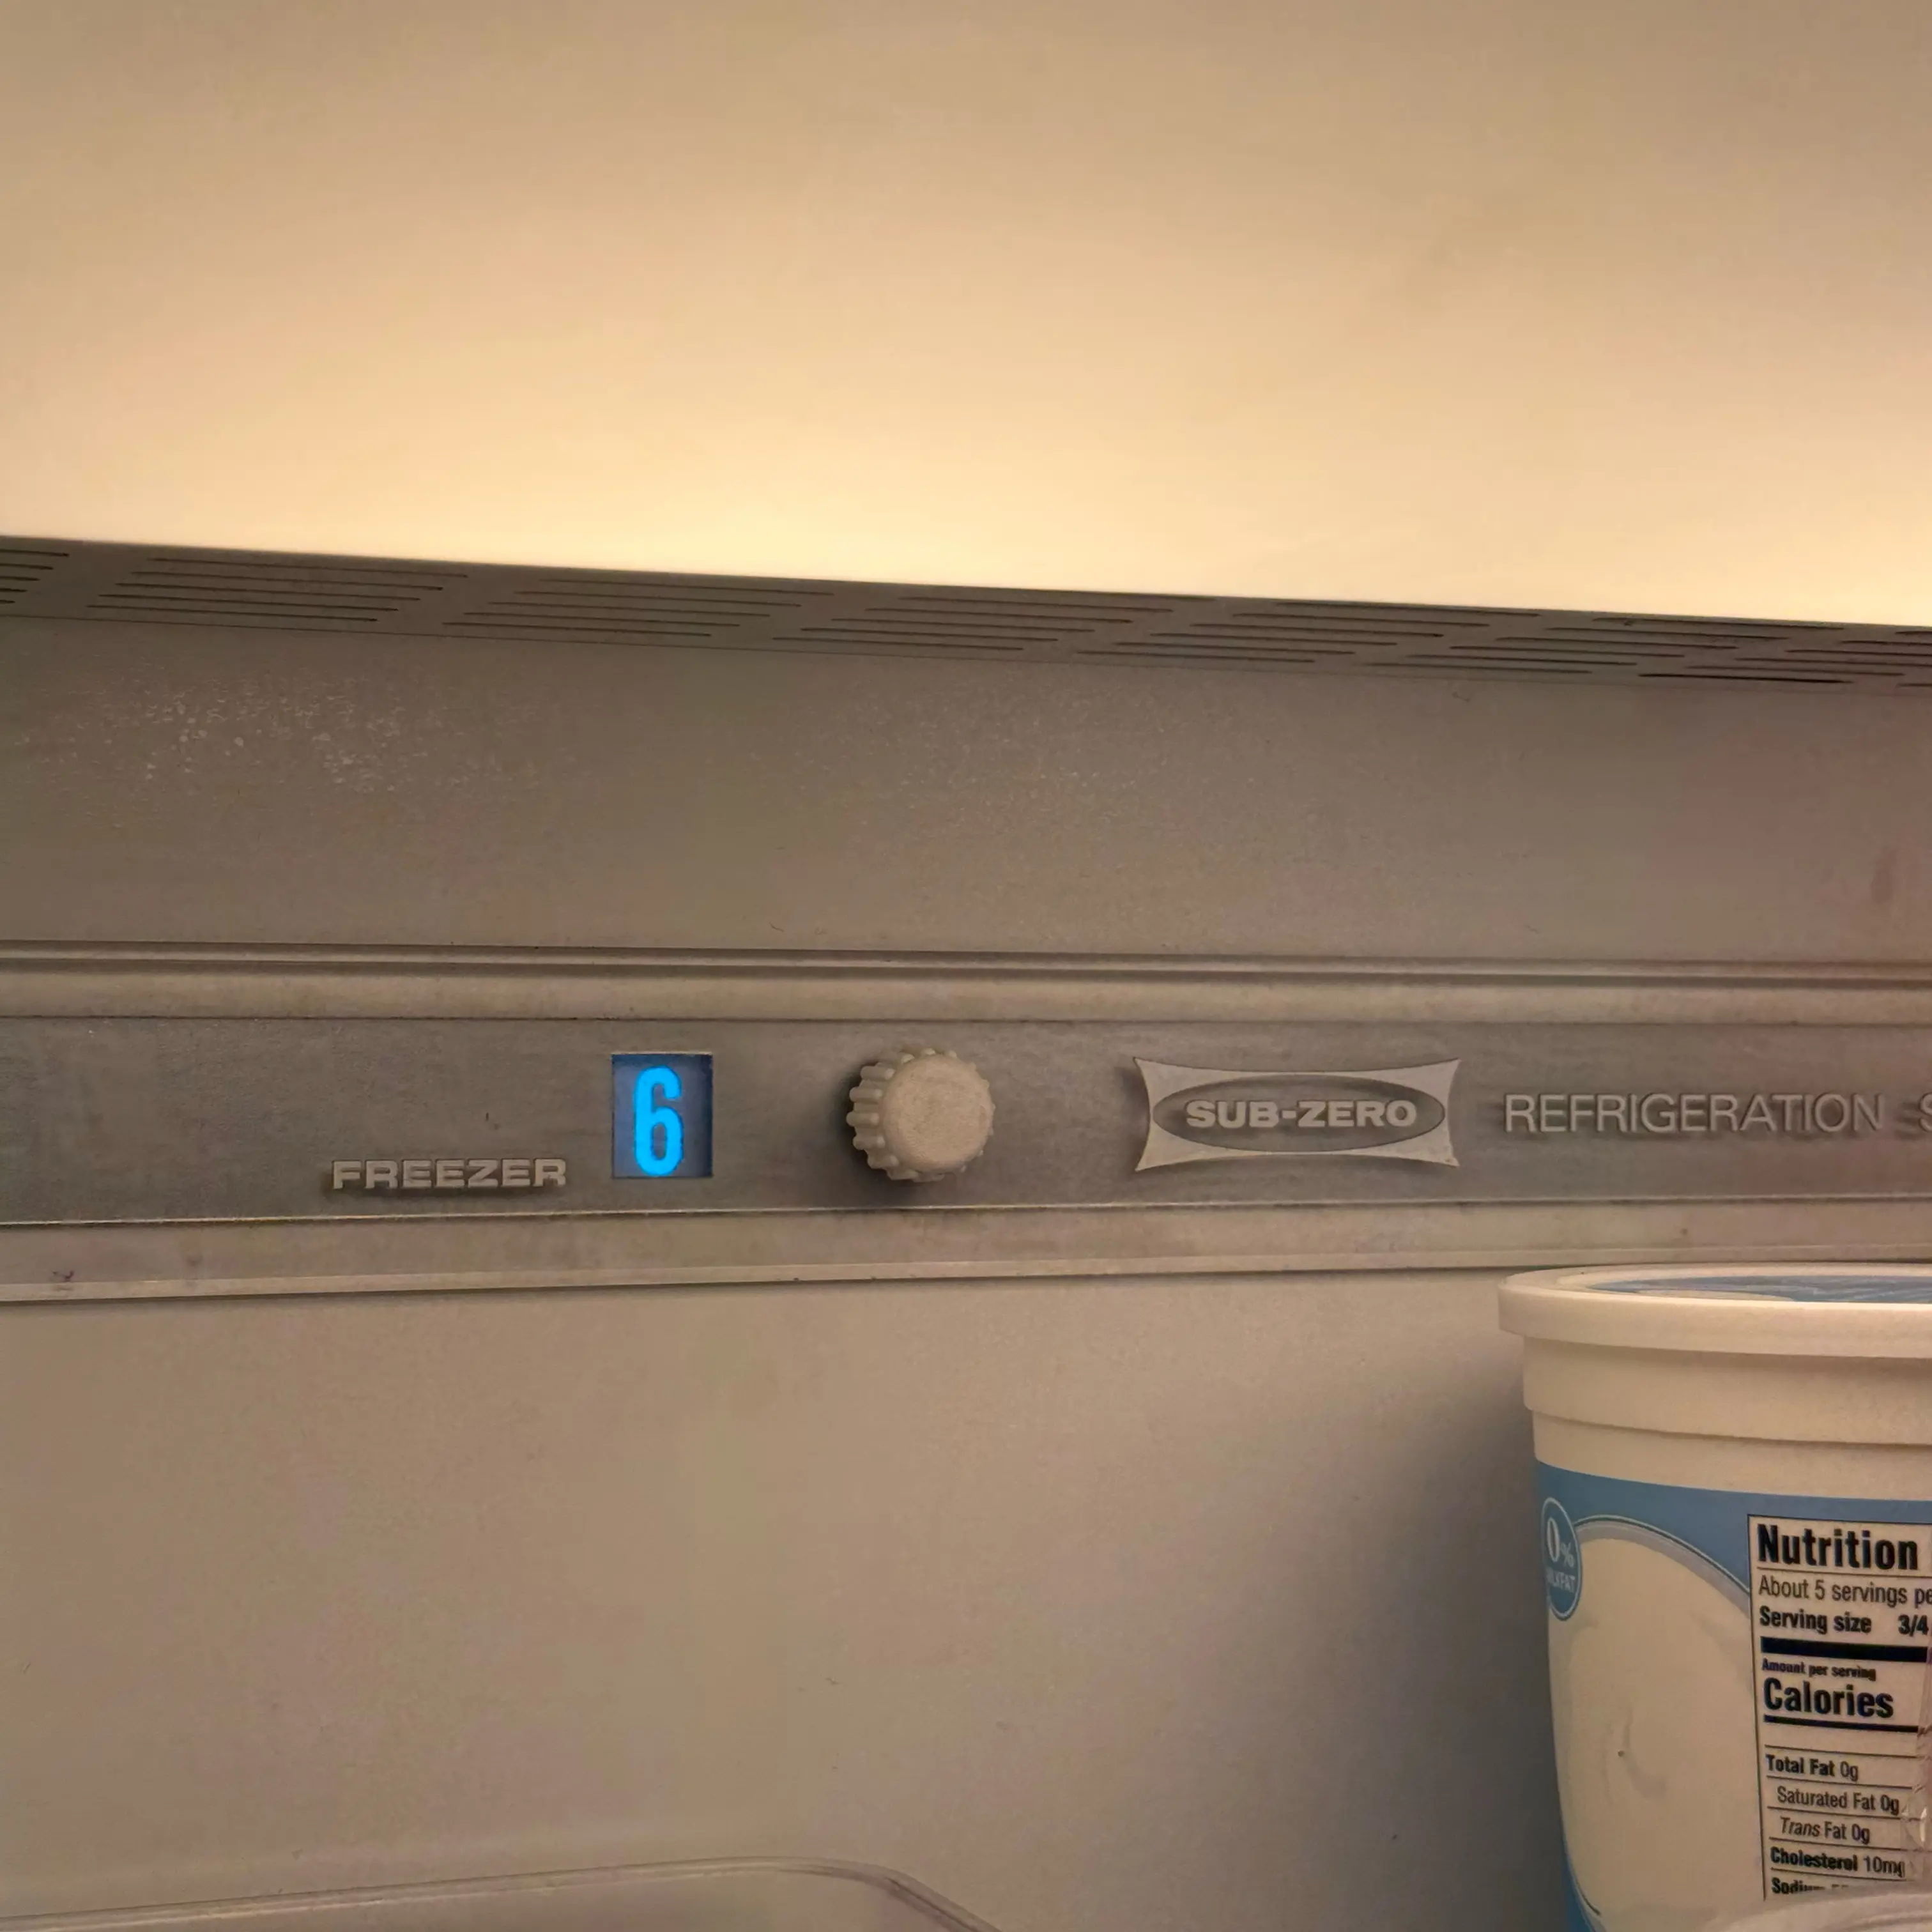
Special-mode behavior varies by model and history. Photograph the display and use the exact guide rather than assuming any particular combination of lights and temperatures proves showroom mode.
Use the model’s recommended measurement method and placement, allow the stated time, and compare multiple areas. Protect perishables while testing.
Yes, if packages block the fresh-food section’s intended circulation or prevent the door or drawers from closing. Correct only the visible loading issue and then monitor recovery.
No. Frost location can reflect humid-air entry, airflow, defrost behavior, or another condition. Photograph it and avoid removing the panel or melting it with heat.
Only by the procedure and access point in the exact use-and-care guide. Switch power off as directed and do not remove technical panels.
Only if it continues holding a verified safe temperature and there are no electrical, water, smoke, or abnormal-noise warnings. Monitor it because a developing problem may later affect both sections.
Use the exact model guide because recovery depends on architecture, starting temperature, door openings, and recent loading. Do not use the waiting period as permission to leave food unsafe.
Provide model and serial, both compartment temperatures, display messages, frost location, door and gasket photos, sounds, recent power or loading events, and the time trend.
Built-in cooling visits are considered in Brooklyn, Manhattan below 96th Street, and selected Queens routes; confirm the exact address, cabinet access, and building restrictions before routing.
.jpeg)

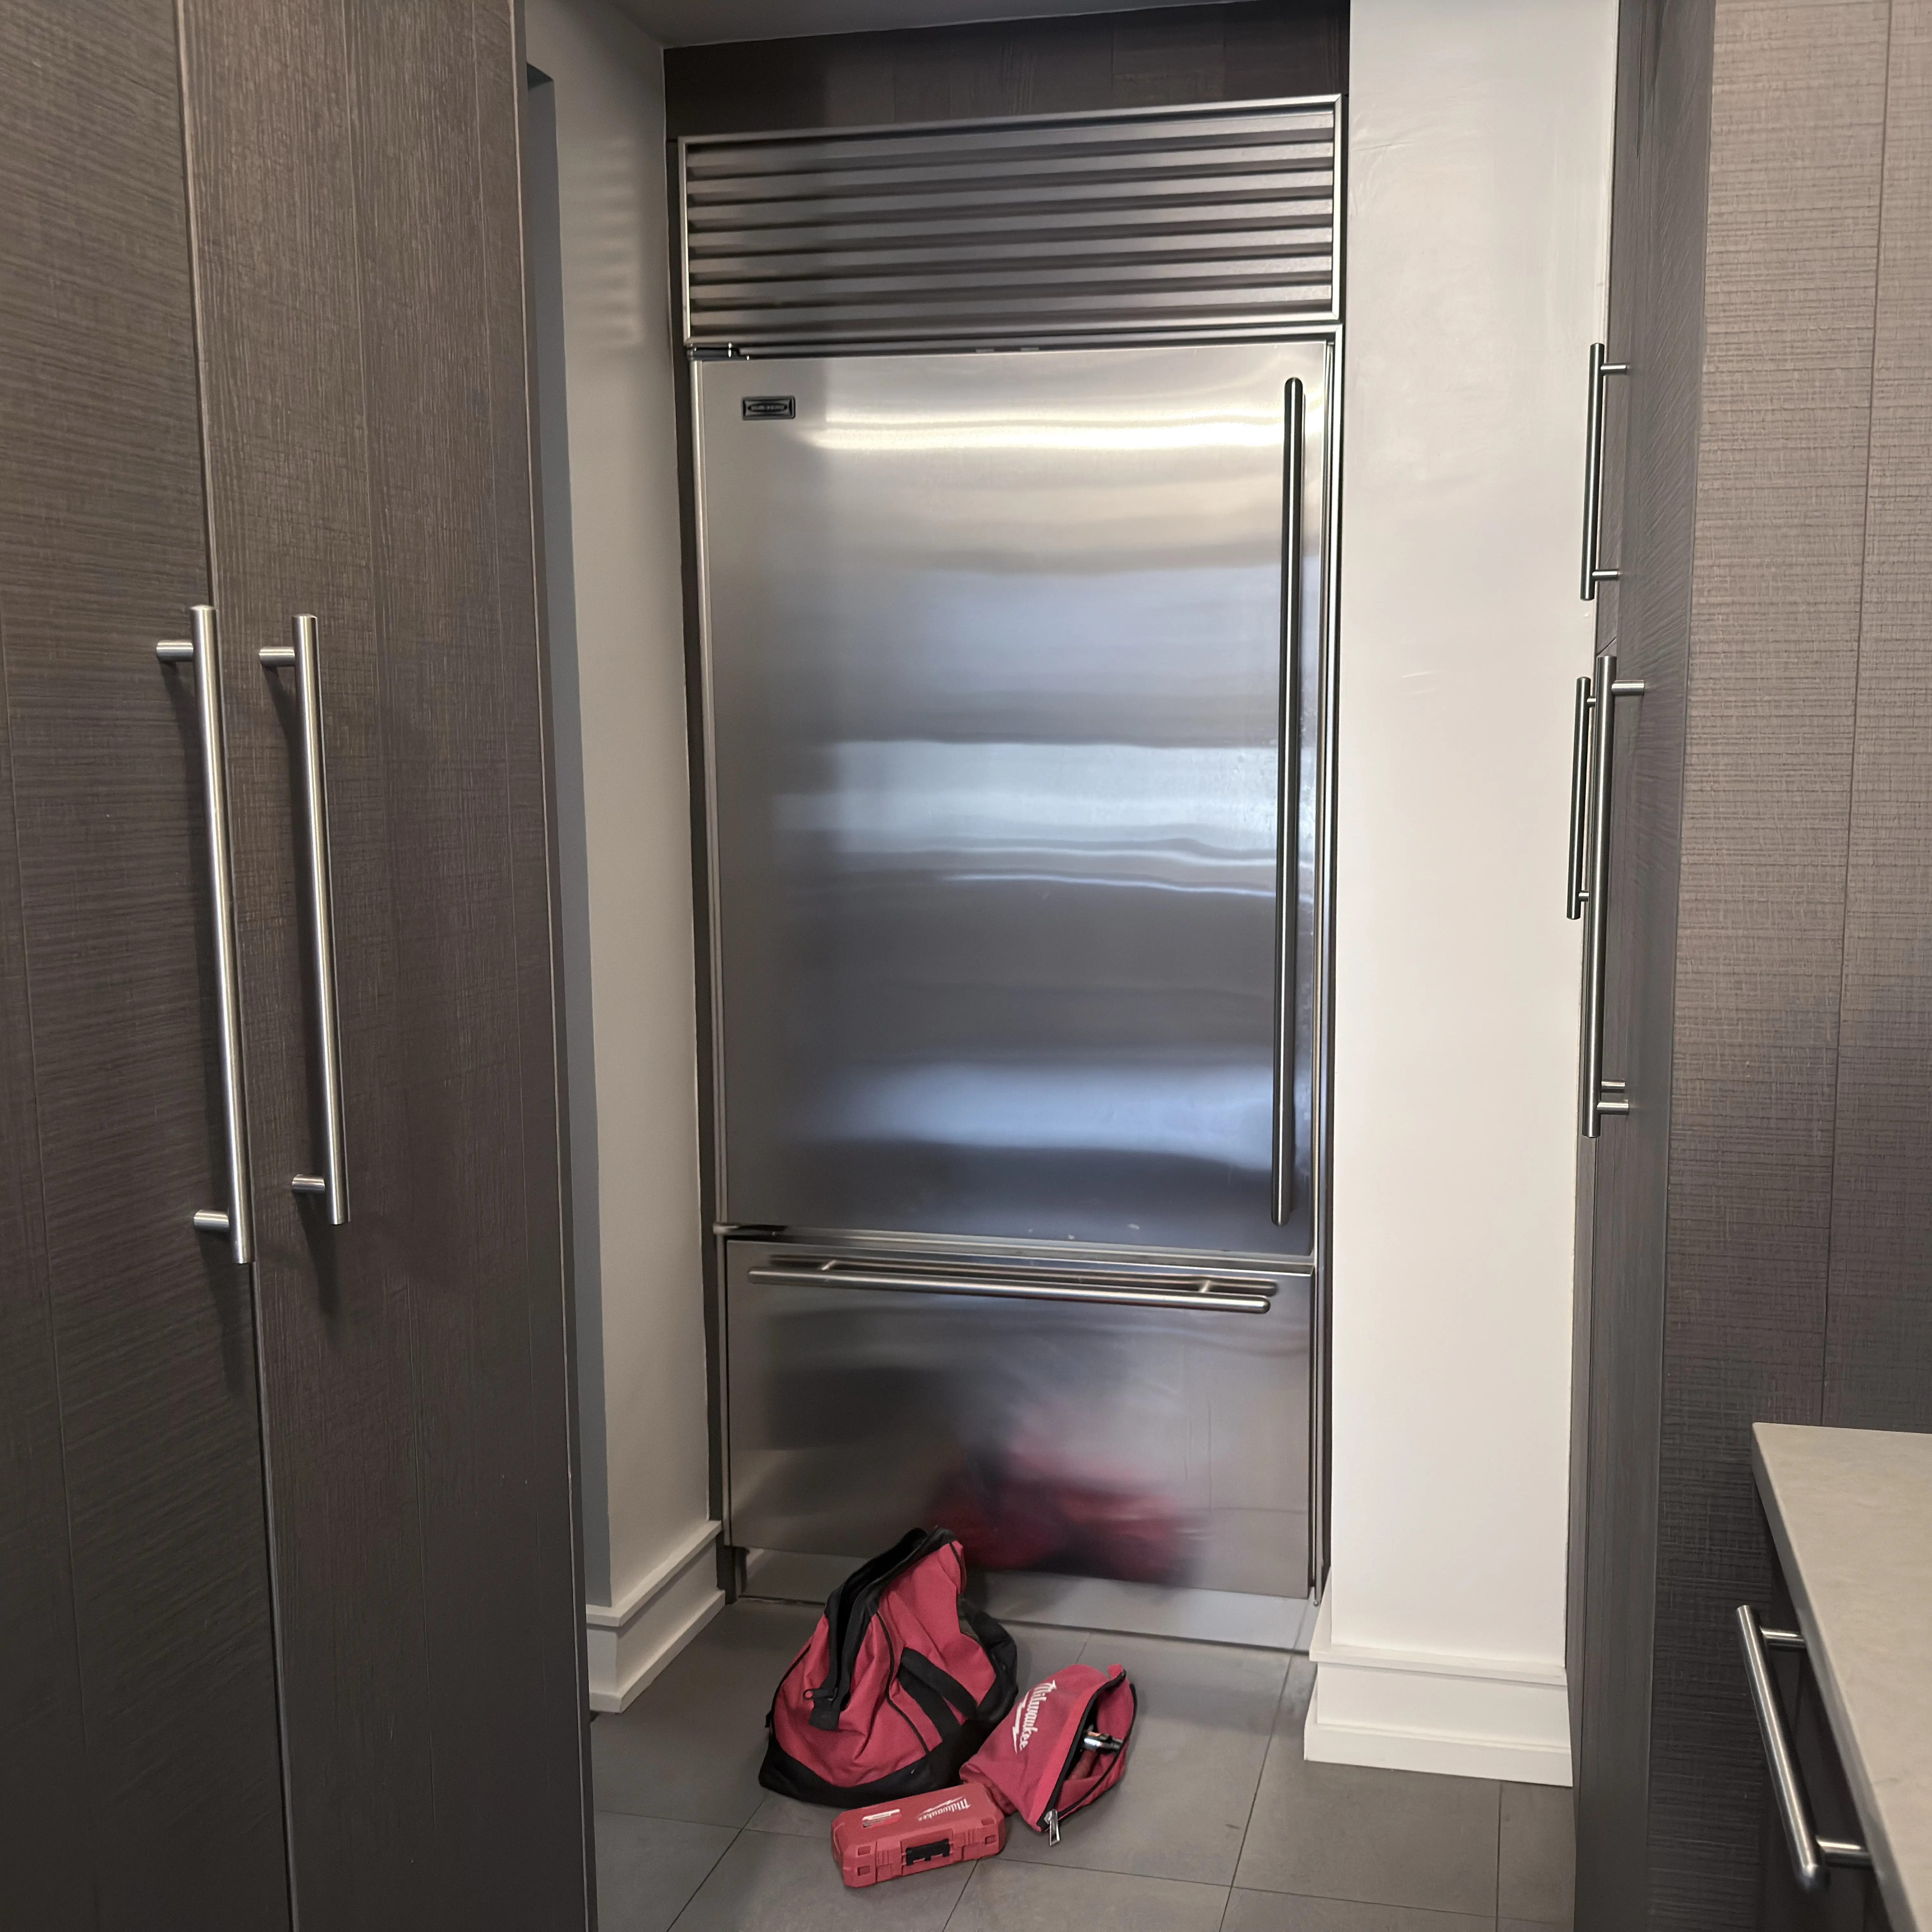
Technician experience standard: 4+ years of hands-on appliance repair per technician; senior technicians bring 8 and 16 years. Sub-Zero intake starts with cabinet family, tag, compartment, temperature, and built-in access. Independent service; no current manufacturer authorization implied.

