
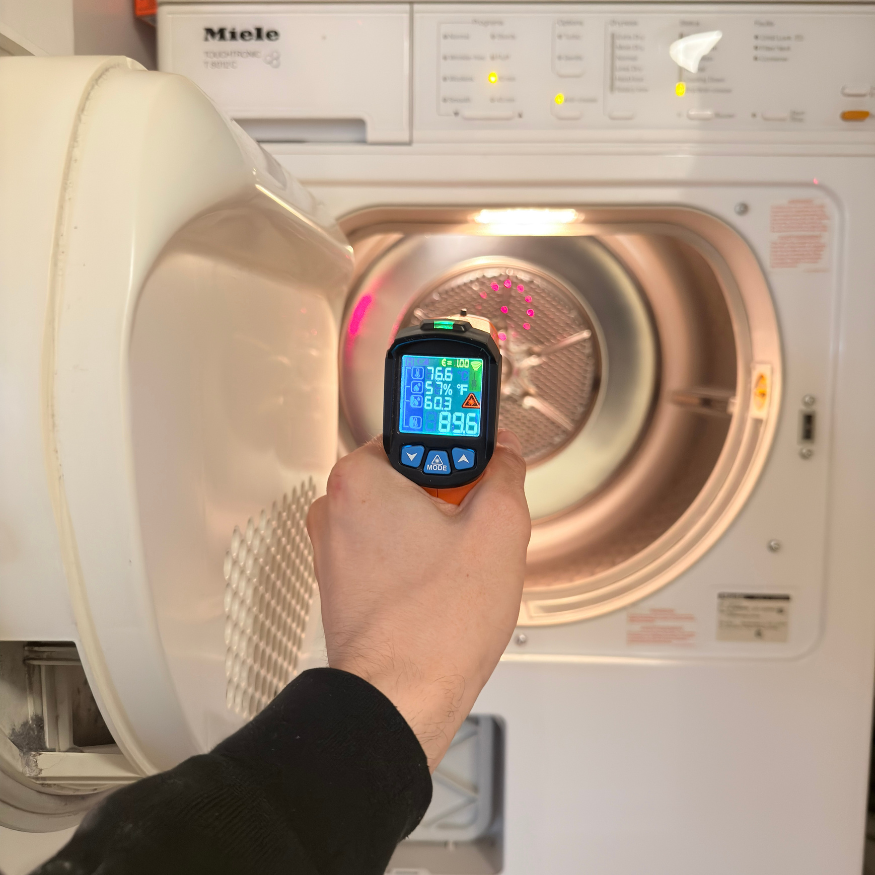

Miele Dryer Not Drying Correctly: Safe Checks by Symptom
Separate cold laundry, warm-damp laundry, an early cycle ending, and a humid room before diagnosing a Miele dryer that is not drying correctly.
Separate cold laundry, warm-damp laundry, an early cycle ending, and a humid room before diagnosing a Miele dryer that is not drying correctly.
When a Miele dryer is not drying correctly, first separate four different symptoms: laundry stays cold, becomes warm but damp, dries unevenly, or the sensor program ends early. Confirm the exact model and dryer type, then check the program, washer spin, load mix, door filters, model-specific lower filter or condenser care, and room-air openings. A repeat failure after one controlled load—or any burning smell, abnormal heat, leak, breaker trip, or persistent fault—needs model-specific diagnosis rather than a guessed heater or sensor.
A complete drying result depends on more than heat. The washer must remove enough water, the selected program must suit the textiles, the drum must separate the load, air must pass through the fabric, moisture must be exhausted or condensed, and the dryer must receive believable temperature and residual-moisture feedback.
Miele’s U.S. support guidance reflects that sequence. For laundry that is not drying correctly, Miele points first to mixed fabrics, program choice, and the configured residual-moisture level. Other Miele symptom pages add room ventilation, obstructed cool-air intake, dirty lint filters, an overly wet lower/plinth filter, and laundry arriving too wet. Those are distinct observations, not proof that one component has failed.
Before following any cleaning procedure, identify the platform:
Instructions for one platform can damage another. Do not remove a heat exchanger, wash a filter, or open a lower compartment merely because an online video shows a similar-looking Miele dryer.
Use the load’s temperature, wetness pattern, and cycle behavior to choose the correct path:
Use this symptom split to select the next check. When the display provides an exact code or warning, preserve it and follow the dedicated guidance for that message.
Low effort: correct the input conditions
Why it works: Miele procedures vary by model and platform. A photo preserves the exact program, dryness level, gentle/low-temperature option, warning, and product identity before a reset changes the evidence.
Tools/materials: Phone camera and the operating manual matched to the model label.
What to do:
Common mistakes:
Why it works: Miele notes that different fabrics can retain different amounts of moisture and may need a suitable program or timed-drying finish. A sensor program’s target can also be configured differently from the result a household expects.
Tools/materials: Textile-care labels and the exact program chart.
What to do:
Common mistakes:
Why it works: Miele’s support guidance identifies laundry that is too wet and insufficient washer spin as causes of poor drying or extended programs. A tightly packed or rolled load also blocks air from reaching wet layers.
Tools/materials: Laundry basket; washer display if available.
What to do:
Common mistakes:
Medium effort: restore the documented airflow and sensing surfaces
Why it works: Lint and product film reduce air passage. Miele repeatedly identifies dirty filters as a contributor to extended or unsuccessful drying, and its guidance warns that wet filters can cause operating faults.
Tools/materials: Soft cloth, household waste bag, and cleaning supplies allowed by the exact manual.
What to do:
Common mistakes:
Why it works: On applicable models, fine lint, hair, detergent residue, or a saturated lower filter can reduce air permeability and heat transfer even when the door filters appear clean.
Tools/materials: Model manual, towels, soft brush or vacuum attachment where approved, and a suitable drying area for washable filters.
What to do:
Common mistakes:
Why it works: Miele’s support guidance links inadequate room ventilation and obstructed cool-air intake with unsuccessful drying. A ventless dryer transfers moisture and heat while depending on the installation conditions specified for the model.
Tools/materials: Flashlight and the installation-clearance section of the manual.
What to do:
Common mistakes:
Why it works: Automatic programs need useful contact and feedback from the load. Residue on an accessible sensor surface can contribute to an incorrect early endpoint, but an early stop does not automatically prove a failed sensor.
Tools/materials: Soft cloth and only the cleaning agent or method approved by Miele.
What to do:
Common mistakes:
High effort: decide whether the installation or appliance needs diagnosis
Why it works: A vented model must discharge air; a condenser or heat-pump model must collect or drain water. A disconnected, kinked, blocked, or incorrectly routed path can leave laundry damp or create humidity.
Tools/materials: Flashlight, exact installation instructions, towels, and professional help for concealed, shared, stacked, or inaccessible connections.
What to do:
Common mistakes:
Why it works: One normal, well-spun, untangled load on the correct program can show whether owner-safe corrections changed the symptom. Repeated resets add heat and erase timing evidence.
Tools/materials: Cycle log and phone camera.
Record:
If the same symptom returns, service diagnosis may need to evaluate heating or heat-pump performance, blower airflow, temperature and moisture feedback, condensate handling, door sealing, or control output. Those checks require the model’s service data and are not homeowner procedures.
Separate the symptom first. A warm-damp load suggests a different path from a cold load or a cycle that ends early. Program choice, washer spin, load mix, filters, room air, and the model-specific moisture path are the safe first checks.
Mixed fabrics dry at different rates. Thick seams, pockets, and heavy cotton can remain damp after light items reach the sensor target. Sort the load or use the manual’s appropriate timed finish.
A very small, already dry, or poorly contacting load can affect a residual-moisture program. If a normal damp load also stops early, record the display and arrange diagnosis rather than assuming a sensor part.
On models that use one, an incorrectly cleaned or overly wet lower/plinth filter can restrict air movement. Follow the exact manual and reinstall it only in the condition Miele specifies.
Not necessarily. Heat-pump drying uses a different temperature and airflow profile from older vented designs. Use the drying result, warnings, and model guidance—not a comparison with a conventional dryer—as evidence.
Yes, on applicable programs and installations. Miele identifies insufficient ventilation and excessive room heat as relevant to some drying symptoms. Keep documented air openings clear and follow installation requirements.
No. Miele platforms differ, and a cold-load symptom can involve settings, power, airflow protection, heat generation, sensing, or control. Internal confirmation is needed before naming a part.
F55 is a narrower maximum-drying-time result on residual-moisture programs. Use the dedicated F55 page and preserve the program and load evidence.
If the exact Miele guidance permits it and there are no safety signals, one normal power reset may be reasonable. Do not use repeated resets to keep an overheating, leaking, tripping, or faulting dryer in operation.
Provide model and serial photos, the exact message, program/options, load type, washer-spin result, end temperature, cycle duration, and a list of filters or owner-care steps completed.
Miele residential requests are considered in Brooklyn, Manhattan below 96th Street, and selected Queens routes; stacked, panel-ready, and built-in access conditions are checked with the exact address.
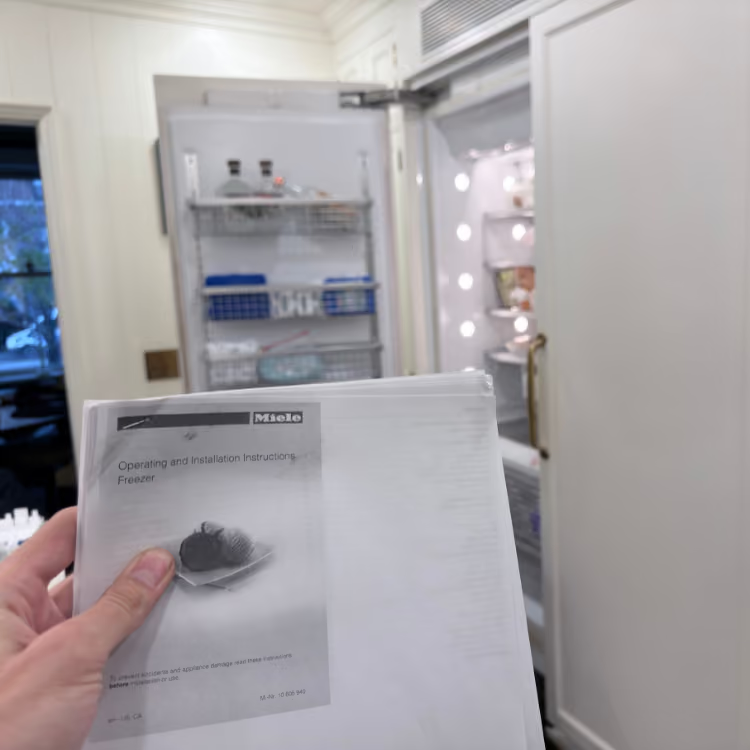
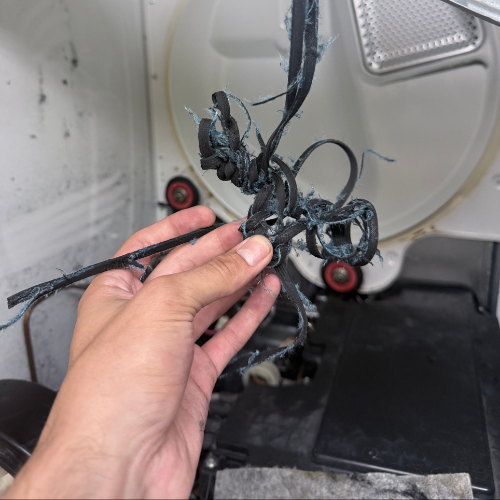

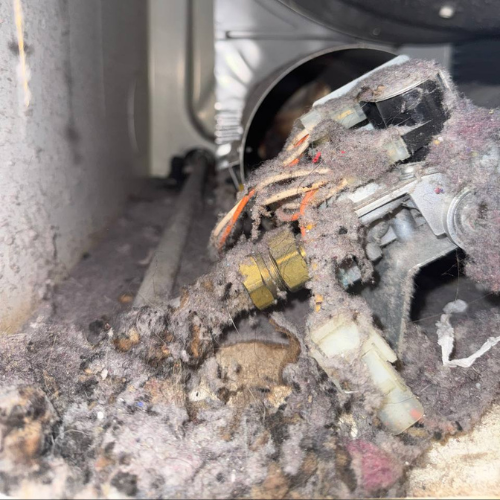

Technician experience standard: 4+ years of hands-on appliance repair per technician; senior technicians bring 8 and 16 years. Miele intake starts with the data plate, platform, program, message, failed stage, and stacked or built-in access. Independent service; no current manufacturer authorization implied.

