
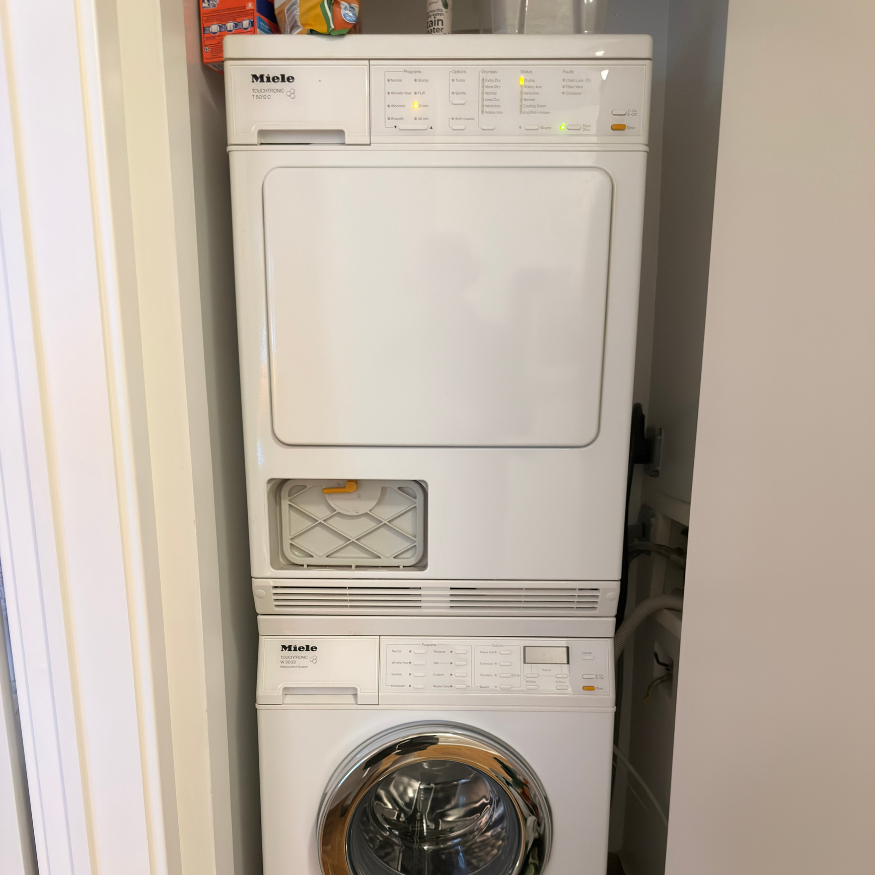

Why Water Can Leak Right After Cleaning
- Condenser system not properly closed: Miele's support guidance for this exact sequence says the heat exchanger or condenser-system lid may not be securely seated after cleaning. That can leave the system without its intended leak-tight closure. The useful visible clue is that water first appeared after the part was removed and returned. For service, the first confirmation is whether that reassembled opening remains leak-tight under controlled testing.
Removing visible lint does not prove that the correct part was cleaned, air-dried where required, returned fully, or locked correctly.
Match the Check to What You Actually Removed
- A removable heat exchanger was removed: Find the full model number. On T8023C only, after safe power isolation, place the rinsed condenser lengthwise on a towel and let it air-dry before return. Confirm that the front gasket is flush and not crimped, the condenser is pushed fully in, and the condenser and door or lid locks close without force. Air-drying is a return procedure, not proof that wetness caused the leak. Stop if normal seating is not possible. For any other model, use only that model's operating instructions.
- Only the TWD360WP plinth filter was removed: The heat exchanger remains in place. Let the cleaned plinth filter dry completely; do not reinstall it while wet or damp. When dry, push it fully in and close the heat-exchanger access panel. This is the model's required return procedure, not proof that filter wetness caused the leak. Do not remove or rinse the fixed heat exchanger.
- The model or cleaned part is unknown: Leave the dryer off and find the exact operating instructions. Do not continue by trial and error.
- No water escaped from the dryer: Use Miele dryer Empty Container warning but tank empty for an Empty Container or Empty out container message. Use Miele dryer Filter/Vent or Clean Airways warning keeps coming back when that named warning returns after model-directed cleaning. If a heated cycle stays completely cold, use Miele dryer not heating. If the laundry is warm and damp and the room also becomes warm or humid, use Miele dryer feels humid and is not drying. For remaining damp or poor-drying cases without a named warning, use Miele dryer not drying correctly.
What Not to Do
- Fixed TWD360WP heat exchanger: Do not pressure-clean it, use compressed air, or touch or bend the cooling fins.
- Hidden water path: Do not remove panels or reach for an internal pump, float, sump, tray, hidden hose, or seal.
- Chemicals or improvised sealing: Do not flush cleaner or chemicals through the condenser system, and do not use drain cleaner, tape, glue, or sealant on a closure.
- Component work: Do not test live voltage, wiring, sensors, pumps, or controls, and do not bypass a switch or safety device.
When to Stop
- Water is near power: Do not touch a wet plug, outlet, power strip, control area, wiring area, or water beneath a stacked dryer. Arrange safe power isolation and service.
- There is an electrical or heat warning: Smoke, sparks, a burning or electrical odor, unusual heat, or a breaker trip requires an immediate stop.
- A closure is damaged or requires force: Stop for a torn or displaced gasket, a broken lock, or a lid or panel that will not close normally.
- Cleaning was not the trigger or one correct return check did not stop the leak: This is no longer limited to the post-cleaning condition. Do not run another cycle while water is escaping. Keep the dryer off, use the Miele dryer leaking water guide for the separate generic leak diagnosis, and arrange service for controlled leak-source proof.
- Safe access requires moving the dryer: Do not move a stacked or built-in appliance to reach power, hoses, or internal areas.
What Service Needs to Confirm
A technician should use a controlled test to distinguish water emerging at the reassembled T8023C condenser opening from water originating elsewhere, while keeping the TWD360WP heat-pump system closed. Water location and timing alone do not identify a separate internal cause.




.avif)