Wolf or Viking range in a galley kitchen? Here's how heat and steam damage cabinets—and how to stop it before it starts.
.JPEG)
Galley kitchens + high-BTU ranges = cabinet destruction. We see charred wood, delaminated veneer, and fire hazards in narrow Brooklyn/Manhattan kitchens constantly. Here's the physics of the damage and proven protective solutions.
.jpeg)


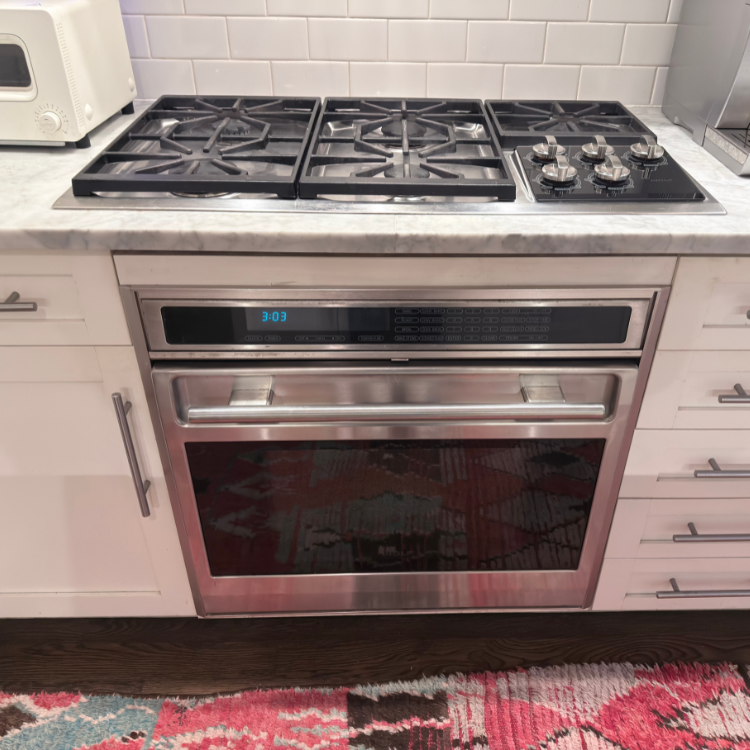
Cabinet damage from cooking appliances is universal, but New York City apartments concentrate the risk factors in ways that accelerate damage. Galley kitchens with 24–30 inches between opposing cabinet runs leave almost no thermal buffer between cooking surfaces and surrounding cabinetry. Pre-war buildings often have overhead cabinets installed before modern range hood exhaust standards existed. And the sheer cooking density in NYC apartments — people who cook seriously in tight spaces, every day — means cumulative heat exposure that suburban kitchens with more square footage simply don't experience.
After years of servicing appliances in NYC apartment kitchens, I've seen the downstream effects: warped cabinet doors from years of steam exposure, delaminating finish on upper cabinets above gas burners, discolored interiors from grease aerosol accumulation, and in more serious cases, cabinet materials that have begun to off-gas formaldehyde from adhesive breakdown caused by heat cycling. Understanding where the heat and moisture go — and intercepting it before it reaches cabinetry — is the whole game.
Cabinets adjacent to cooking surfaces fail through four distinct mechanisms, and effective protection requires addressing all of them.
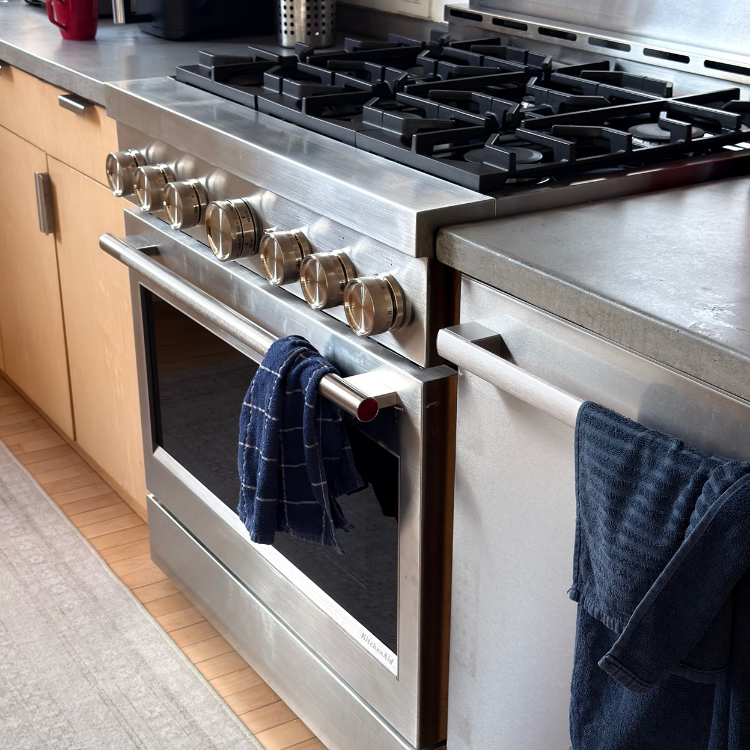
Radiant heat: The most direct form of damage. Gas burners radiate heat laterally as well as upward. The side cabinet panel nearest the burner — typically 6–12 inches from the outermost burner — absorbs this radiant heat during every cooking session. Over months and years, this causes finish discoloration, veneer peeling on lower-cost cabinets, and in wood-frame cabinets, checking and cracking of the grain structure. On gas ranges with sealed burners, the cabinet side panel takes the brunt. On professional-style ranges with open burners and higher BTU output, lateral heat is significantly more intense.
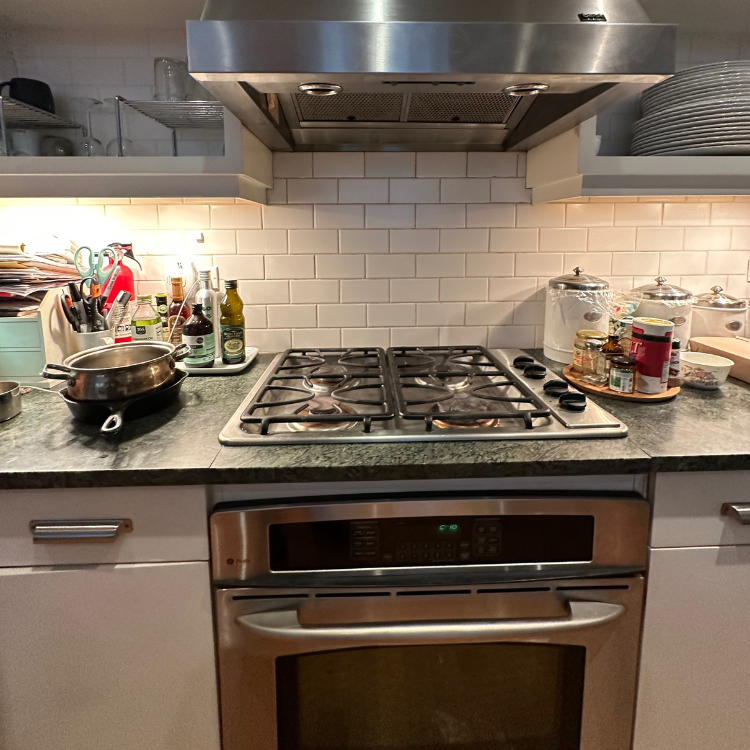
Steam and condensation: Cooking generates enormous amounts of steam — boiling pasta, braising, pressure cooking. In a kitchen without effective exterior exhaust ventilation, this steam has nowhere to go but into the kitchen air and directly into adjacent cabinet surfaces. Wood and MDF cabinet materials absorb moisture, swell, and then contract as they dry, causing door gaps to change seasonally, hinges to rack, and finish to cloud or peel. The upper cabinet directly above the range is the highest-risk location for steam damage.
Grease aerosol: Cooking fat — particularly from frying and high-heat sautéing — atomizes into microscopic droplets that travel throughout the kitchen air and deposit on every surface. On cabinets, grease accumulates in finish pores and on painted surfaces, acting as a solvent that slowly breaks down cabinet coatings and attracts particulates. Over years, this creates a sticky, yellowing layer on cabinet faces and particularly on the inside surfaces of upper cabinets above the range.
Physical impact from range operation: This is the damage mechanism people least expect. Oven door operation on a freestanding range — particularly the downward pull on a drop-front oven door — can, over years, cause the lower cabinet or drawer panel adjacent to the range to rack slightly. On professional-style ranges with heavy cast-iron oven doors, this is more pronounced. The floor-standing range should not be positioned so that the oven door, at full open, contacts adjacent cabinetry.
No cabinet protection strategy works well without adequate ventilation. A range hood that actually exhausts air to the exterior — not a recirculating hood that filters and returns air to the kitchen — removes the steam and grease aerosol at the source before they can deposit on cabinetry. This is the single highest-return investment for kitchen cabinet longevity.
In NYC, exterior venting is complicated by building construction. Pre-war buildings often have shared internal duct stacks that service multiple apartments, and adding a range hood duct run to an exterior location requires approval and sometimes building-wide HVAC assessment. Many NYC apartments are limited to recirculating hoods as a result. If you're in this situation, the recirculating hood filter quality matters — charcoal-activated filters that trap grease and reduce grease aerosol passthrough should be replaced every 3–6 months, not left until they visibly saturate. Clogged recirculating filters do essentially nothing and allow full grease and steam bypass.
For buildings where duct runs to the exterior are possible, the investment is significant but the cabinet preservation benefit is real. Professional-grade range hoods for NYC apartment retrofits start at $600–$1,200 for the unit, plus installation — but this cost amortizes well against the cabinet protection benefit over 10+ years.
The cabinet side panel immediately adjacent to a range is the most direct heat exposure point. Two protective approaches work well in NYC kitchens.
Stainless steel side panels: A stainless steel sheet installed between the range and the adjacent cabinet creates a reflective thermal barrier that dramatically reduces heat absorption into the cabinet. These are available pre-made as range side panels from appliance accessory suppliers ($80–$180 for standard sizes) or can be custom-fabricated for non-standard gaps. They also simplify cleaning — grease wipes off stainless far more easily than it wipes off painted or wood cabinet surfaces. Installation is straightforward: most attach with adhesive and silicone.
Cement board or ceramic tile cladding: More permanent and visually integrated solution. A layer of cement board faced with subway tile or ceramic tile on the side panel adjacent to the range provides excellent heat and moisture resistance. This is a renovation-level intervention, but in NYC kitchens where the cabinetry is already being touched, it's worth doing correctly. Ceramic and porcelain tile are essentially impervious to cooking-generated heat and moisture at residential cooking temperatures.
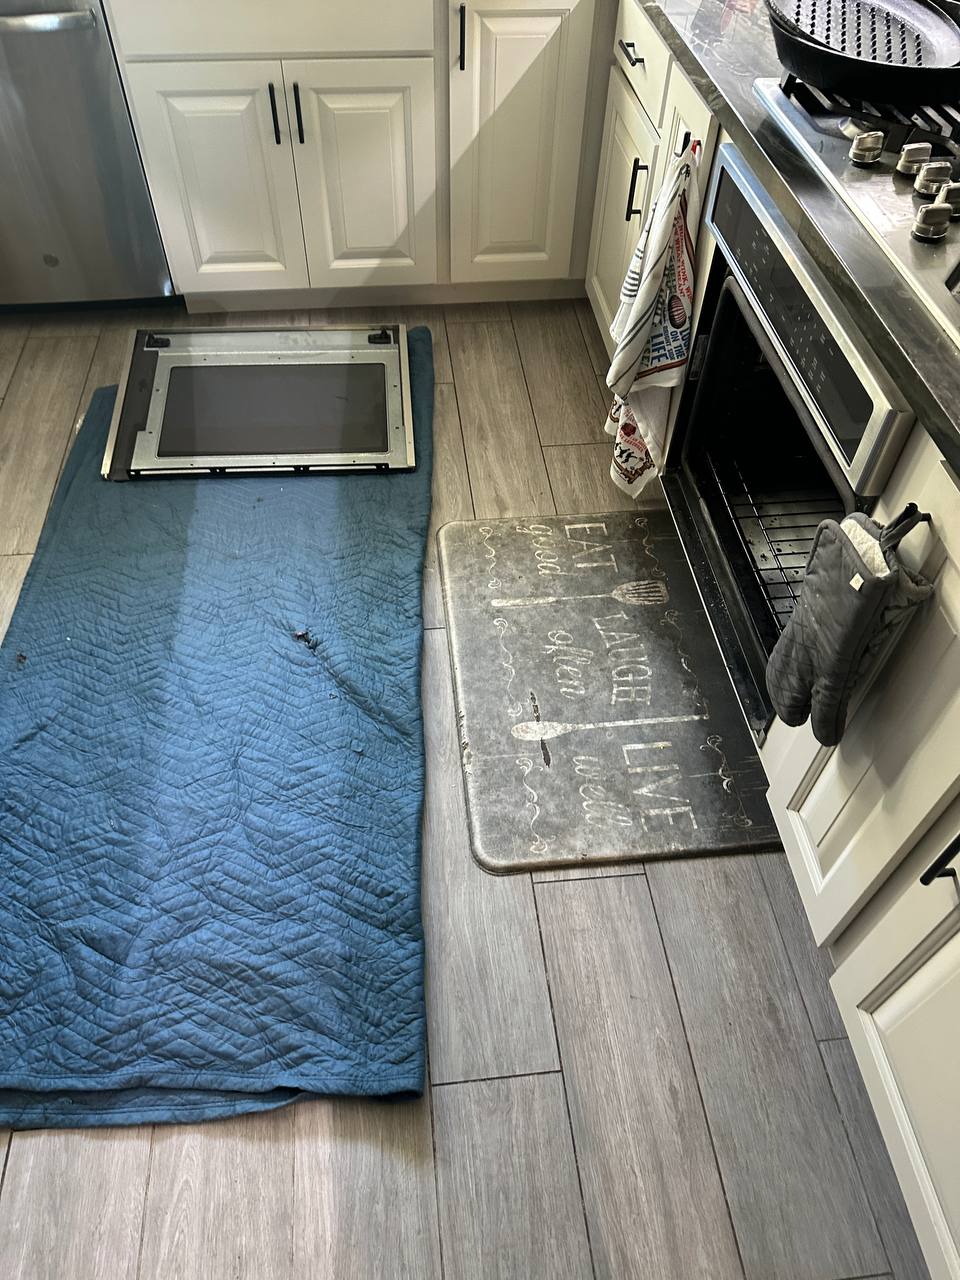
The bottom surface of upper cabinets directly above the range takes concentrated steam, grease, and heat. In older NYC kitchens, this surface is often finished with the same material as the rest of the cabinet — painted wood or MDF — and it degrades faster than any other cabinet surface in the kitchen.
Options for addressing this vulnerable surface include: applying a clear polyurethane topcoat to create a washable, sealed surface that resists grease penetration; installing a stainless steel underside panel on the upper cabinet bottom (sold by commercial kitchen suppliers and easy to retrofit); or if renovating, specifying cabinet materials with factory baked-finish or thermofoil wrapping that is inherently more moisture and heat resistant than painted wood.
The minimum maintenance protocol for this surface: wipe down weekly with a degreasing cleaner. Grease that accumulates in this location is a fire hazard, not just a cosmetic issue. In NYC apartment buildings where kitchen fires account for a significant portion of residential fire incidents, this maintenance isn't optional.
The junction between the backsplash tile and the cabinet side panel is a common failure point that goes unaddressed until visible damage occurs. In most installations, this junction is finished with caulk or silicone sealant. When this sealant degrades — which it will, typically within 3–5 years in a high-use kitchen — moisture and grease penetrate behind the backsplash, reaching the raw cabinet material beneath. Inspecting and re-caulking this junction every few years is inexpensive maintenance that prevents the moisture damage pathway entirely.
One underappreciated cabinet protection strategy is appliance positioning. Freestanding ranges should have the minimum clearances recommended by the manufacturer between the range sides and adjacent cabinetry — typically 1–6 inches depending on range type. Ranges pushed flush against cabinets with zero clearance restrict the natural convection path for heat dissipation and concentrate heat exposure at the cabinet side panel. In pre-war NYC kitchens where range alcoves were built to exact range dimensions, this is often not adjustable — but where there is flexibility, maintaining clearance on at least one side is beneficial.
Gas ranges should not be directly under cabinetry without a proper range hood capturing combustion products. The NYC DOB and FDNY have specific clearance requirements for combustible materials above gas ranges — if your kitchen has cabinets directly above the range without a hood, this is a code issue worth addressing regardless of cabinet protection concerns.
Cabinet damage from cooking is cumulative and slow — easy to ignore until it's expensive. These six checks take 10 minutes and prevent years of progressive damage.