.jpeg)
Dishwashers damage cabinets through steam, water leaks, and vibration. Learn prevention tactics and installation checks that save thousands in damage.
.JPEG)
A failed dishwasher door seal or improper drain installation doesn't just ruin your appliance—it destroys cabinetry. Steam warps veneer, water causes MDF swelling and mold, and unsecured units vibrate cabinet joints loose. Understanding these damage mechanisms and fixing them prevents cabinet replacement costs that dwarf dishwasher repair.
.jpeg)


Dishwashers don't just fail in isolation. They fail into your kitchen. The cabinet panels directly adjacent to the dishwasher — the side panels, the underside of the counter, and the base below the unit — are exposed to steam, moisture, and vibration that wood-based cabinetry and MDF panels weren't designed to withstand indefinitely. In NYC kitchens, where counter space is tight and cabinet clearances are minimal, this damage is more pronounced and less forgiving.
Four mechanisms account for virtually all dishwasher-related cabinet damage. Understanding which one is at work in your kitchen determines whether you need an appliance repair, a cabinet repair, or a change in how the dishwasher is operated.
During the drying phase, dishwashers release hot, humid air through a vent at the top or front of the door. In most dishwasher designs, this vent directs steam upward — toward the underside of the counter directly above the door. In condensation drying systems (common on Bosch and Miele), moisture is managed internally, but in heated air drying systems (common on GE, Samsung, LG, and Whirlpool), steam exits through the door vent at every cycle.
Over months and years, this repeated steam exposure causes the underside of the countertop and the front face of any cabinets near the vent to absorb moisture. Wood swells and contracts with each cycle. Laminate countertops delaminate at the edge nearest the vent. MDF cabinet components swell and then crack when they dry. The damage is usually first visible as a dark discoloration on the underside of the counter edge, or as swelling on the cabinet panel immediately above the dishwasher.
Prevention: run the dishwasher on the condensation drying setting if available, which eliminates or significantly reduces steam venting. If your dishwasher uses heated air drying only, install a heat-resistant protective strip on the underside of the counter edge directly above the door vent. These are available at kitchen supply stores and are specifically designed for this application. On Bosch dishwashers, the AutoAir drying option automatically opens the door slightly at the end of the cycle — if your kitchen has cabinetry directly above the door opening, this feature can direct steam into the cabinet space. Consider disabling it or using a different drying setting.
A worn or damaged door gasket allows water to escape from the dishwasher tub during the wash cycle. The most common escape path is along the bottom of the door, where water accumulates and drains onto the floor in front of the dishwasher. But water also reaches the cabinet panel on the side of the dishwasher through capillary action — it migrates under the door seal and reaches the adjacent cabinet without creating a visible puddle on the floor.
Symptoms of a failing door seal that are visible at the cabinet: the cabinet panel immediately adjacent to the dishwasher feels soft when pressed, or shows swelling at the bottom where it contacts the floor. The interior of the cabinet shows water staining along the bottom where the cabinet meets the floor. The floor in front of the dishwasher may be consistently damp after cycles even without a visible pool of water.
The door gasket is a serviceable part on all dishwasher models. It's the repair that addresses both the seal leak and prevents ongoing cabinet damage. A new door gasket typically restores a complete seal. If the cabinet panel has already swollen and deformed, that damage doesn't reverse — but it stops progressing once the seal is replaced.
Dishwashers vibrate during the wash and drain cycles. In a properly installed unit, the dishwasher is secured with mounting brackets to the underside of the counter and the side panels, and the adjustment feet at the bottom level the unit against the floor. When mounting is inadequate or the leveling feet are set incorrectly — either too high or too low — the dishwasher transmits vibration into the cabinet structure with every cycle.
Vibration damage to cabinets is indirect but cumulative: it loosens hinges and drawer slides on adjacent cabinets, works screws free over time, and in extreme cases causes cabinet-to-wall connections to loosen. More commonly in NYC galley kitchens, it causes the cabinet panel on the adjacent side of the dishwasher to develop visible movement during operation — the panel flexes slightly with each pump cycle.
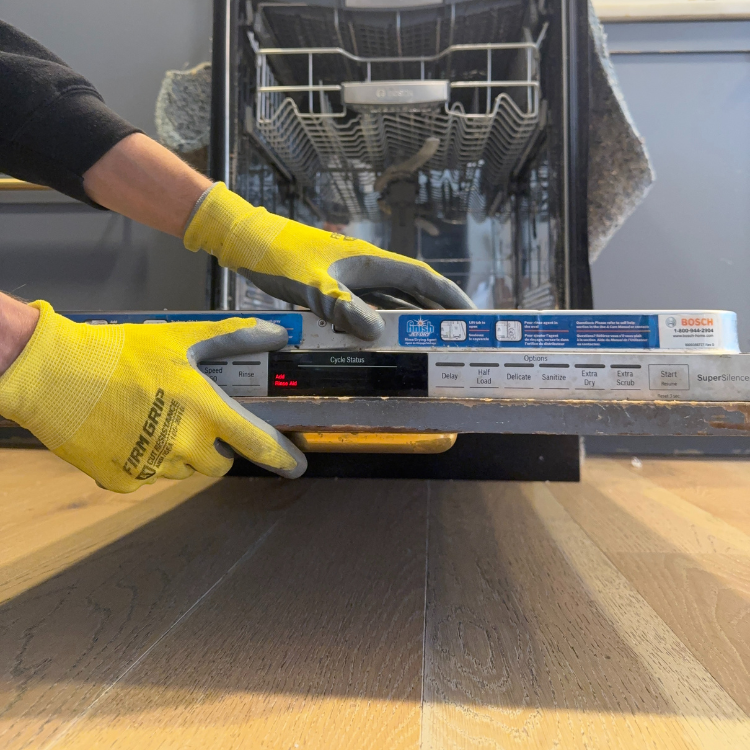
Fix: confirm the dishwasher mounting brackets are engaged and the unit is leveled correctly. The dishwasher should feel solid when you press on the door from the front — no rocking or movement. If it moves, the leveling feet need adjustment or the mounting brackets need to be reattached. This is an installation correction, not a repair.
In many NYC apartment kitchen installations — particularly in older buildings and rental units with non-original kitchens — the dishwasher is installed without the side panel protection the manufacturer specifies. Most dishwashers require a finished side panel on at least one side (the side adjacent to the cabinet or exposed wall) and a specific minimum clearance on the other side. When these panels are missing, the raw wood of the adjacent cabinet is directly exposed to steam, heat, and the occasional moisture migration from around the door seal.
Check the sides of your dishwasher. If you see the raw interior of a cabinet immediately adjacent to the dishwasher body without any barrier, that exposure has been causing slow damage since the unit was installed. The remediation depends on whether the damage is still progressing or has stabilized: if the dishwasher is otherwise functioning correctly and the seal is intact, a protective side panel installed by a cabinet professional stops further damage.
The following signs, caught early, allow intervention before cabinet replacement becomes necessary. Cabinet or counter discoloration at the top edge of the dishwasher — particularly on the underside of a laminate countertop — is steam damage beginning. The cabinet panel immediately adjacent to the dishwasher feeling softer than expected when pressed firmly is early moisture absorption. Water staining along the bottom of any cabinet panel near the dishwasher is slow leakage reaching wood. Any visible gap between the dishwasher door gasket and the door frame is a seal that needs replacement before the next use.
In NYC apartments where kitchen renovations were not done with the dishwasher installation in mind, inspecting the cabinet condition around the dishwasher annually is genuinely useful maintenance — because what starts as a $150 door seal replacement becomes a $1,500 cabinet panel replacement if it's caught six months later.
Most dishwasher-related cabinet damage is caused or accelerated by installation deficiencies that are simple to identify and correct. These checks take five minutes.