Appliance repair service in New York City - Brooklyn

ILVE Oven Not Heating: Safe Model-First Checks

Diagnostic fee: $99, credited toward the repair if you move forward
Warranty: 180-day parts and labor warranty on completed repairs
Arrival windows: 9 to 11, 11 to 1, 1 to 3, 3 to 5
For an ILVE oven that does not heat, identify the series and fuel type, then verify cooking mode, temperature, clock/timer state, and safe power basics.

Safety gate

If you smell unburned gas, hear gas flowing without immediate ignition, or see repeated delayed “whoosh” ignition, turn the appliance off without creating a spark. Do not operate switches, unplug cords, light a flame, or use a phone in the affected area. Leave, then call 911 and the gas utility from a safe location.

For smoke, fire, or arcing, leave and call 911. For a breaker that trips again after one normal reset, leave it off. Do not remove oven panels, touch an element to judge temperature, measure energized circuits, bypass a door or safety control, manually reset an internal safety thermostat, or disassemble a burner or gas line.

What’s really happening

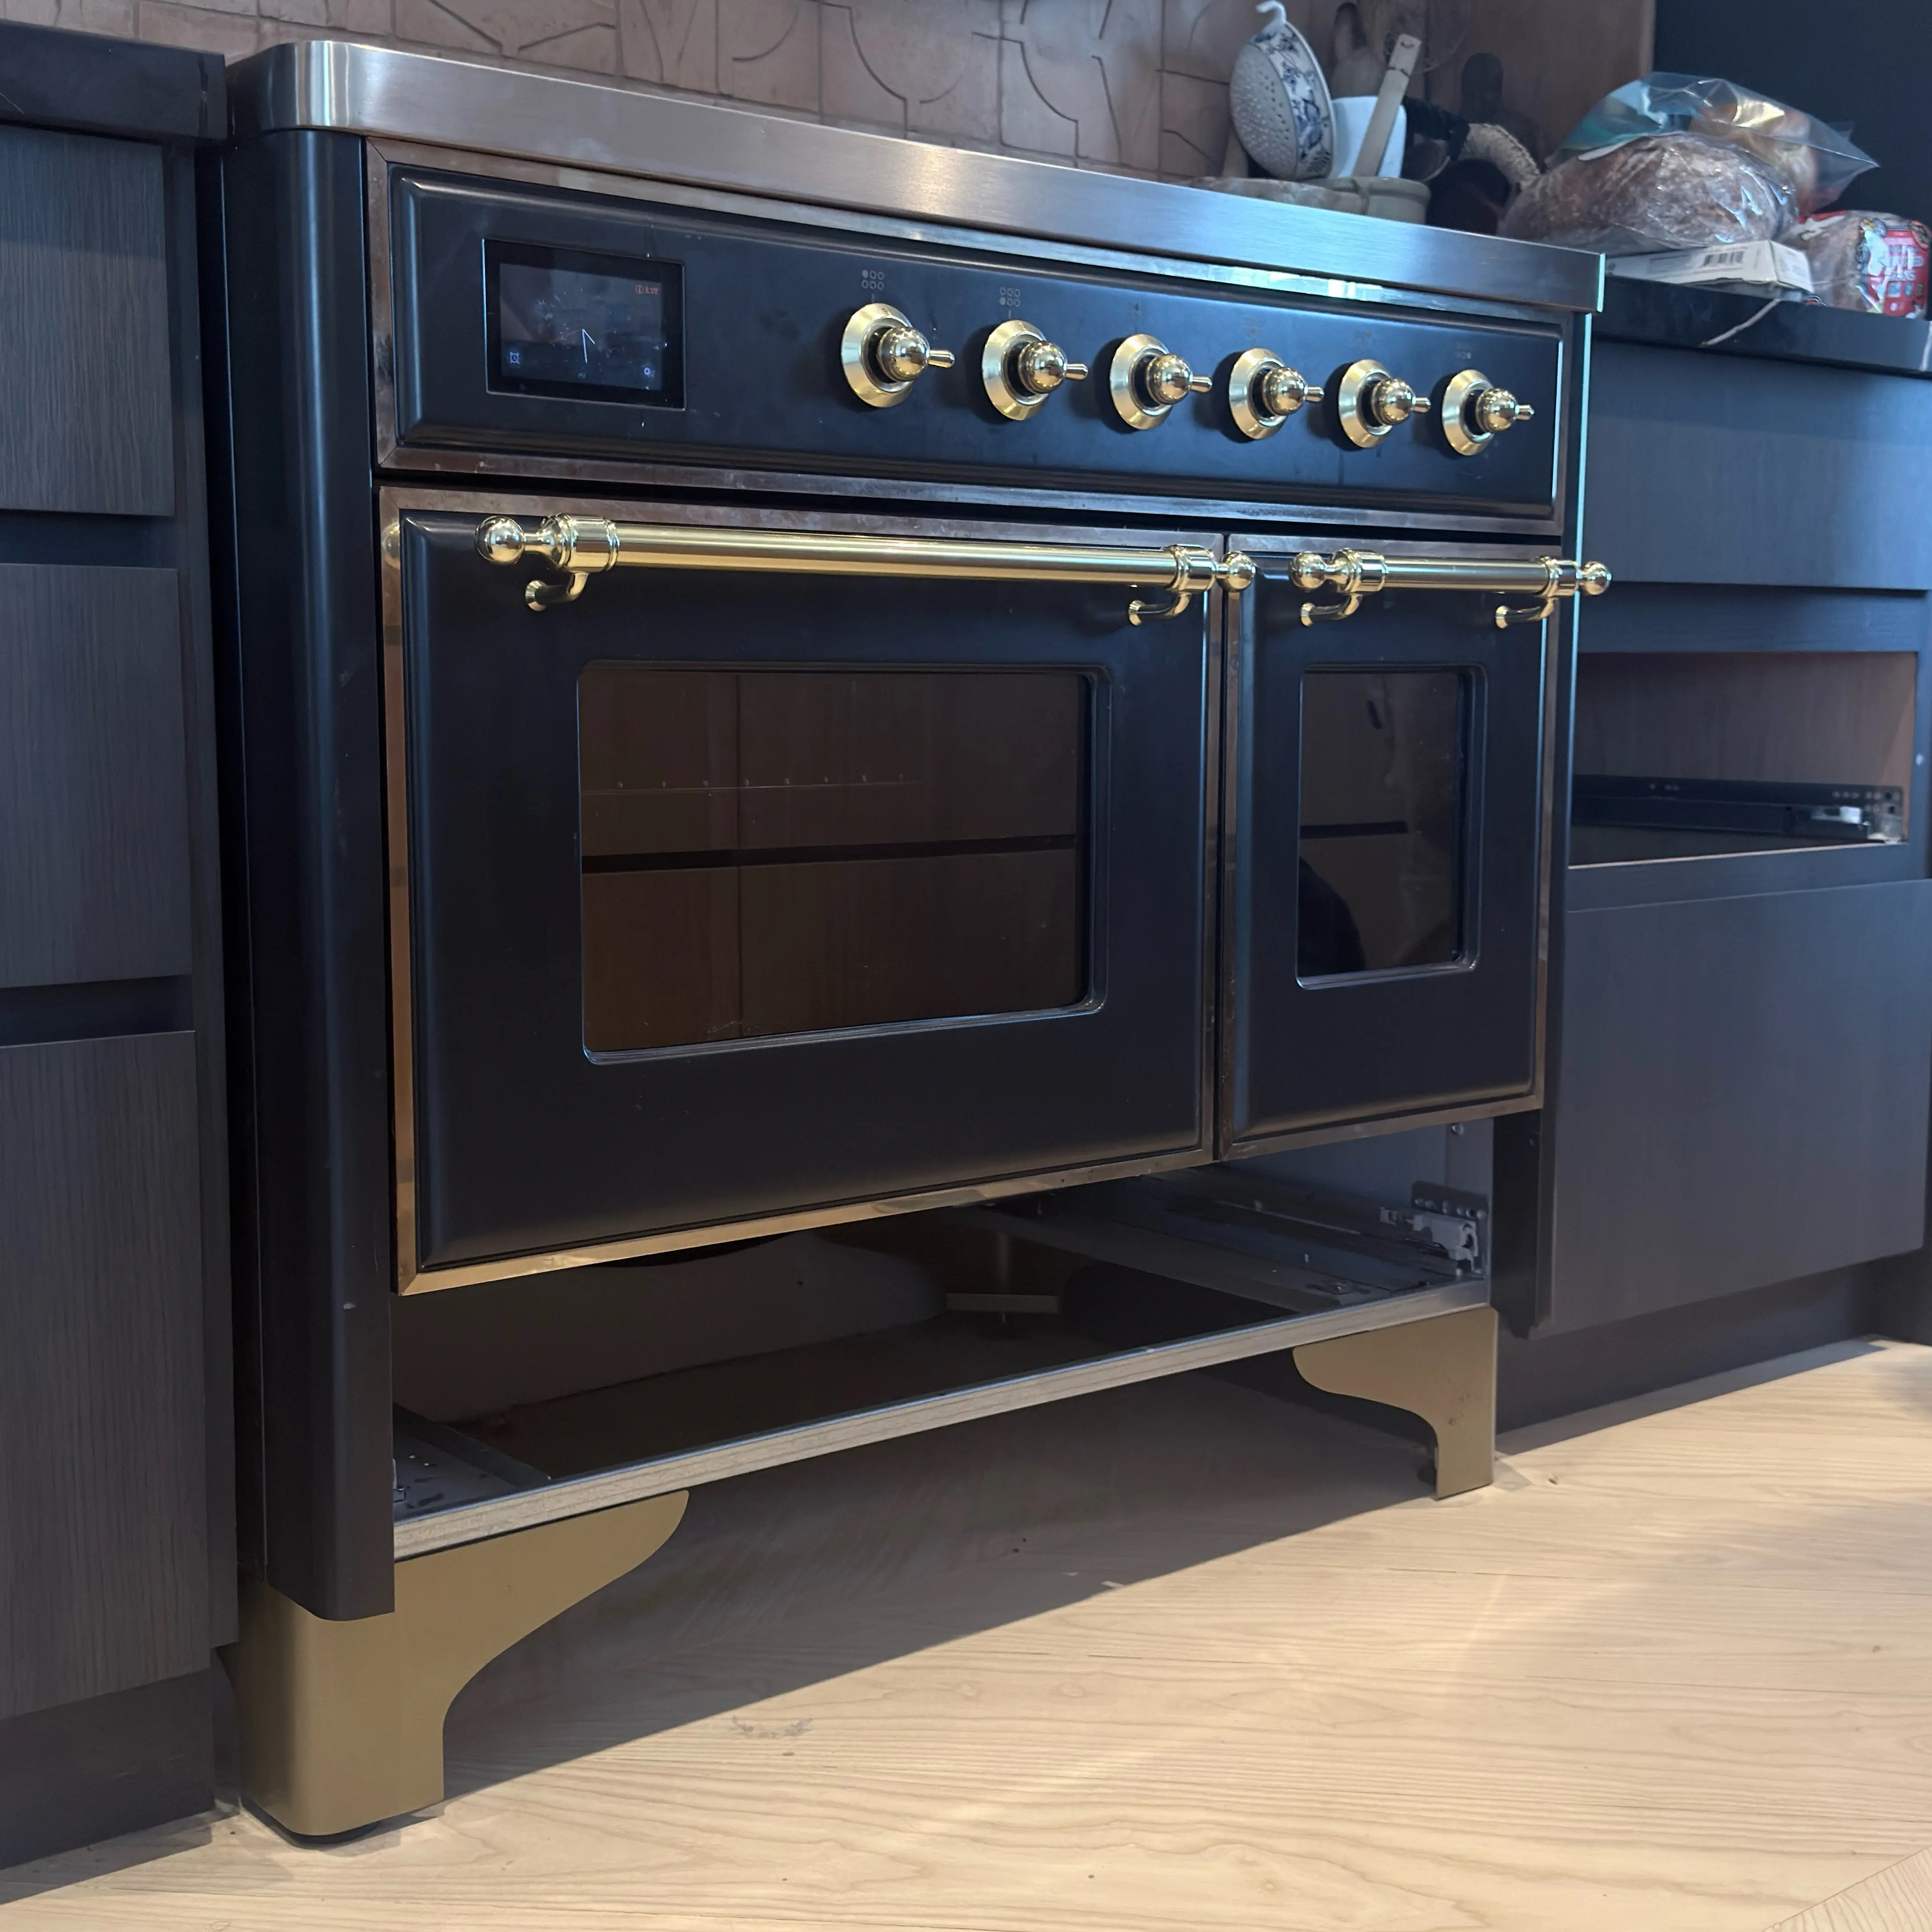
“ILVE oven not heating” spans multiple products. The appliance may be a range or wall oven; the oven may use electric elements, gas heat, or an electric oven within a dual-fuel range. Majestic, Professional Plus, Nostalgie, and Panoramagic controls are also not interchangeable.

An oven produces heat only after the user interface, clock or timer state, cooking selector, temperature control, power or gas supply, safety circuit, and heating output satisfy the model’s sequence. A lit clock or working cooktop does not confirm that every supply leg or oven circuit is available. A gas cooktop flame also does not prove that the oven ignition path operates normally.

Preserve these symptom splits:

  • Display blank and oven cold: whole-appliance power, connection, breaker, or control supply needs attention.
  • Display and lights work but all cooking modes stay cold: control state, partial supply, safety circuit, or common heating control may be involved.
  • Broil heats but Bake does not, or the reverse: preserve that mode-specific evidence.
  • Fan runs but no heat develops: a fan symbol or sound is not proof that a heating circuit is energized.
  • Oven begins heating then stops: record timing, temperature behavior, and any fault rather than resetting repeatedly.
  • Gas odor, repeated clicking, or delayed ignition: stop; this is a gas-safety condition, not a normal no-heat test.

Ranked action plan

Low effort: identify the platform and control state

Record the model, series, and fuel configuration

Why it works: Safe troubleshooting and control instructions depend on the exact ILVE architecture.

Tools/materials: Phone camera, purchase or installation records, and ILVE USA manual.

What to do:

  • Photograph the model and serial label where accessible without moving the range.
  • Determine the series and whether the oven heat source is gas or electric.
  • For dual fuel, distinguish the cooktop fuel from the oven heat source.
  • Download the exact U.S. user and installation manual.
  • Photograph the control panel before changing it.

Common mistakes:

  • Calling the whole range “gas” because the surface burners use gas.
  • using Majestic instructions on Professional Plus controls.
  • moving the range to read a rear label.
  • consulting a service manual as a homeowner repair guide.

Select a complete cooking command

Why it works: Some ILVE ovens require a cooking function and a temperature; a fan, light, or timer alone does not command heat.

Tools/materials: Exact cooking-function chart.

What to do:

  • Select a normal Bake or conventional cooking function identified in the guide.
  • Set a normal test temperature within that function’s documented range.
  • Confirm that a light-only, defrost, keep-warm, or other nonstandard function is not selected.
  • Observe indicators without touching elements or burner components.
  • Cancel the test after the manual’s reasonable observation period if no heat develops.

Common mistakes:

  • selecting a fan-only or defrost symbol.
  • leaving the temperature control at off or minimum.
  • using self-clean as a heating test.
  • assuming every fan-assisted symbol energizes the same elements.

Correct the clock, timer, or AUTO state

Why it works: On relevant ILVE controls, a flashing clock, automatic cooking program, delayed start, or timer state can prevent immediate manual heating.

Tools/materials: Exact control instructions.

What to do:

  • Photograph any flashing digits, AUTO wording, timer symbol, or message.
  • Set the clock after a power interruption if the manual requires it.
  • Cancel delayed or automatic cooking by the documented sequence.
  • Return the oven to manual operation.
  • Retry one normal cooking command.

Common mistakes:

  • holding random button combinations.
  • confusing a minute minder with an oven-start program.
  • disconnecting power repeatedly instead of setting the clock.
  • copying a clock reset from another ILVE generation.

Medium effort: check safe external supply conditions

Verify the breaker without repeated resetting

Why it works: An electric oven may have lights or controls while a supply problem prevents heating. One normal breaker reset can correct a non-recurring trip; a second trip indicates a fault.

Tools/materials: Clearly labeled electrical panel and dry hands.

What to do:

  • Cancel oven operation.
  • Locate only the confirmed oven/range breaker.
  • If it is tripped, move it fully off and then on once.
  • Retry one normal mode while observing from a safe distance.
  • If it trips again, leave it off and arrange electrical/appliance diagnosis.

Common mistakes:

  • repeatedly cycling the breaker.
  • touching the panel from a wet floor.
  • resetting an unlabeled circuit by guesswork.
  • treating partial lights as proof that high-power supply is correct.

Check only external installation history

Why it works: A new installation, recent electrical work, gas shutoff, cleaning, power outage, or range movement can explain when the symptom began.

Tools/materials: Installation records and building contact.

What to do:

  • Ask whether the oven ever heated correctly after installation.
  • Confirm whether recent building electrical or gas work occurred.
  • Note whether the cooktop, clock, light, Bake, and Broil each work.
  • For gas, confirm only the known external shutoff state if visible and authorized; do not move the range.
  • Report a first-use failure to the installer with the exact configuration.

Common mistakes:

  • opening a gas valve whose purpose is uncertain.
  • removing the anti-tip restraint or pulling the range.
  • checking voltage at the receptacle.
  • changing regulator or conversion settings.

Compare Bake and Broil once, if the manual permits

Why it works: Mode-specific behavior helps distinguish a single heating output from a common control or supply condition.

Tools/materials: Manual and phone notes.

What to do:

  • Start with a cool, empty oven.
  • Run one short documented Bake observation.
  • Cancel and let conditions stabilize.
  • Run one short Broil observation only if the guide permits normal user selection.
  • Record indicators, sound, visible glow or flame only from the normal viewing position, and whether any heat develops.

Common mistakes:

  • touching an element.
  • opening the door to inspect gas ignition closely.
  • running prolonged empty high-heat tests.
  • declaring an igniter or element failed solely because one mode is cold.

High effort: stop at the internal boundary

Preserve intermittent or partial-heating evidence

Why it works: Time, mode, indicator, and temperature behavior help separate control commands from heating output without exposing live circuits.

Tools/materials: Clock, external oven thermometer only if approved, and video.

What to do:

  • Record selected mode, set temperature, indicator behavior, and when heat changes.
  • Note whether the fan, light, and display continue.
  • Photograph any fault code.
  • Stop if temperature runs away, ignition is delayed, or the breaker trips.
  • Do not use food as a test load.

Common mistakes:

  • recalibrating temperature before confirming that the oven heats.
  • resetting between every symptom.
  • covering vents or using foil to “hold heat.”
  • clearing a fault without recording it.

Request fuel- and series-specific diagnosis

Why it works: The next steps may involve high-current elements and relays, gas ignition and flame proving, thermostats, temperature sensors, safety devices, or supply measurements. Those require correct documentation and test equipment.

Tools/materials: Model/serial, fuel type, display photo, Bake/Broil comparison, installation history, and breaker/gas observations.

Ask diagnosis to distinguish:

  • control or programmed state;
  • full electrical supply or gas availability;
  • mode-specific heating output;
  • temperature-sensing and thermostat behavior;
  • ignition and flame-proving sequence on gas heat;
  • safety-device or control-output interruption.

Common mistakes:

  • requesting an igniter for an electric oven.
  • requesting an element for a gas oven.
  • replacing a safety thermostat without finding why it opened.
  • treating a service-manual reset as owner maintenance.

Stop DIY and call a professional if…

  • You smell gas, experience delayed ignition, or hear continued gas flow.
  • Smoke, arcing, melting odor, or abnormal overheating occurs.
  • The breaker trips again after one normal reset.
  • The range is newly installed and has never heated correctly.
  • Bake and Broil remain cold after controls and clock state are correct.
  • One mode overheats, fails intermittently, or produces an error.
  • The range must be moved or any panel, gas component, element, wiring, sensor, or safety thermostat needs access.

Do not use the cooktop as proof that the oven is safe. Do not operate an oven with damaged wiring, a cracked element, a loose control, a failed door, or combustion concerns.

Maintenance cadence

Weekly

  • Keep controls legible and oven vents unobstructed.
  • Note delayed ignition, unusual clicking, odor, or changed preheat behavior.

Monthly

  • Clean the cavity and door only by the user manual’s cool-oven method.
  • Check that knobs and controls return cleanly to off.

Quarterly

  • Review clock and cooking-function operation after any power interruption.
  • Inspect the cord or visible installation area without moving the range.

Annual

  • Confirm anti-tip protection, ventilation, installation clearances, and fuel/power documentation.
  • Arrange qualified inspection if ignition, breaker, temperature, or wiring symptoms have appeared.

FAQ

Why does my ILVE oven fan run but there is no heat?

Some functions operate a fan without the expected heating output, and a fault can also leave the fan active. Confirm the exact function and temperature before internal diagnosis.

Does the ILVE clock have to be set for the oven to heat?

On relevant models, a flashing clock or automatic program can prevent normal manual cooking. Follow the exact control manual.

Is an ILVE dual-fuel range oven gas or electric?

Dual-fuel commonly means different fuel types for cooktop and oven, but verify the exact model. Do not infer the oven heat source from the surface burners.

Can I reset the breaker?

One normal reset is reasonable if the correct breaker is identified and conditions are dry. If it trips again, leave it off.

Why does Broil work but Bake does not?

That mode split is useful evidence of a mode-specific heating or control path, but it does not identify the failed part without measurements.

Should I reset the ILVE safety thermostat?

No homeowner reset should be attempted unless the exact user manual explicitly provides it. Internal safety-device access belongs to qualified service, along with finding why it opened.

Can a working gas cooktop prove the oven has gas?

It shows gas reaches the surface system, not that the oven ignition and control path operate safely.

Should I use self-clean to test heating?

No. Self-clean creates extreme temperatures and is not a diagnostic test for a no-heat oven.

What if the oven has never heated since installation?

Stop repeated tests and return to the installer or qualified service with the model, fuel configuration, supply, and installation documentation.

What information should I save?

Save model/serial, series, fuel type, control and clock photos, selected mode, Bake/Broil behavior, breaker history, sounds, odors, and any error.

Sources you would cite

Booking

Appliance Repair in NYC

Choose a time that works for you. Share the appliance type, address, and the issue you are seeing. We review the request and confirm the appointment details before the visit is finalized.

$99 diagnostic

Credited toward repair after approval

180 day warranty

Parts and labor on completed repair

OEM parts

Used when applicable and available

Licensed and insured

COI available if building requires it

What Happens Next

You send the request with the appliance type, location, and symptom.

We review the details and confirm service area, timing, and access notes.

If needed, we may ask for a model and serial photo before the visit.

Before You Book

If you smell gas, see sparks, notice a burning odor, or have an active water leak near electrical parts, stop using the appliance and handle the safety issue first.

NYC Appliance Repair Help & Guides

Practical appliance repair guides based on real service calls in New York City. Find common problems, error codes, troubleshooting steps, and repair information for refrigerators, washers, dryers, dishwashers, ovens, ranges, and other home appliances.