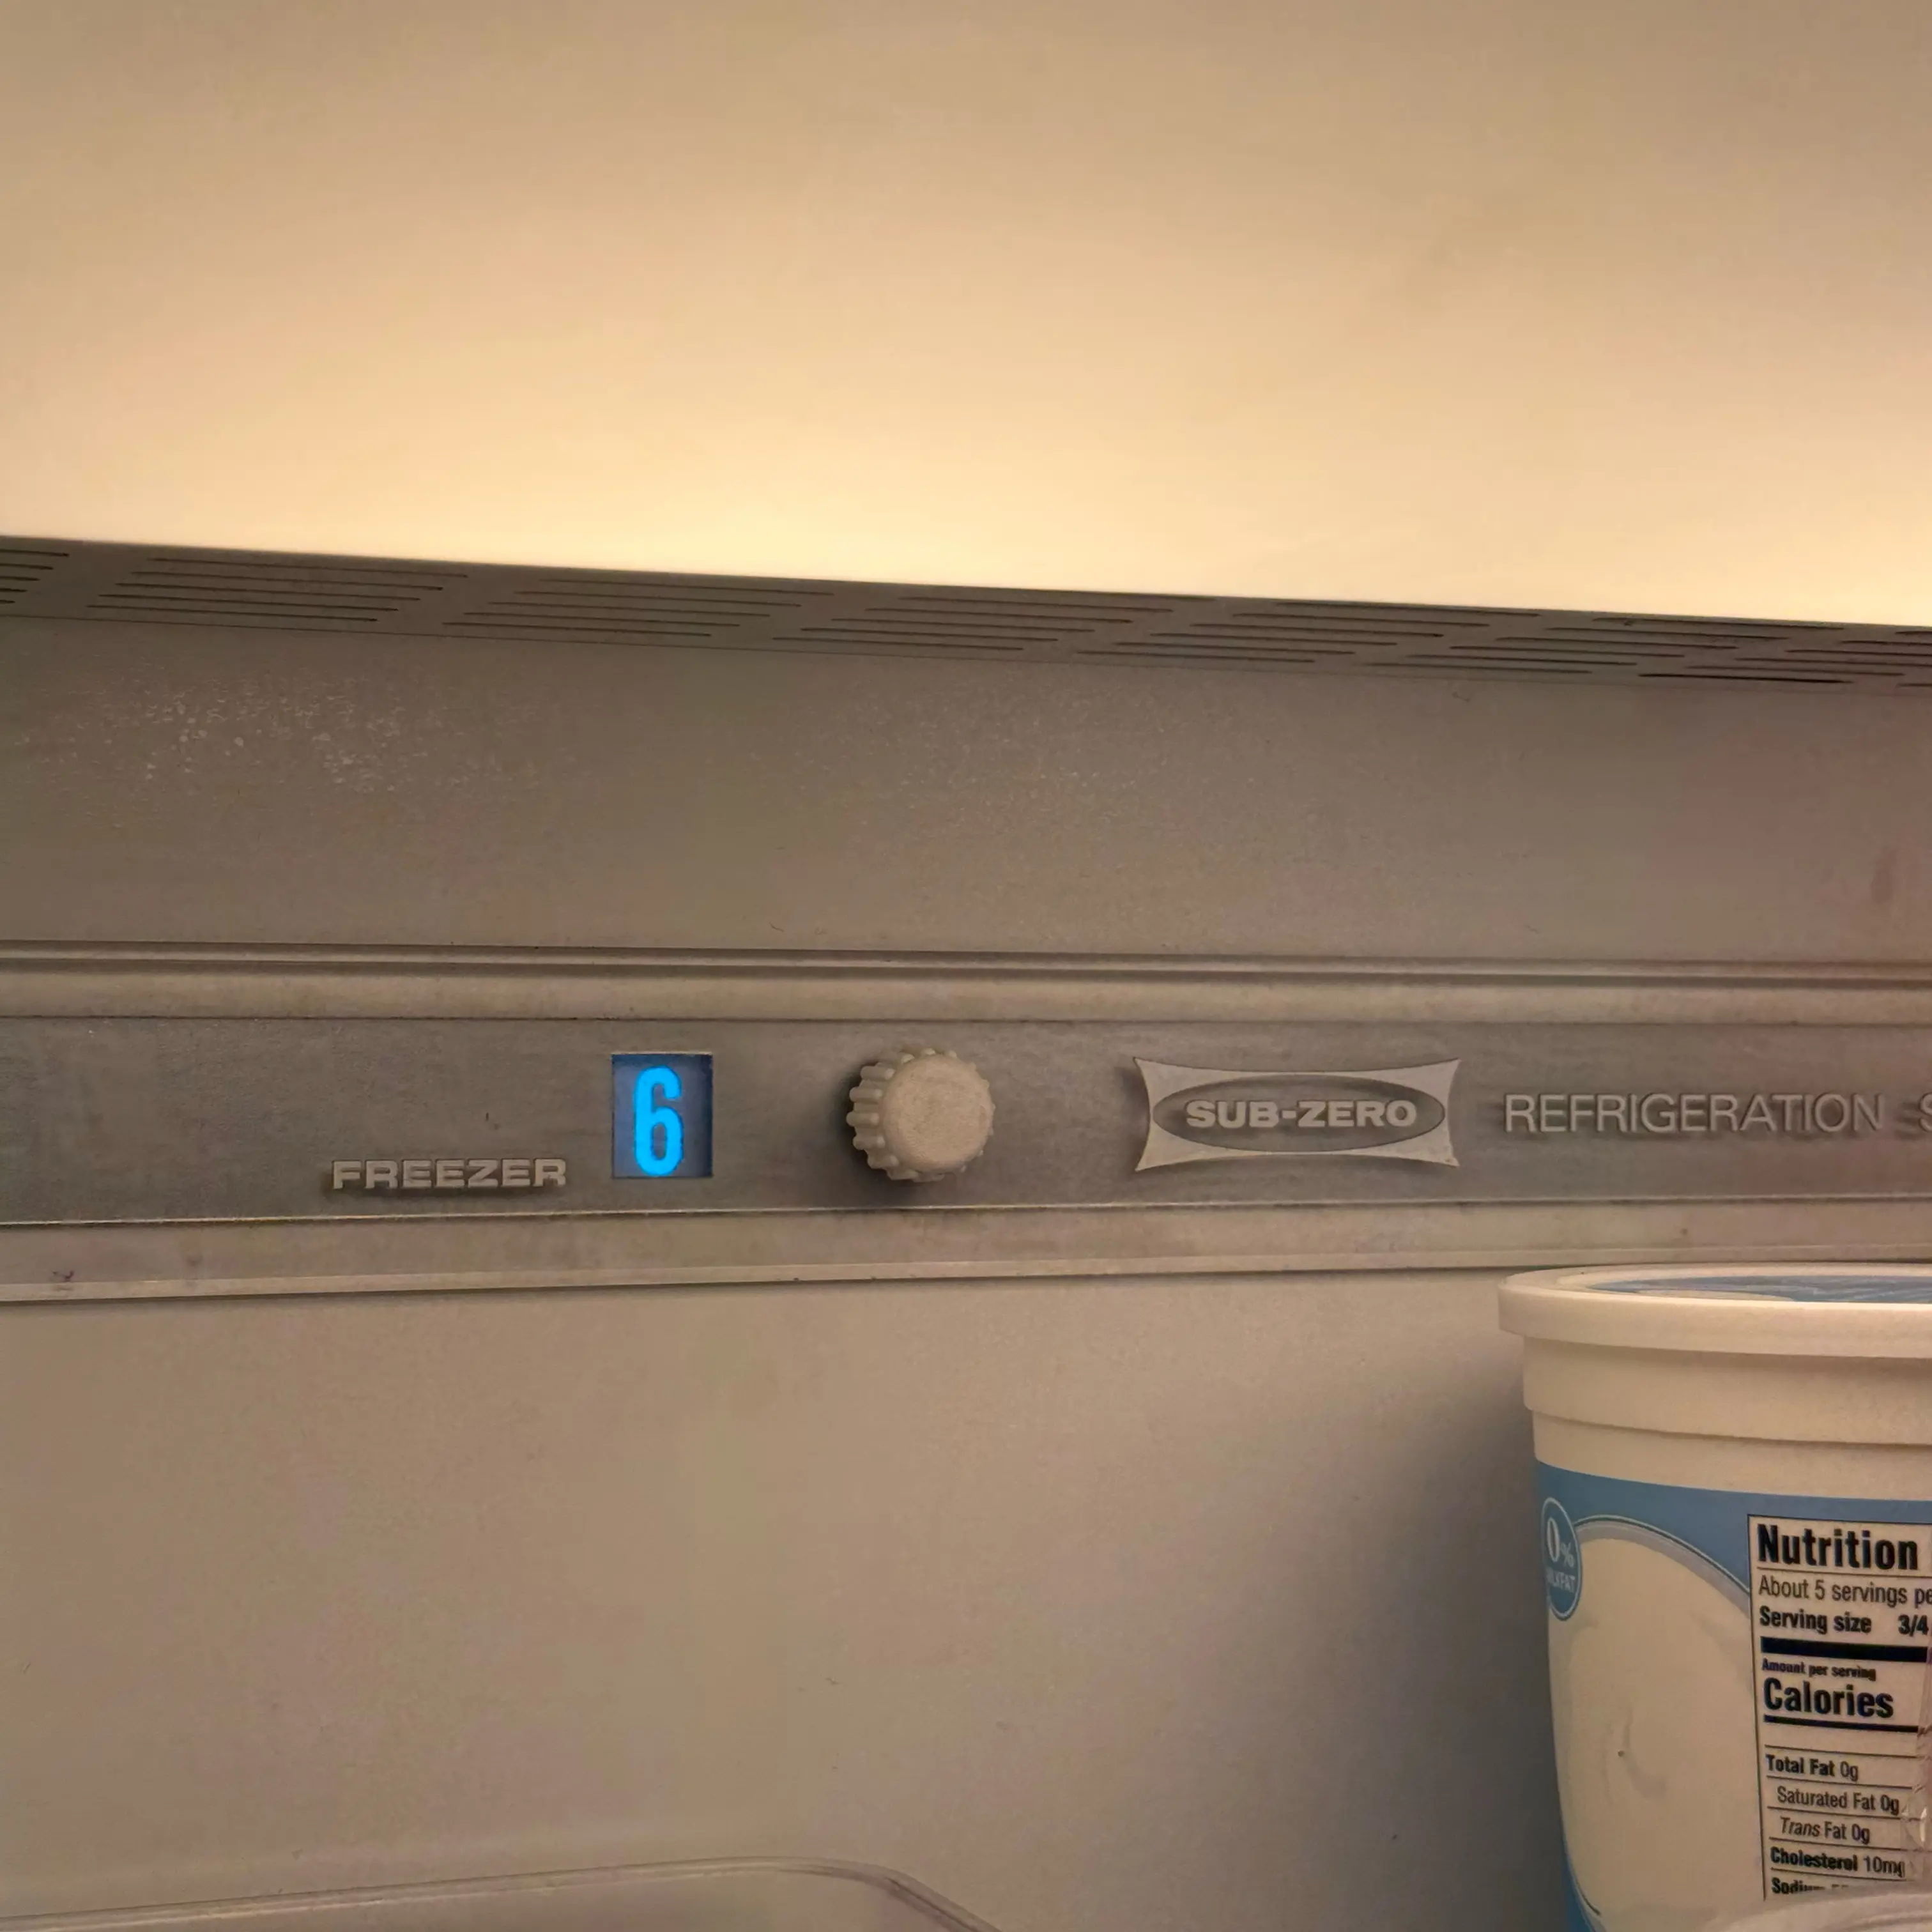


If a Sub-Zero ice maker is Off or Max Ice will not enable, confirm the exact series, visible control state, bin or drawer position, freezer temperature, and water availability before assuming a failed ice maker. Max Ice is a temporary production feature, not a repair reset, and model-specific controls must be used.
Most Common Reasons Sub-Zero Ice Maker Off or Max Ice Will Not Enable
- The model-specific Ice Maker control is Off or another mode blocks it: The control does not permit ice production or Max Ice selection Look for the exact series display and control state. A technician should prove control permission and mode inputs.
- Bin/drawer detection, freezer temperature, or water availability is not satisfied: The ice system cannot safely fill, freeze, or harvest even if a control is pressed Look for mis-seated bin/drawer, warm freezer, or unavailable water. A technician should prove detection, temperature, inlet, fill, and harvest sequence.
Sub-Zero Ice Maker Off or Max Ice Not Enabled: Read the Control State First
A Sub-Zero ice maker that seems off or not in Max Ice mode is often a control-state problem before it is a repair problem. Different Sub-Zero series use different icons, buttons, arms, bins, and menu paths. On some Designer products, touching the ice-cube icon cycles between ice maker on, Max Ice, and off. One highlighted cube can mean ice maker on. Three highlighted cubes can mean Max Ice. No highlighted cubes can mean off.
Do not judge the result immediately after changing the setting. Sub-Zero official guidance says to allow up to 24 hours after turning the ice maker on because the freezer must be cold enough, water must fill, cubes must freeze, and the batch must harvest into the bin. Water may not flow into the ice maker immediately when the setting changes.
If the ice maker is definitely on and has had 24 hours with a freezer near normal ice-making temperature, use Sub-Zero ice maker not making ice. This page is for the narrower situation where the setting itself, Max Ice expectation, mode state, or waiting period may be the actual issue.
Confirm the Exact Series Before Pressing Buttons
Before changing anything, find the model or series. Designer/Integrated, Classic, BI, CL, 600, 700, PRO, undercounter, and older products do not all use the same controls. A button sequence that turns Max Ice on for one series can do something different on another. Take a photo of the display and icons first.
If your unit has an ice-cube icon, note whether no cubes, one cube, or three cubes are highlighted. If it has a text display, record the words or symbols. If it has a mechanical shutoff arm or bin switch, note its position without forcing it. Some bins must be seated level for ice maker operation on certain models.
Do not repeatedly press buttons until the icons look different. You can accidentally turn the ice maker off, enter a mode branch, or erase the evidence of what state it was in when the problem started.
Max Ice Is Not a Permanent Repair Mode
Max Ice is designed to increase production for a limited period on equipped models; it is not a permanent override for a weak ice maker. Sub-Zero Classic guidance describes Max Ice as a timed feature that increases production and then returns to normal. If a household needs more ice than the built-in bin can produce, Max Ice may help temporarily, but it will not fix warm freezer temperature, poor water supply, or a jammed mechanism.
If Max Ice was expected but production did not change, ask whether the feature was truly enabled, whether 24 hours passed, whether the freezer was near 0 F, whether the bin was seated, and whether the ice maker was already full or blocked. A full bin or raised shutoff condition can stop production even when the control says ice is enabled.
Do not use Max Ice as proof that the ice maker is broken after only a few hours. Ice production is slow because water must freeze and harvest in batches. The correct measurement is new cubes in the bin over a full production window.
Freezer Temperature Still Controls Ice Production
An ice maker setting cannot overcome a warm freezer. Sub-Zero support tells users to confirm freezer temperature and gives model guidance around freezer temperature limits for ice production. If the freezer is above the safe ice-making range, the ice maker may pause, make small cubes, make hollow cubes, or stop completely.
Put a thermometer in the freezer if available and record the actual temperature. Do not rely only on the setpoint. Door openings, warm food loading, dirty condenser, door seal problems, or a compressor run-time issue can keep the freezer from holding stable temperature. If a condenser warning is present, use Sub-Zero Vacuum Condenser flashing.
If the freezer temperature is not recovering, focus on cooling first. Turning ice on and off will not solve a freezer temperature problem.
Sabbath, Showroom, and Other Mode Branches
Sabbath mode can disable ice maker behavior on many Sub-Zero products. Depending on model, it can also affect lights, dispenser, and door alarm. If lights, dispenser, ice, and display behavior all changed together, use Sub-Zero Sabbath mode lights, dispenser, ice off instead of treating this as an ice maker setting only.
Showroom mode is different. It can make displays and lights appear normal while cooling is disabled or not operating as expected on some products. If ice is off because the freezer is not actually cooling, use Sub-Zero showroom mode not cooling.
Do not mix mode branches. Sabbath can intentionally disable ice. Showroom can affect cooling. Ice maker off is a user setting. A failed ice maker is a hardware branch after settings, mode, temperature, bin, and water evidence are cleared.
Bin, Arm, and Obstruction Clues
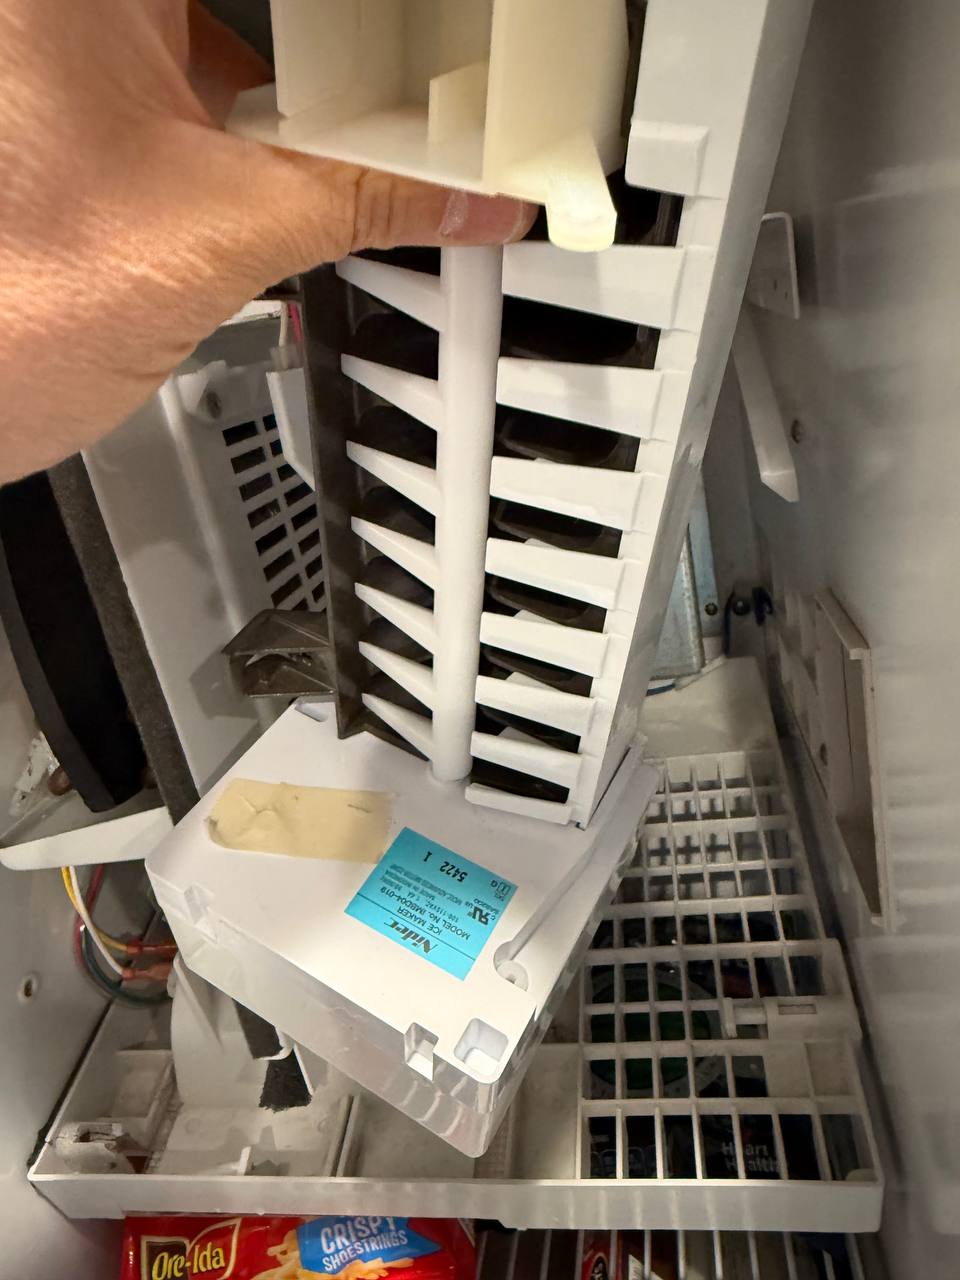
Some Sub-Zero ice makers rely on the bin being properly seated and level. Some use a shutoff arm or a plastic rudder/arm attachment. If the bin is removed or not seated, the ice maker may not operate normally. If the arm is raised, blocked by ice, broken, or detached, production can stop or overproduce depending on model.
Look for jammed cubes, an overfilled bin, ice piled against the arm, clumped ice, or a bin that sits crooked. Do not force the arm or manually cycle the ice maker. If a cube is visibly jammed and can be removed without tools, remove it gently with the unit off if the manual allows. Otherwise save photos and stop.
If the bin is empty but the control state is correct, the freezer is cold, 24 hours passed, and the bin/arm is seated, the next branch is no ice production, not Max Ice setting.
What Not to Do
Do not force a harvest cycle. Do not turn gears by hand. Do not heat the fill tube. Do not defeat a bin switch or arm. Do not remove the ice maker assembly. Do not assume Max Ice can stay on permanently. Do not keep opening the freezer every few minutes to see if ice arrived.
Do not replace the ice maker because the setting was off or because Max Ice timed out. Also do not replace the water valve because cubes did not appear immediately after enabling ice. The correct wait window and actual freezer temperature matter.
Evidence to Save
Save the model and serial tag, photos of the control icons before and after setting changes, whether the ice maker is off/on/Max Ice, actual freezer temperature, time since the setting changed, bin seating, arm/rudder position, cube size, water-filter change history, and whether lights/dispenser/door alarm changed too.
Service is needed if the ice maker remains on with correct temperature and no production after a full wait, if the arm or bin switch is damaged, if water supply clues appear, if the freezer is too warm, or if mode state cannot be corrected from the model instructions. A good handoff says whether the issue is setting, mode, temperature, bin, water, or production.
Do Not Mistake Demand for Failure
Max Ice can make a household expect immediate recovery after a party, filter change, or empty bin, but ice production still happens in batches. A freezer has to remove heat from water, harvest the cubes, and repeat. If the bin was empty, the first visible result may be hours away even when everything is working.
The cleanest proof is a starting photo and an ending photo. Photograph the icon state and empty bin after enabling the correct setting, keep the freezer closed, then check after a full wait. If a few cubes appear, production exists and the question becomes rate. If no cubes appear, the branch moves to temperature, water, bin/arm, or service.
If Max Ice turns itself off after the timed period on equipped models, that is expected behavior, not a failure. The article should prevent the homeowner from chasing a control problem that is actually normal timer behavior.
If the freezer is not near normal temperature, Max Ice is the wrong tool. Solve cooling, door sealing, condenser, or mode state first. Ice makers are temperature-dependent devices, not independent appliances inside the freezer.
What a Correct Setting Still Does Not Prove
A correct ice maker setting does not prove water is reaching the mold. It does not prove the freezer is cold enough. It does not prove the bin switch is satisfied. It only proves the user-facing control is not intentionally off. That is why the next checks are wait time, actual temperature, bin/arm position, water filter, and cube evidence.
A full bin also changes the question. If Max Ice is enabled but the bin is already full or the arm is satisfied, the ice maker may not run because it does not need to. Remove only loose ice as the manual allows and avoid digging around the mechanism.
If the customer says Max Ice is 'not working,' ask what they expected: no ice, slow refill, too-small cubes, no icon, or icon disappears after a day. Each answer sends the diagnosis to a different branch.
When to Move From Setting to Service
Move past the setting branch only after the model-specific control state is correct, the freezer is cold, the bin is seated, the arm is not blocked, and a full production window passed. At that point the issue is no longer 'off or Max Ice.' It becomes water supply, fill, harvest, sensor, arm, or ice maker service.
If the icon will not change, changes by itself, or the display does not respond, save a short video of the control behavior. A control-state failure is different from an ice-production failure, and service needs that split.
If the homeowner turns the ice maker off because ice clumps or overfills, the next check is not only the on/off icon. It is also bin level, cube quality, freezer temperature, usage rate, and arm/rudder position. Turning ice off may hide an overproduction or melt-refreeze problem that will return when ice is enabled again.
The clean final handoff is simple: model, icon state, time since enabled, freezer temperature, bin state, and whether any cubes arrived. If those six facts are known, the next step is obvious. If they are not known, the page should push the homeowner to collect them before any service conclusion is made.
FAQ
Is Max Ice supposed to stay on permanently?
No. It is a temporary increased-production mode on supported models; duration and display behavior depend on the exact series.
Why can the ice-maker control be unavailable?
Model mode, bin/drawer detection, freezer temperature, water status, or a control fault can block production; the visible state does not prove one failed part.
.jpeg)